-
Generate a link for your customer. You only have to go into the dashboard and:
-
Click on New integration

-
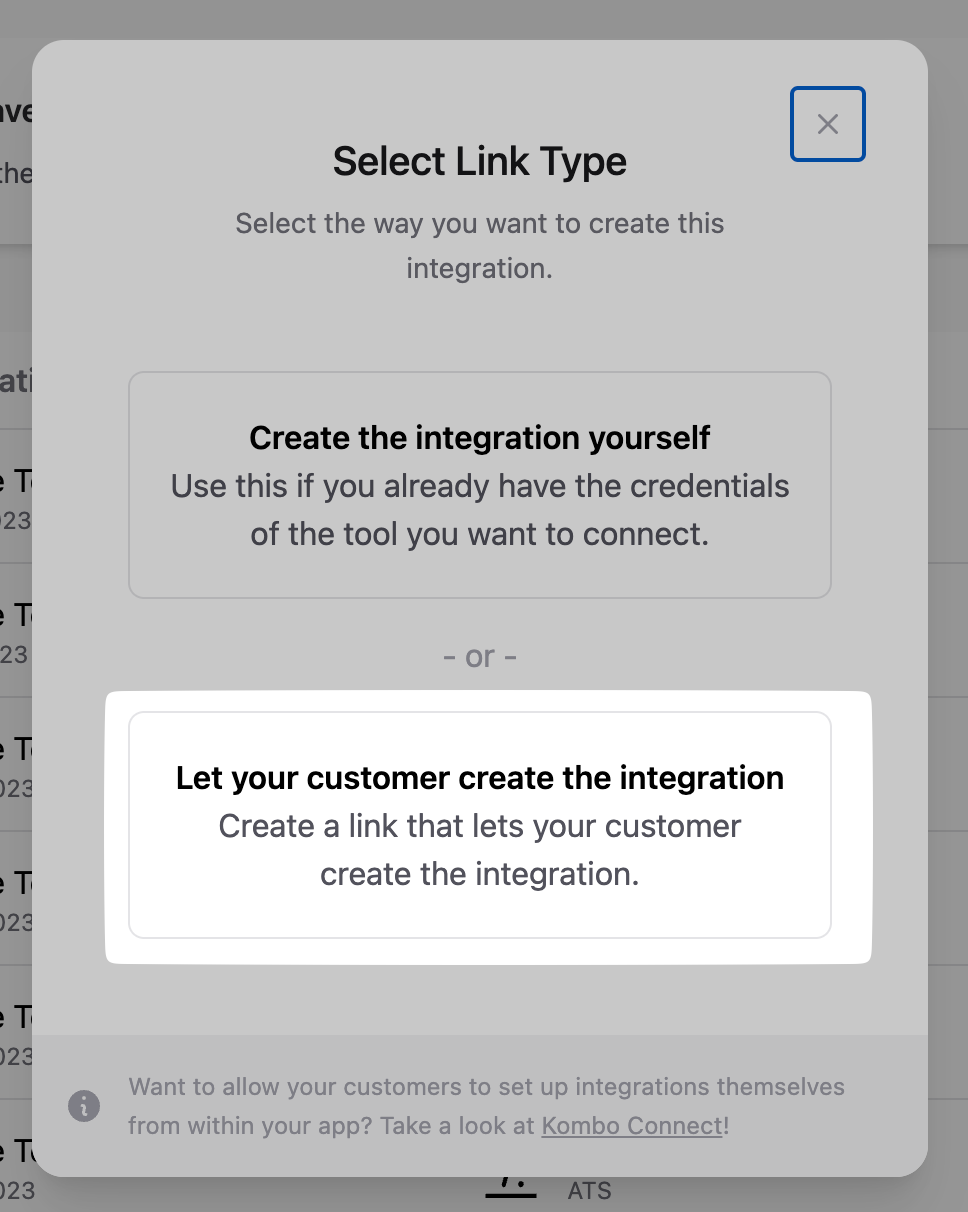
Click on “Let your customer create the integration” (during development, you can also use the first option).

-
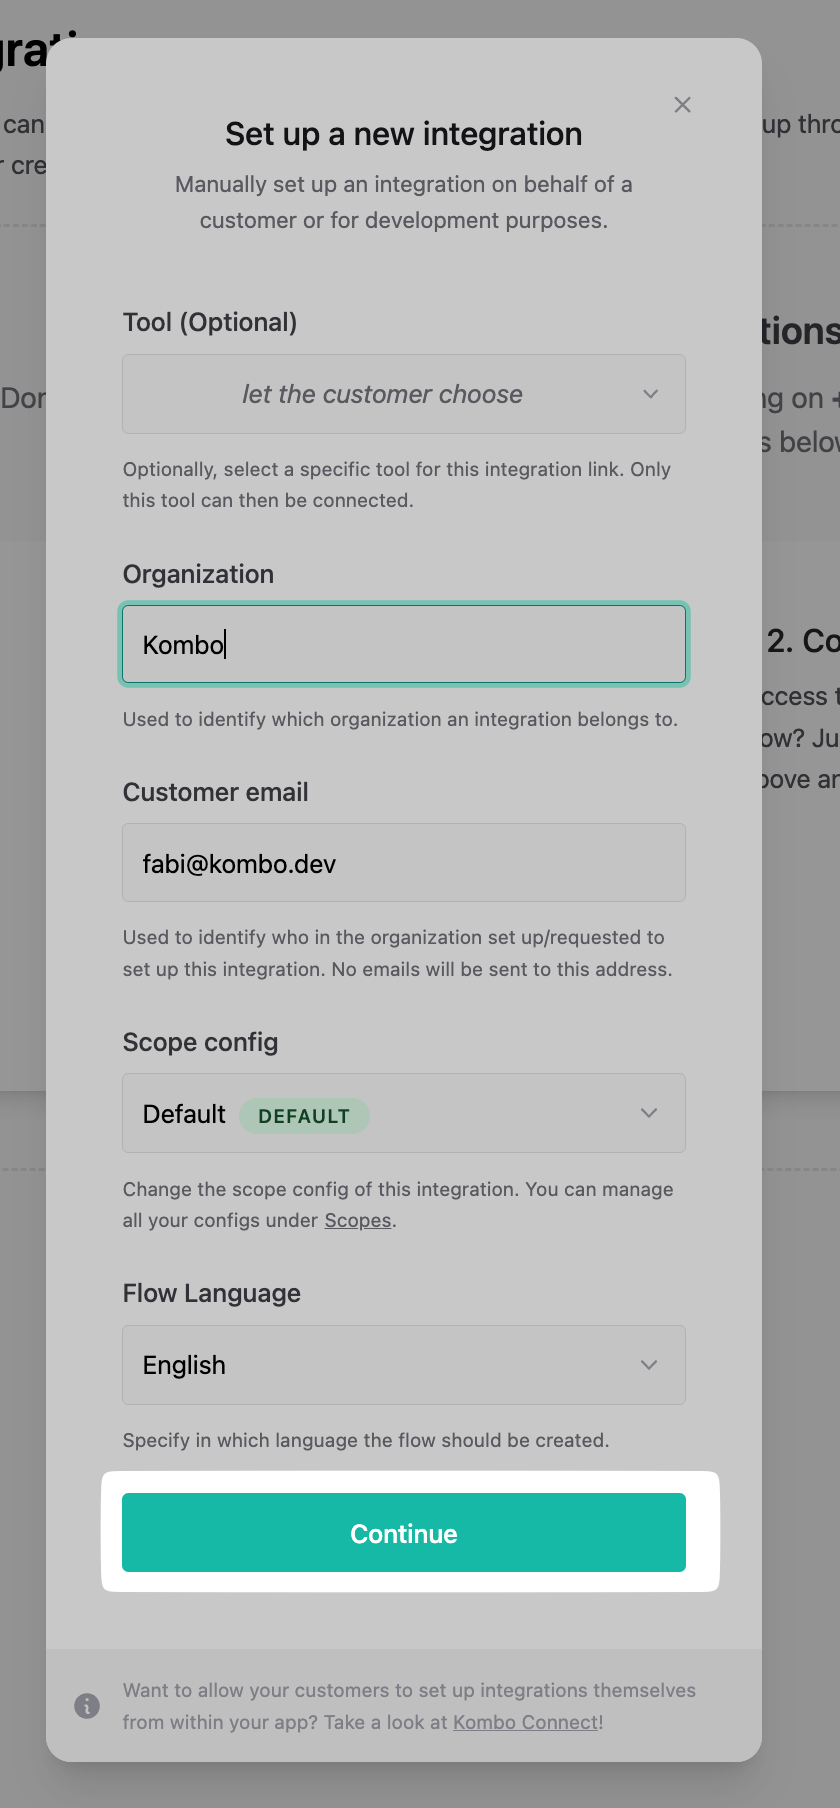
Click on “Continue”.

-
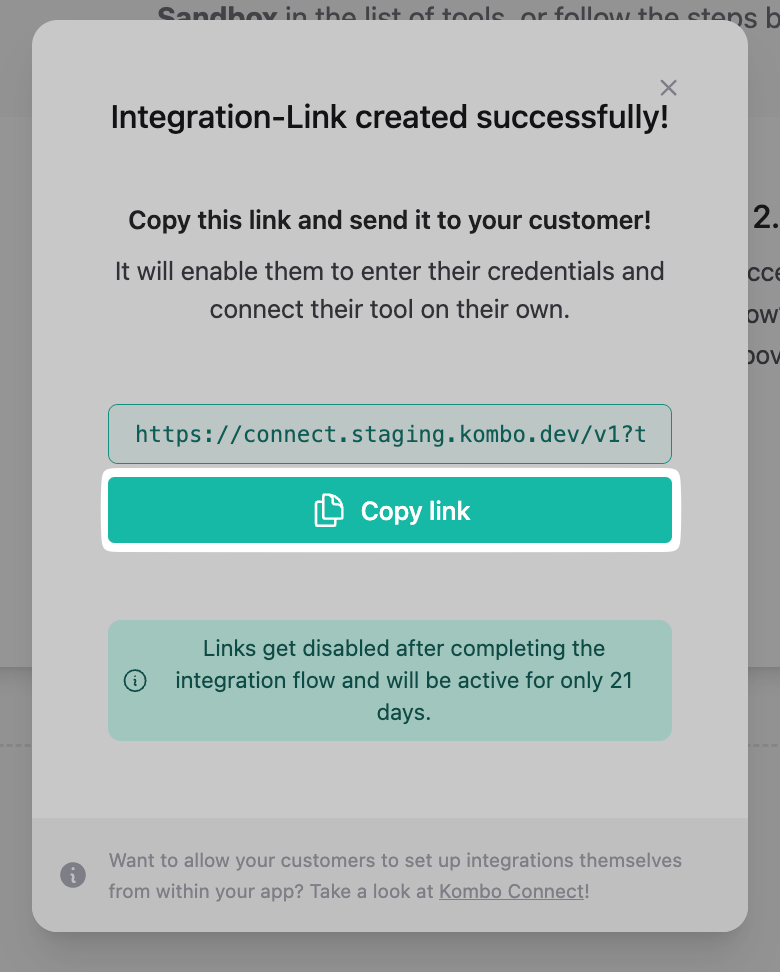
Copy the link.

-
Click on New integration
-
Wait for your customer to generate and enter their API credentials. You can see the status of any sent-out connection link in the Kombo dashboard.
🦉 Setting up the credentials for an integration can be tricky for your non-technical users. That’s why we highly recommend sharing our step-by-step connection guides with them or guiding them through the process on a short call.
-
Receive the
integration-createdwebhook. We send this webhook every time one of your customers creates a new integration.Theend_user.origin_idis submitted by you when creating a connection link and should represent the ID of your customer in your database. You need to store this ID in your database so that you’ll know which ATS belongs to which customer. For example, if you have two customers with the IDs “42” and “43”, then your database could look as follows after the integrations have been created:end_user.origin_id kombo_integration_id 42 personio:8d1hpPsbjxUkoCoa1veLZGe543 successfactors:B1hu5NGyhdjSq5X3hxEz4bAN⚠️ This ID is not for public display and should only be accessible to your backend. The ID is not a secret as such but it’s one of two things needed alongside the API key. There is no way to list all integration IDs via the API key so even in a case of accidental API key leak, the data would still be safe.
connection-flow-failed webhook every time a customer is running into an issue. You should set up some sort of alerting based on this webhook so that you can be fast to offer help to your customer, should they have an error when setting up an integration.
-
via the “delete integration”-endpoint. If you are calling this endpoint you should also take care of deleting the
kombo_integration_idfrom your database. -
via the
integration-deletedwebhook. This will be sent to you if someone goes into the Kombo dashboard and deletes an integration manually. Also then you’ll have to remove thekombo_integration_idfrom your database.