Overview
After setting up Kombo’s data filtering for a connection, all endpoints that handle employee-related data will only return data related to your selected subset. For example, if you choose only to include employees with a work location in Berlin, reading absences will only include the absence data of Berlin-based employees.Accessing the filtering UI
There are multiple ways of accessing the filtering UIWhen creating an integration in the dashboard
Create an integration on the integrations page.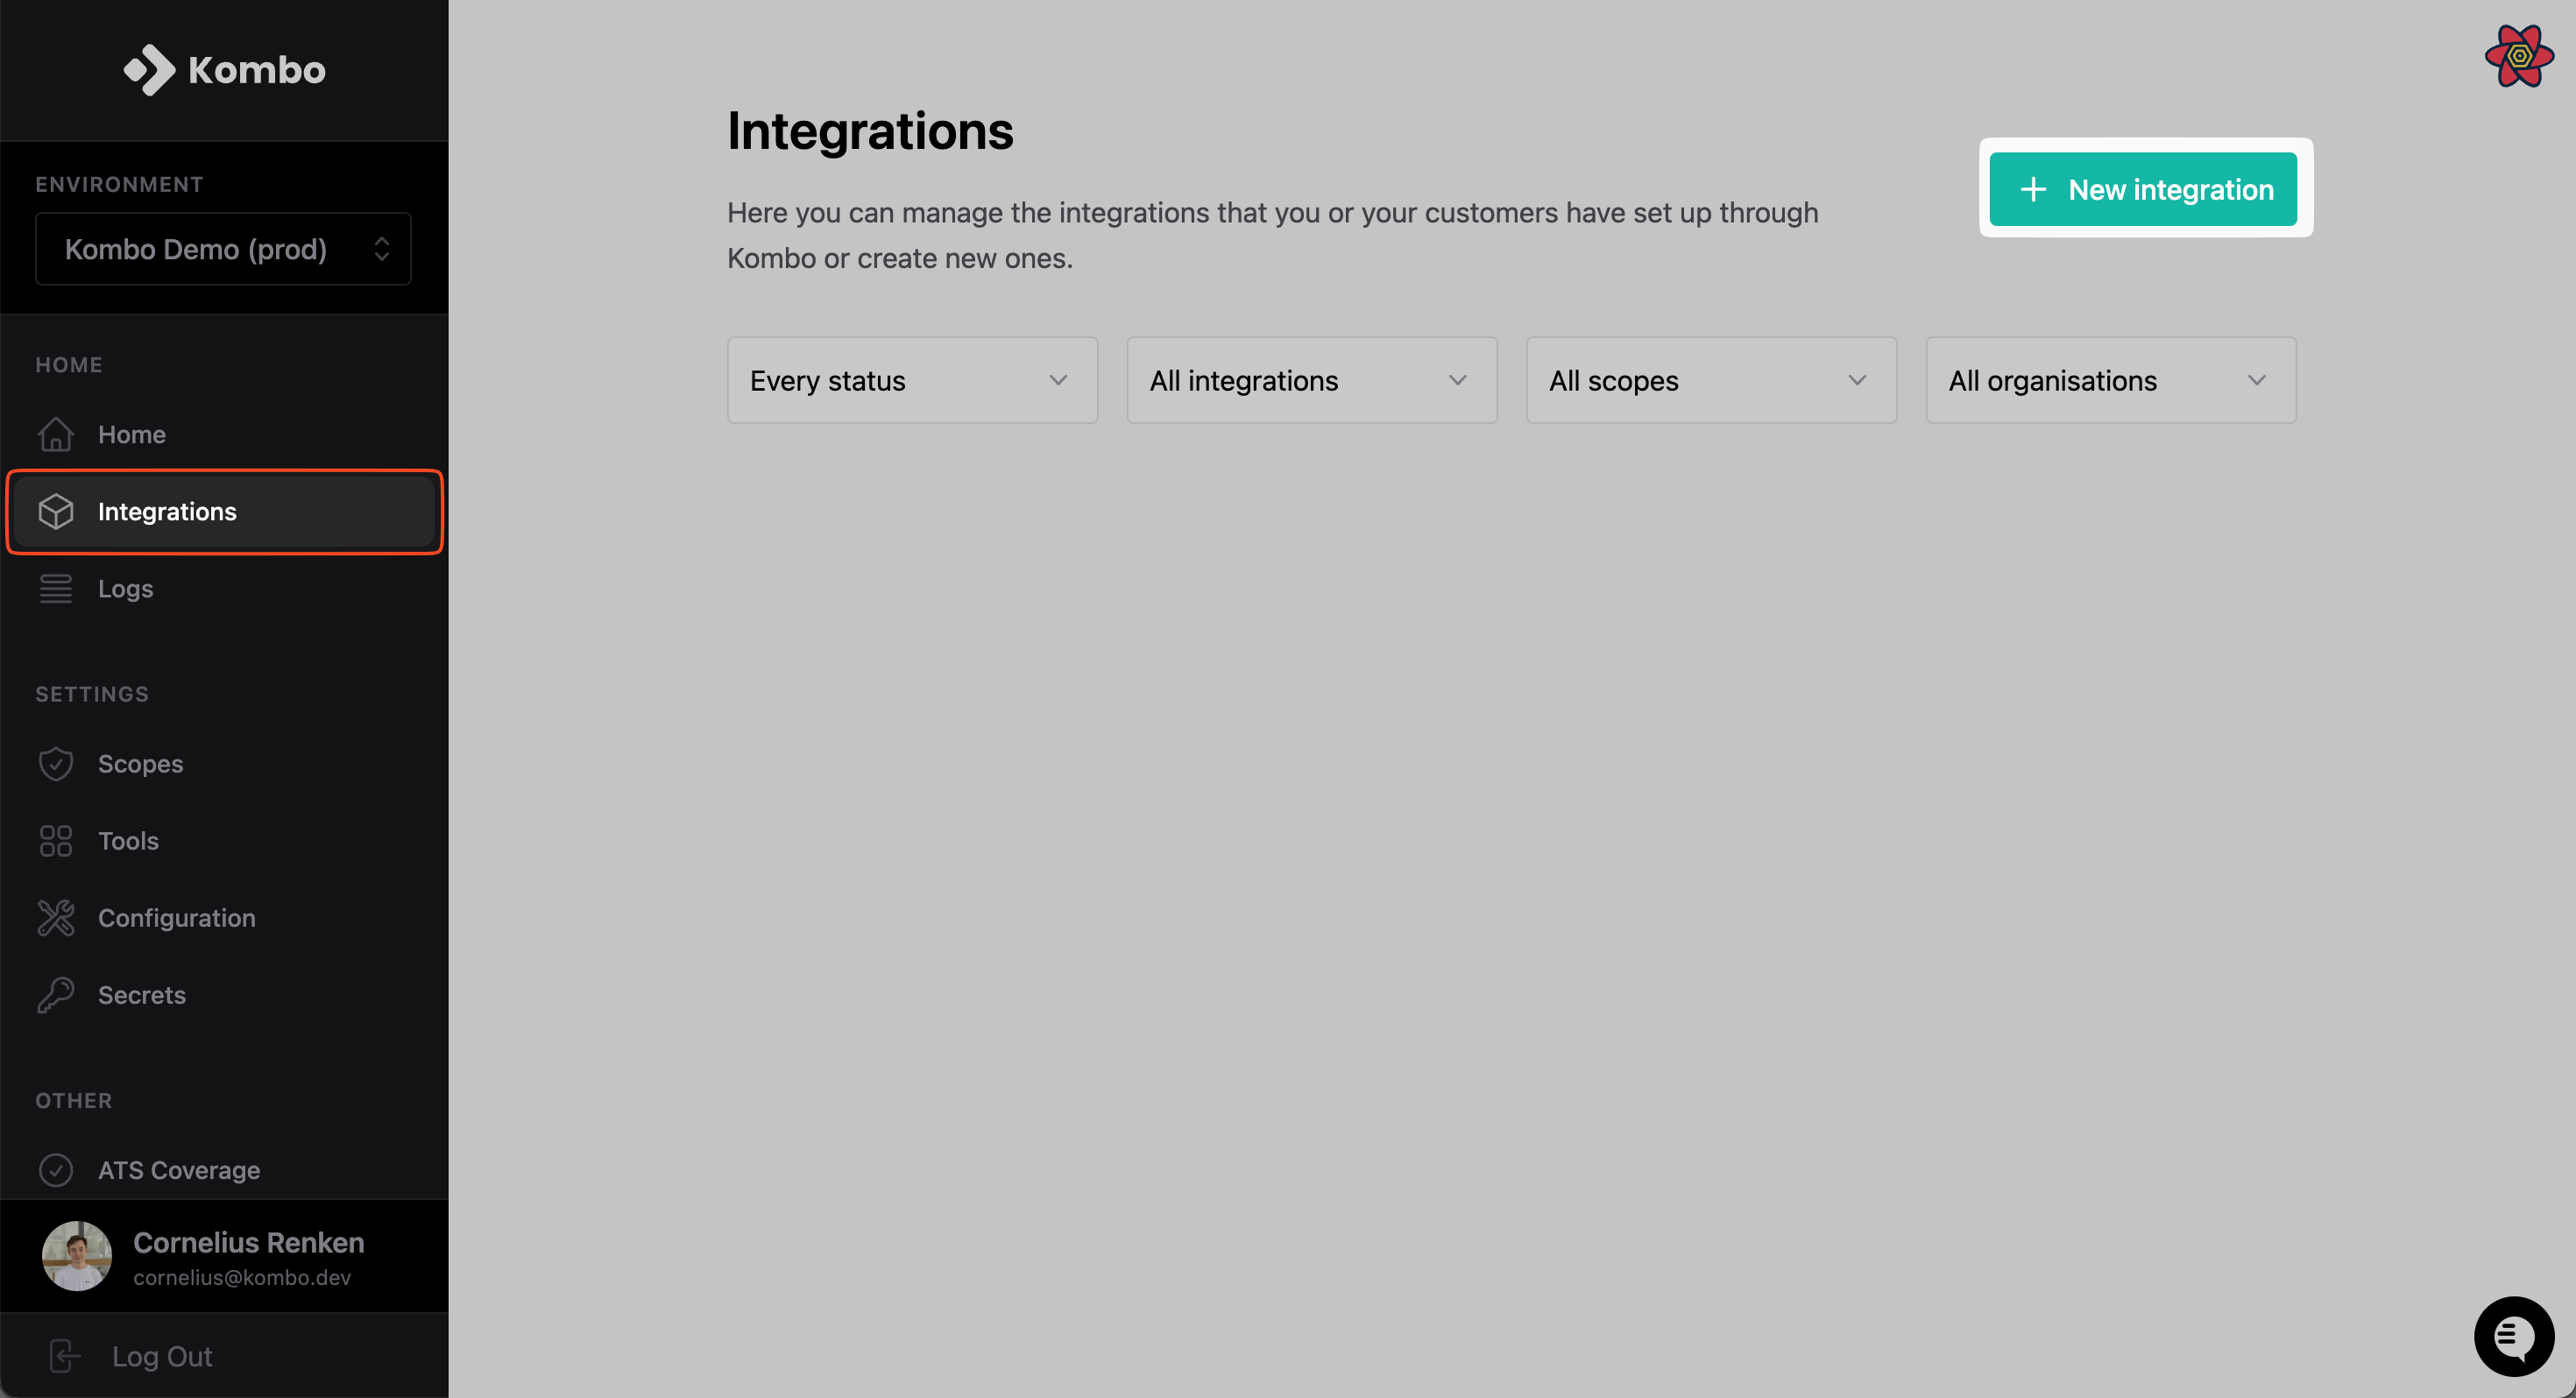
When creating a connection link via API
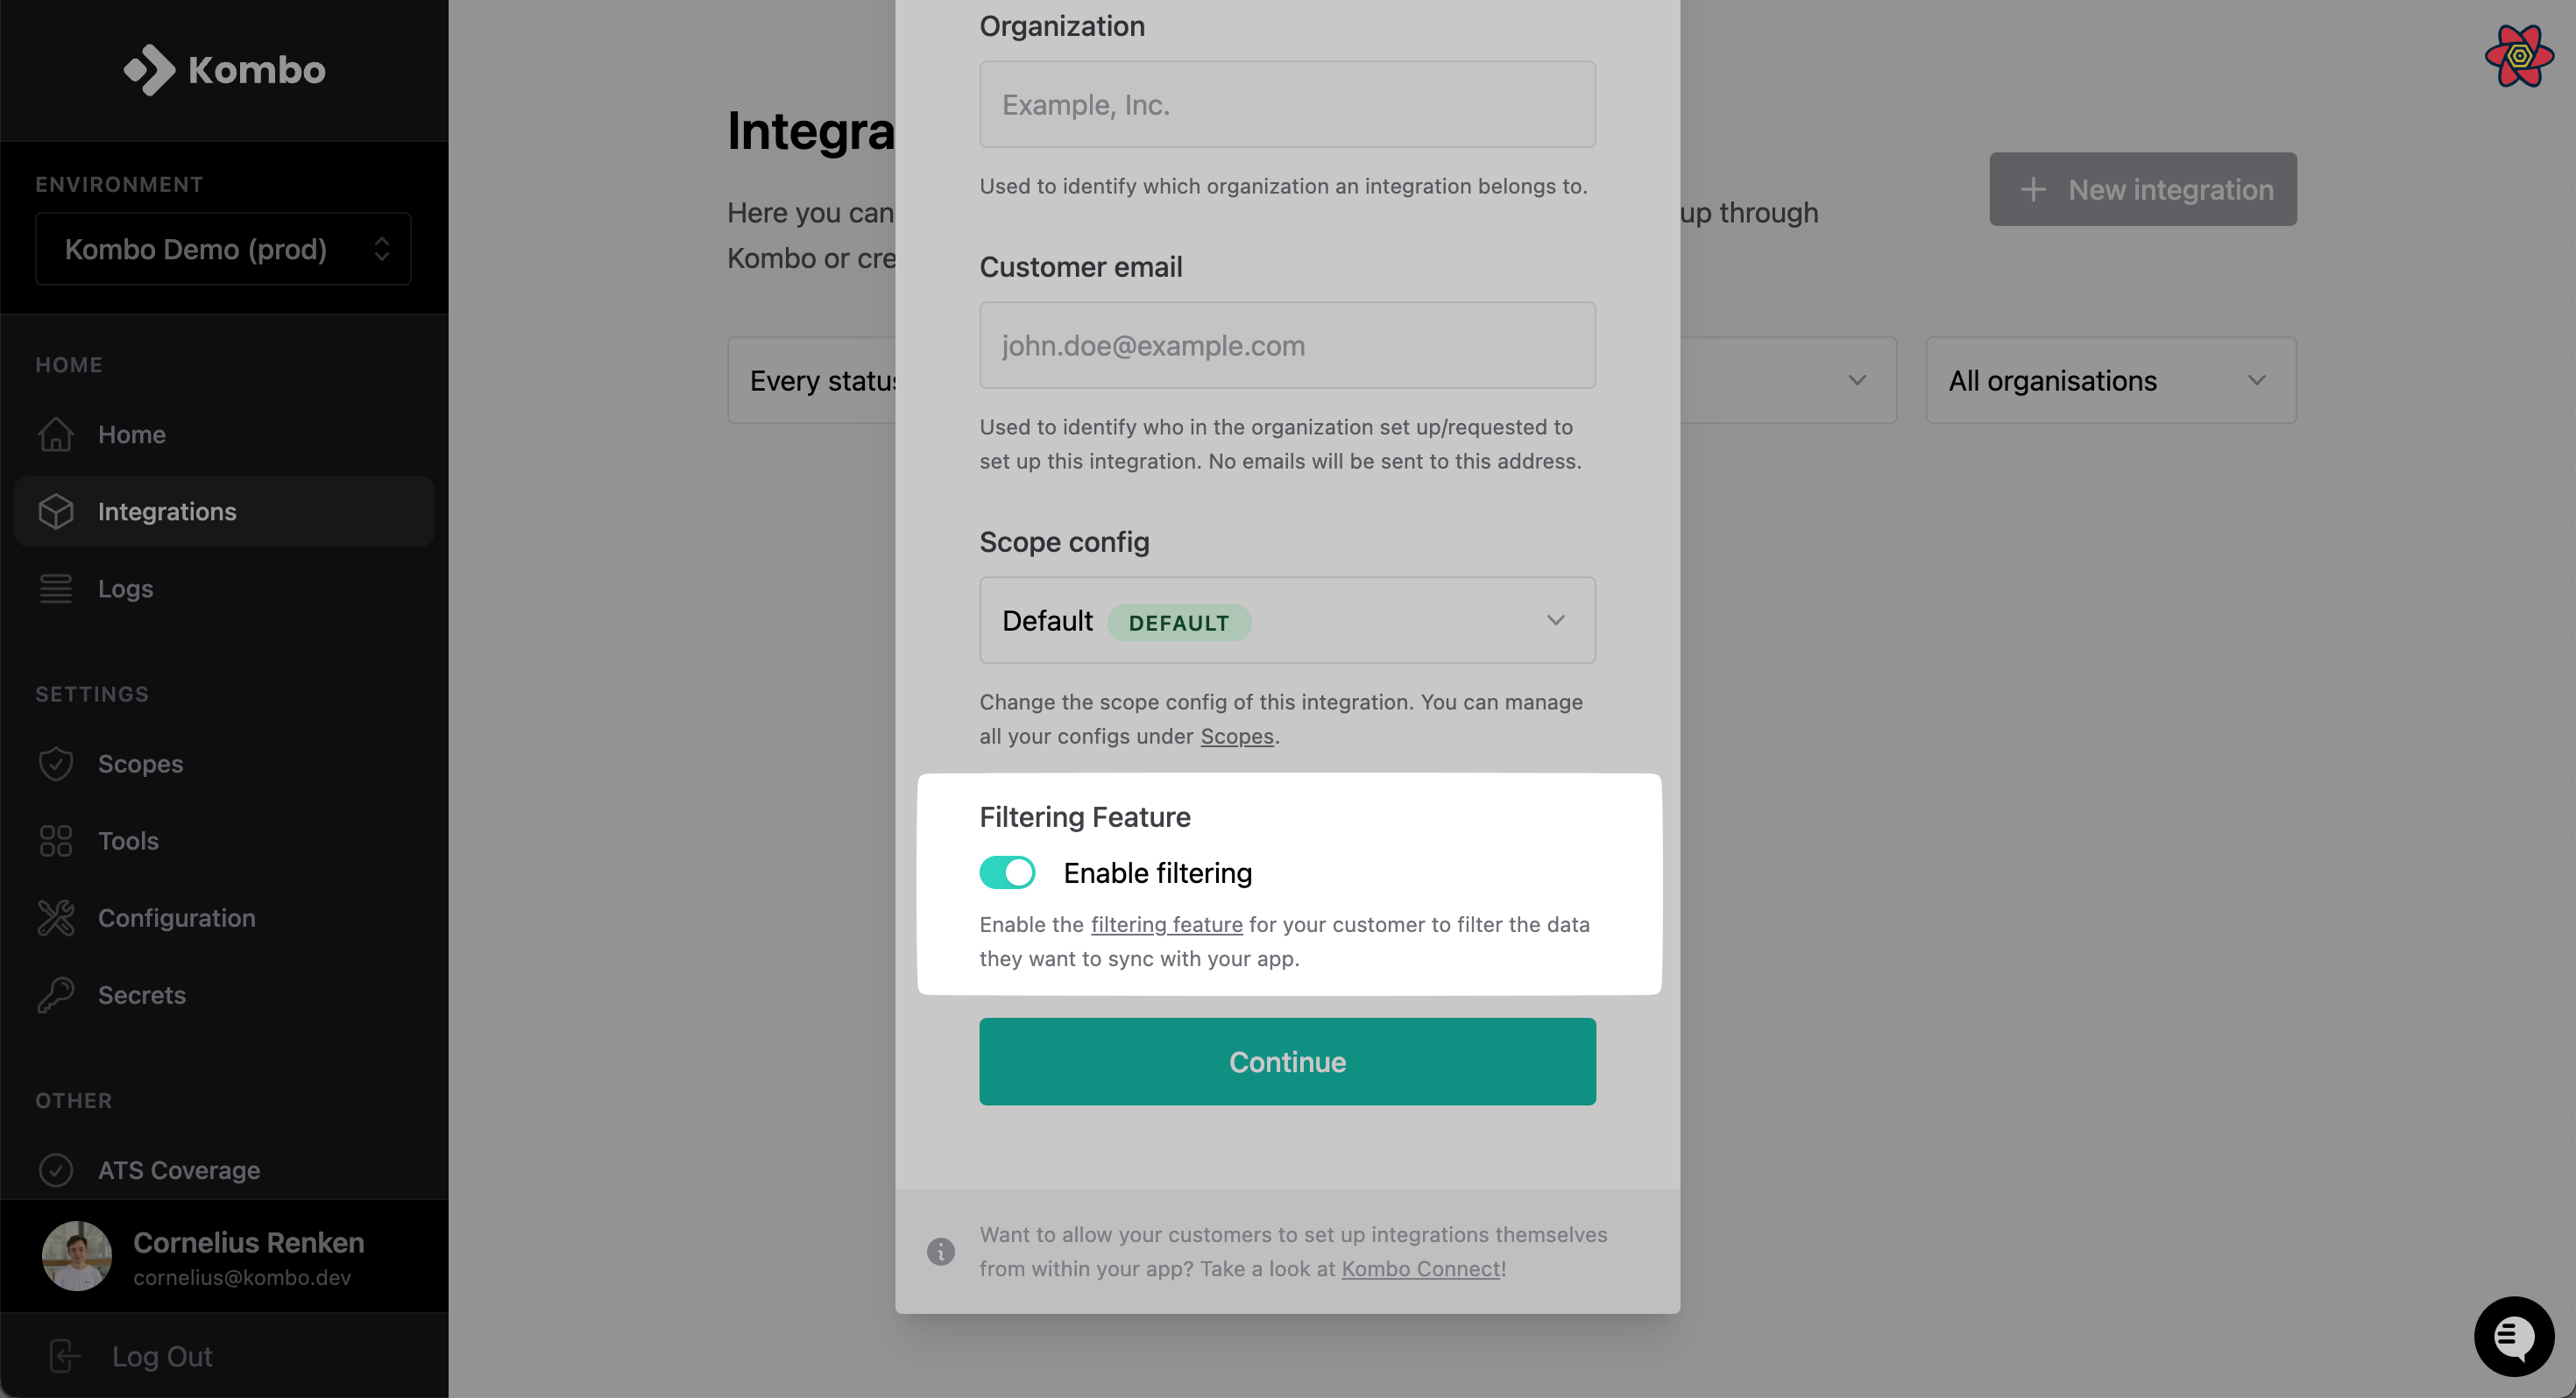
In the create-link endpoint, make sure to include theenable_filtering property in the body.
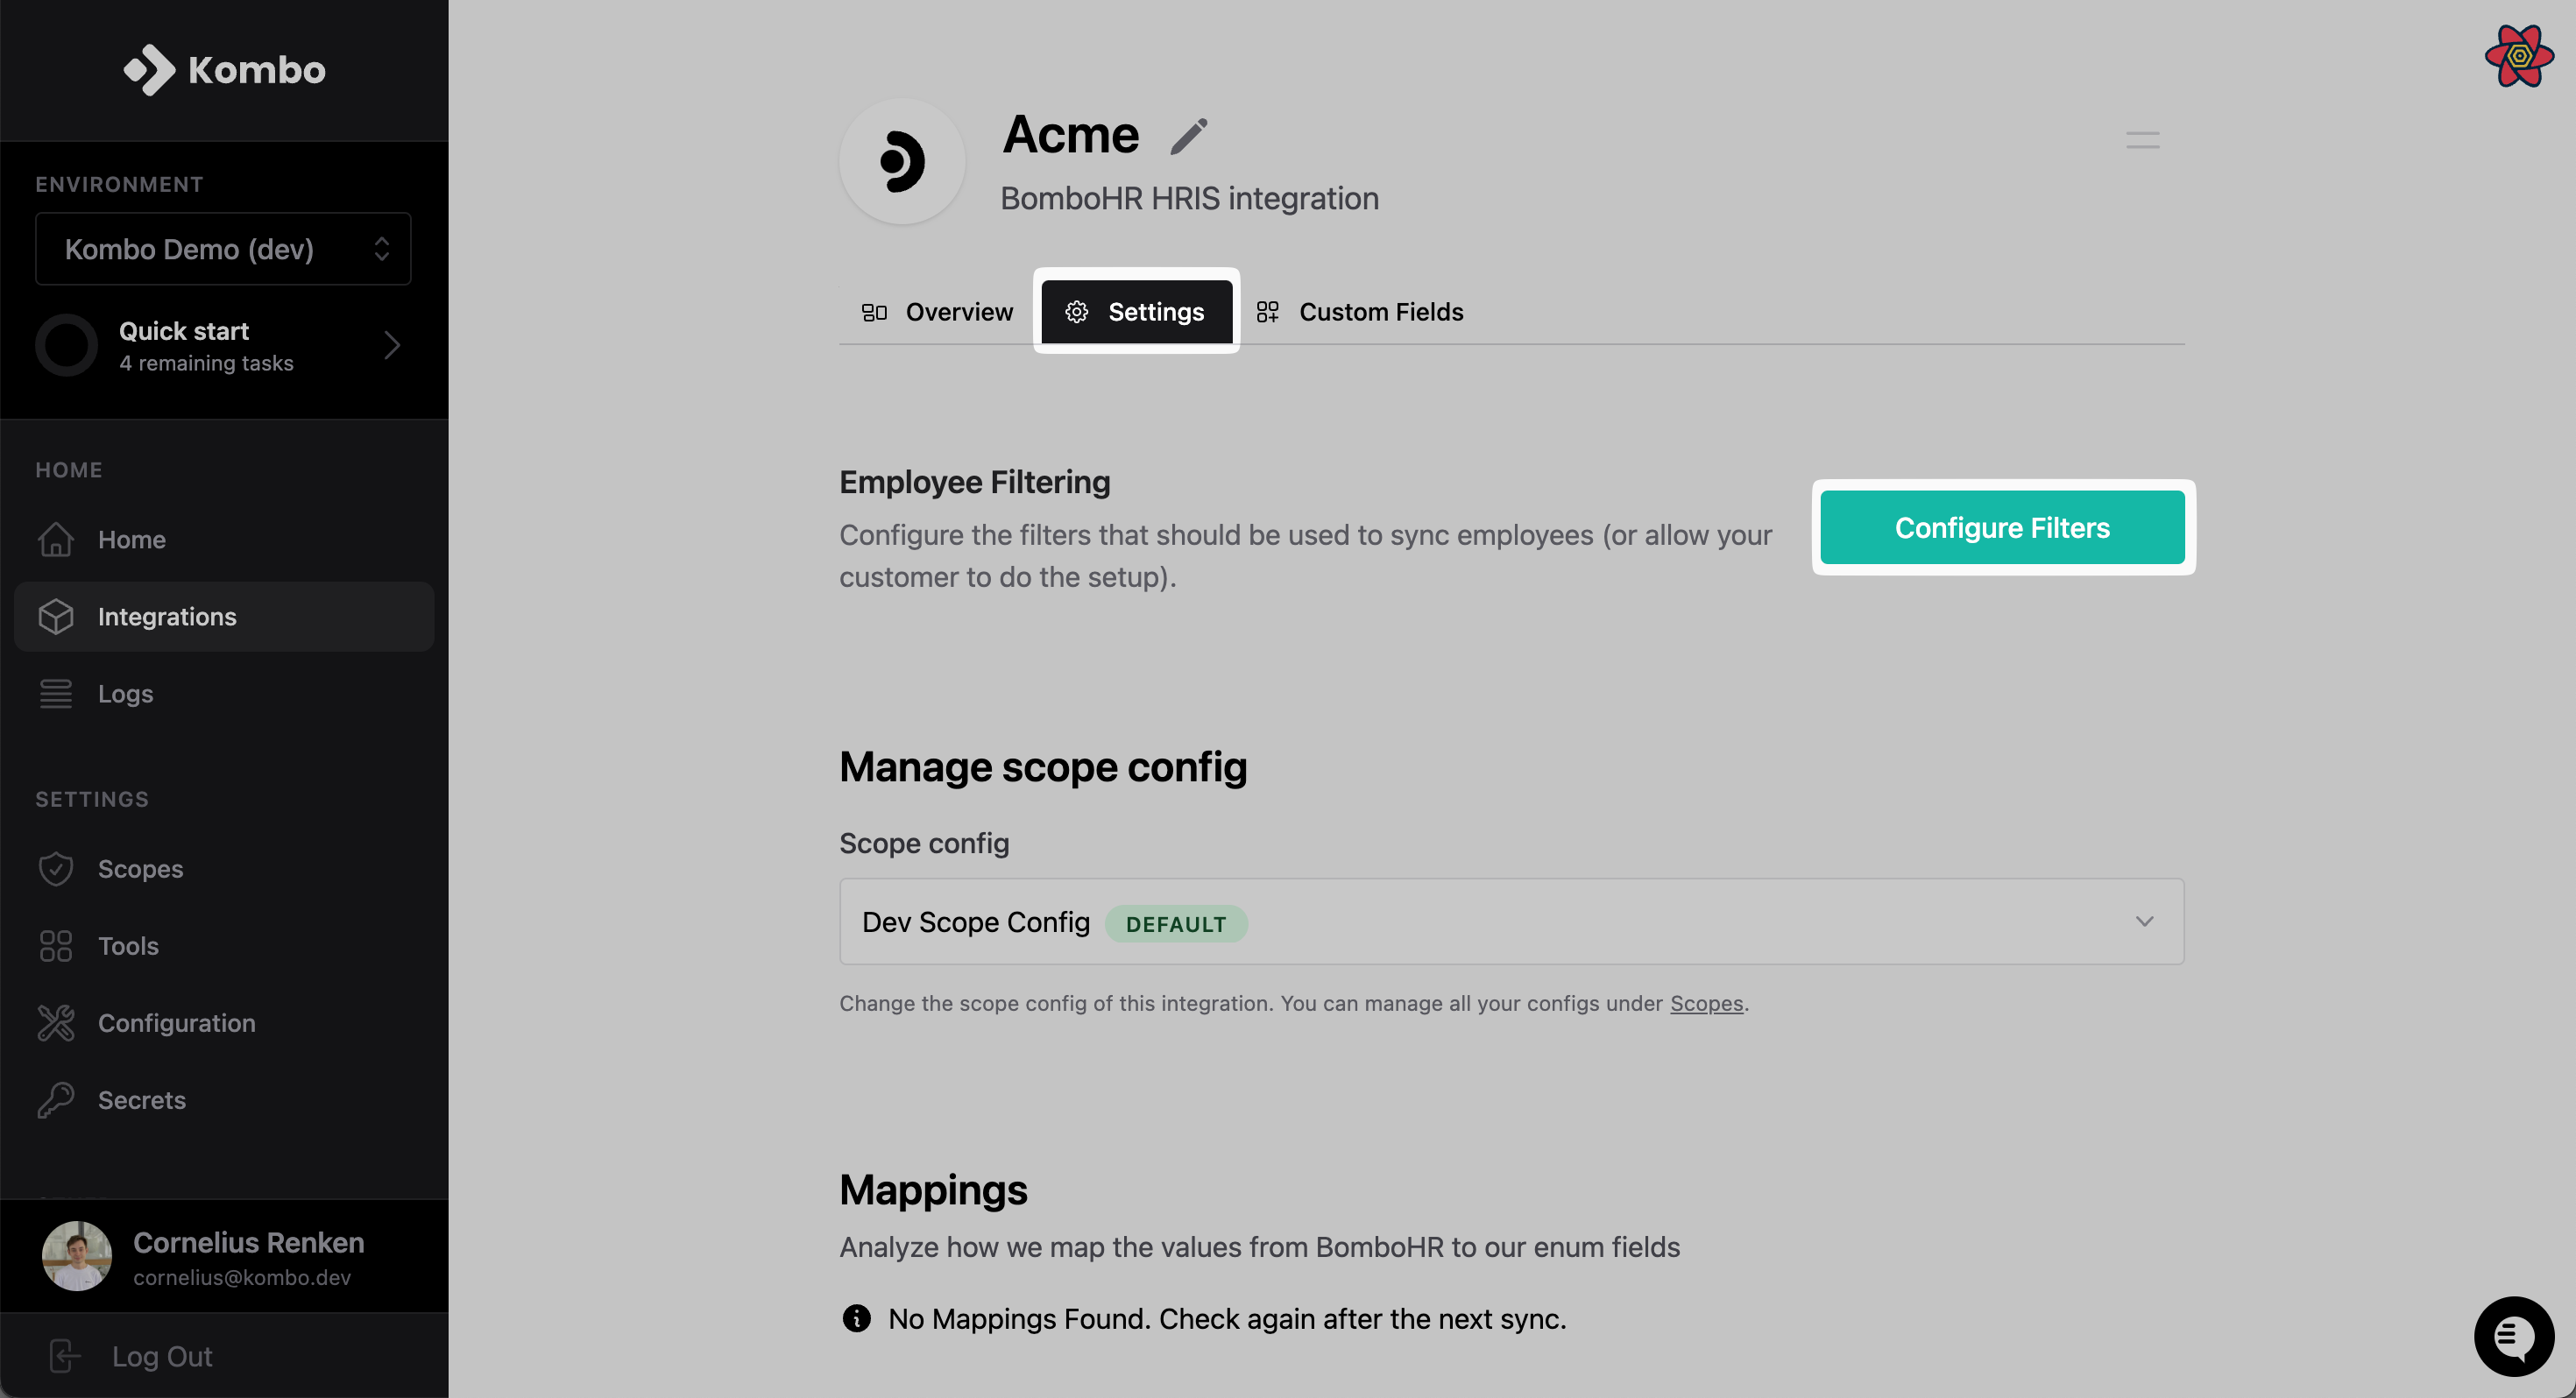
Implementing filtering retroactively
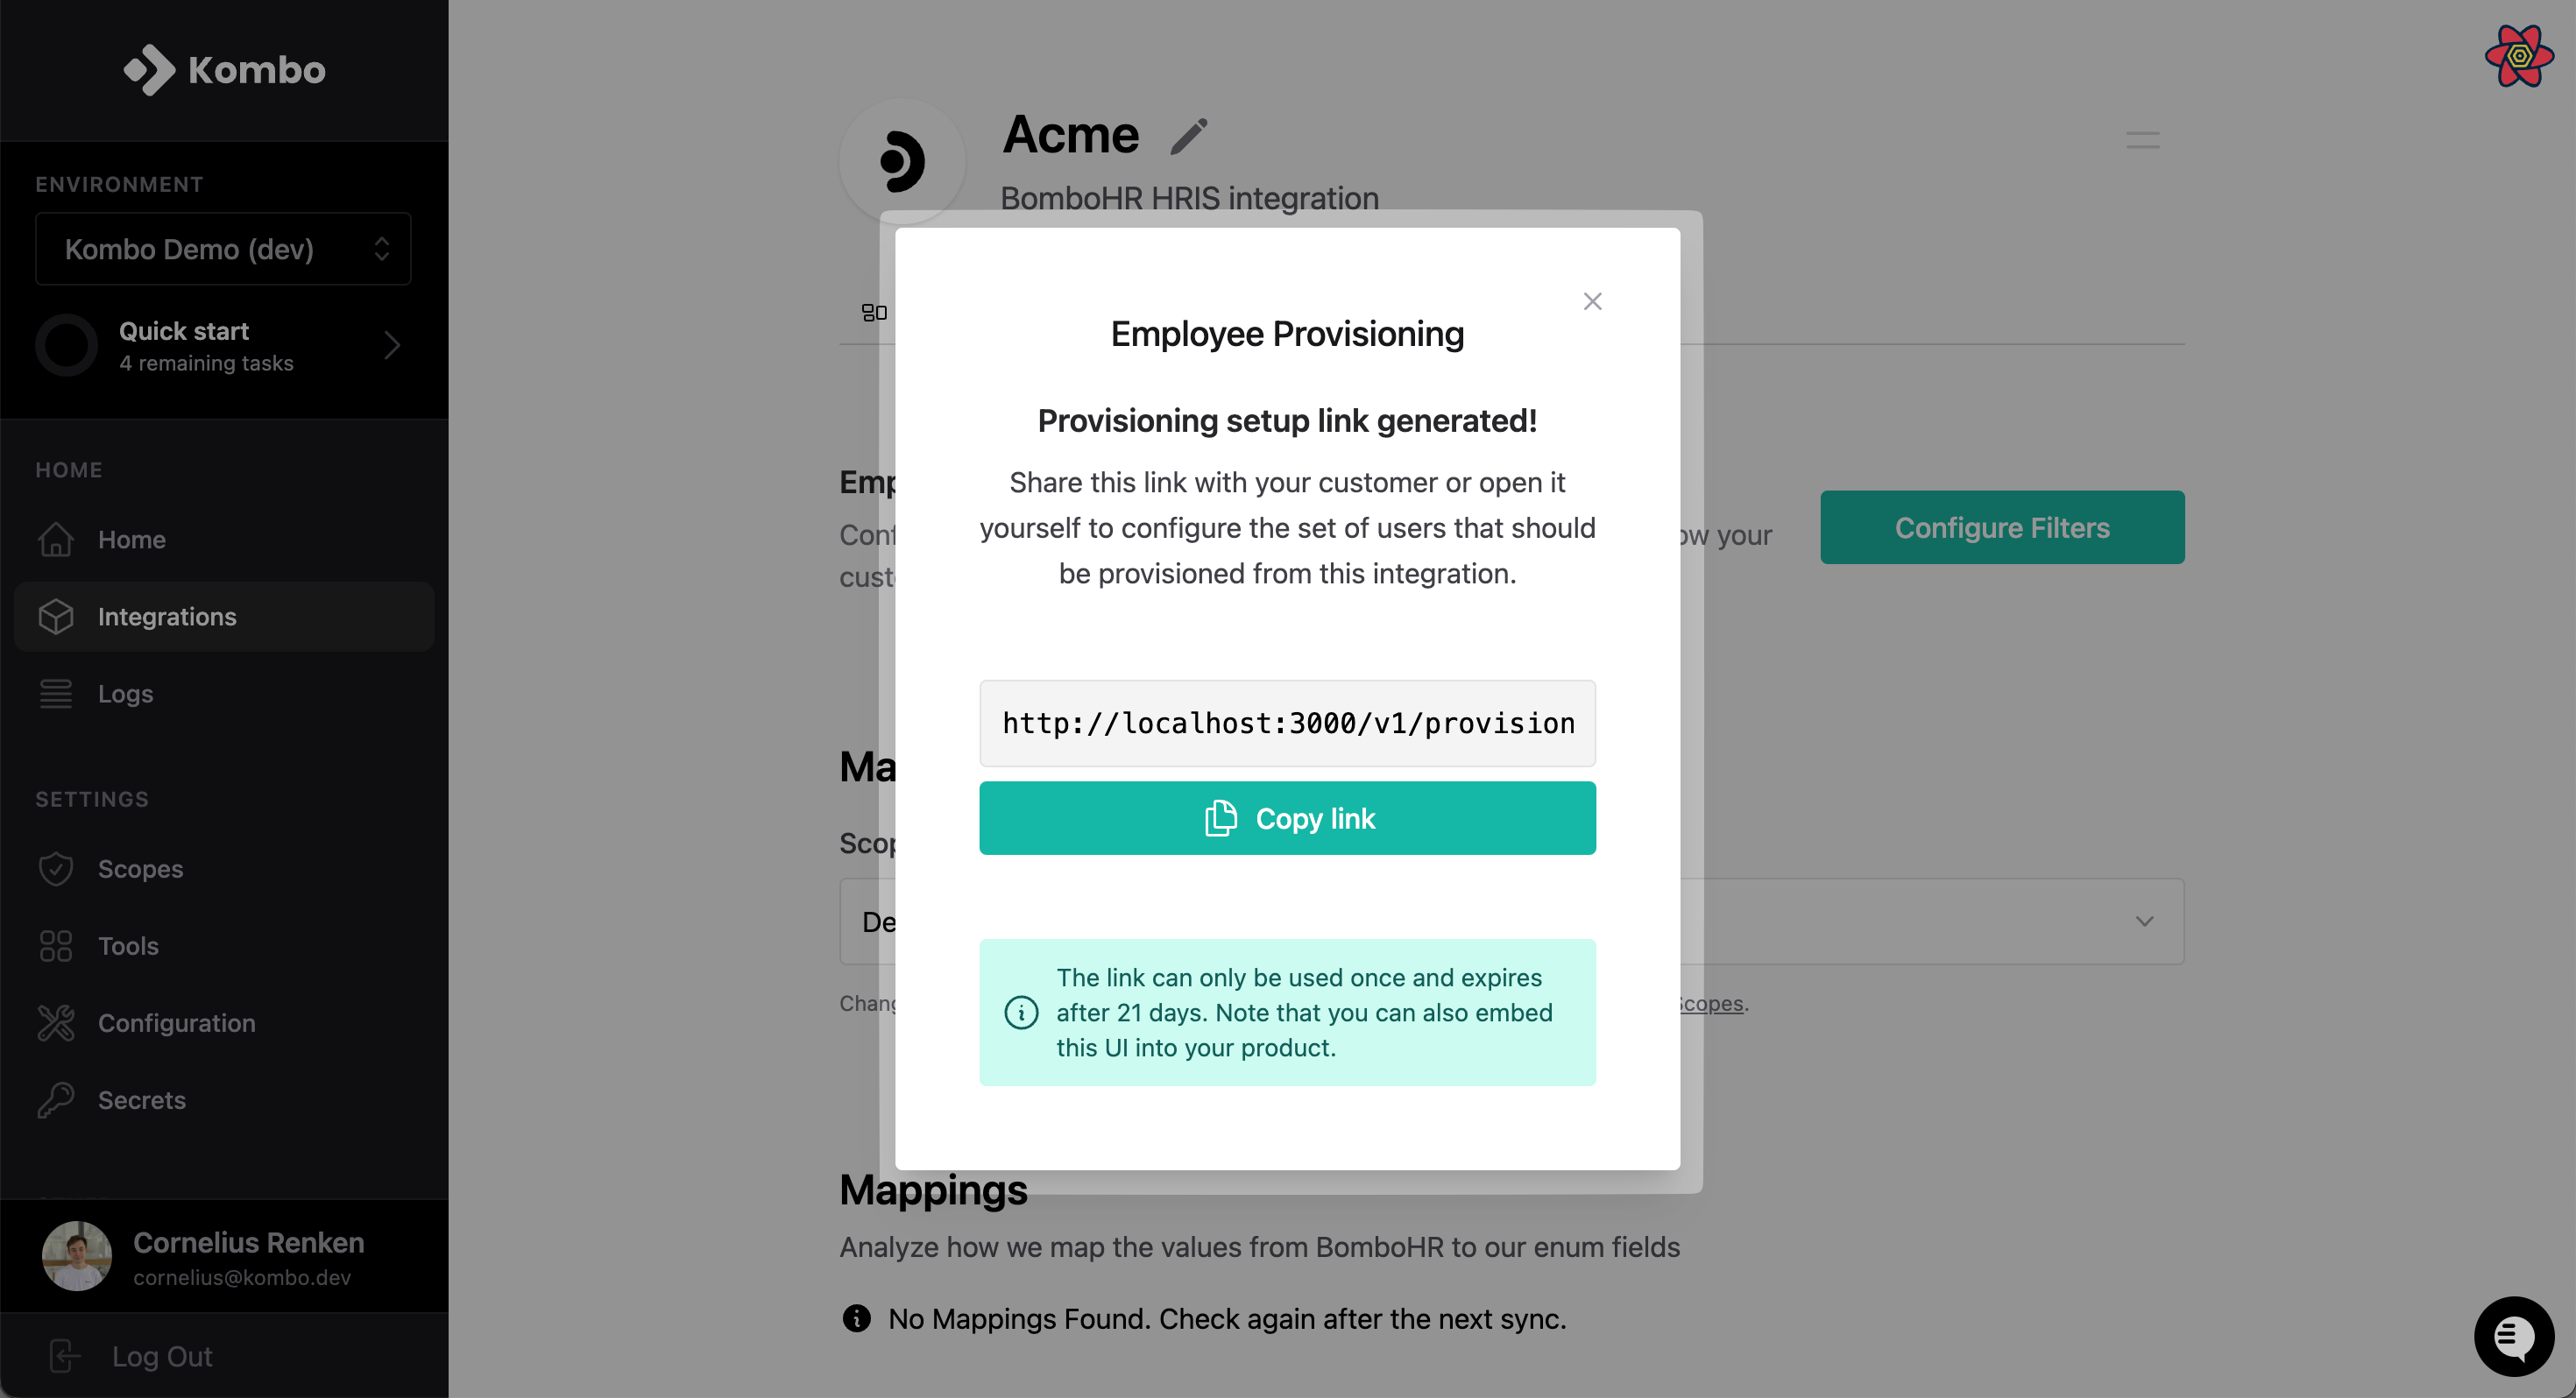
If you have already created an integration with a customer or would prefer to separate the filtering step from the connection flow, we allow you to set up a filter in retrospect. Click on the integration on the integrations page.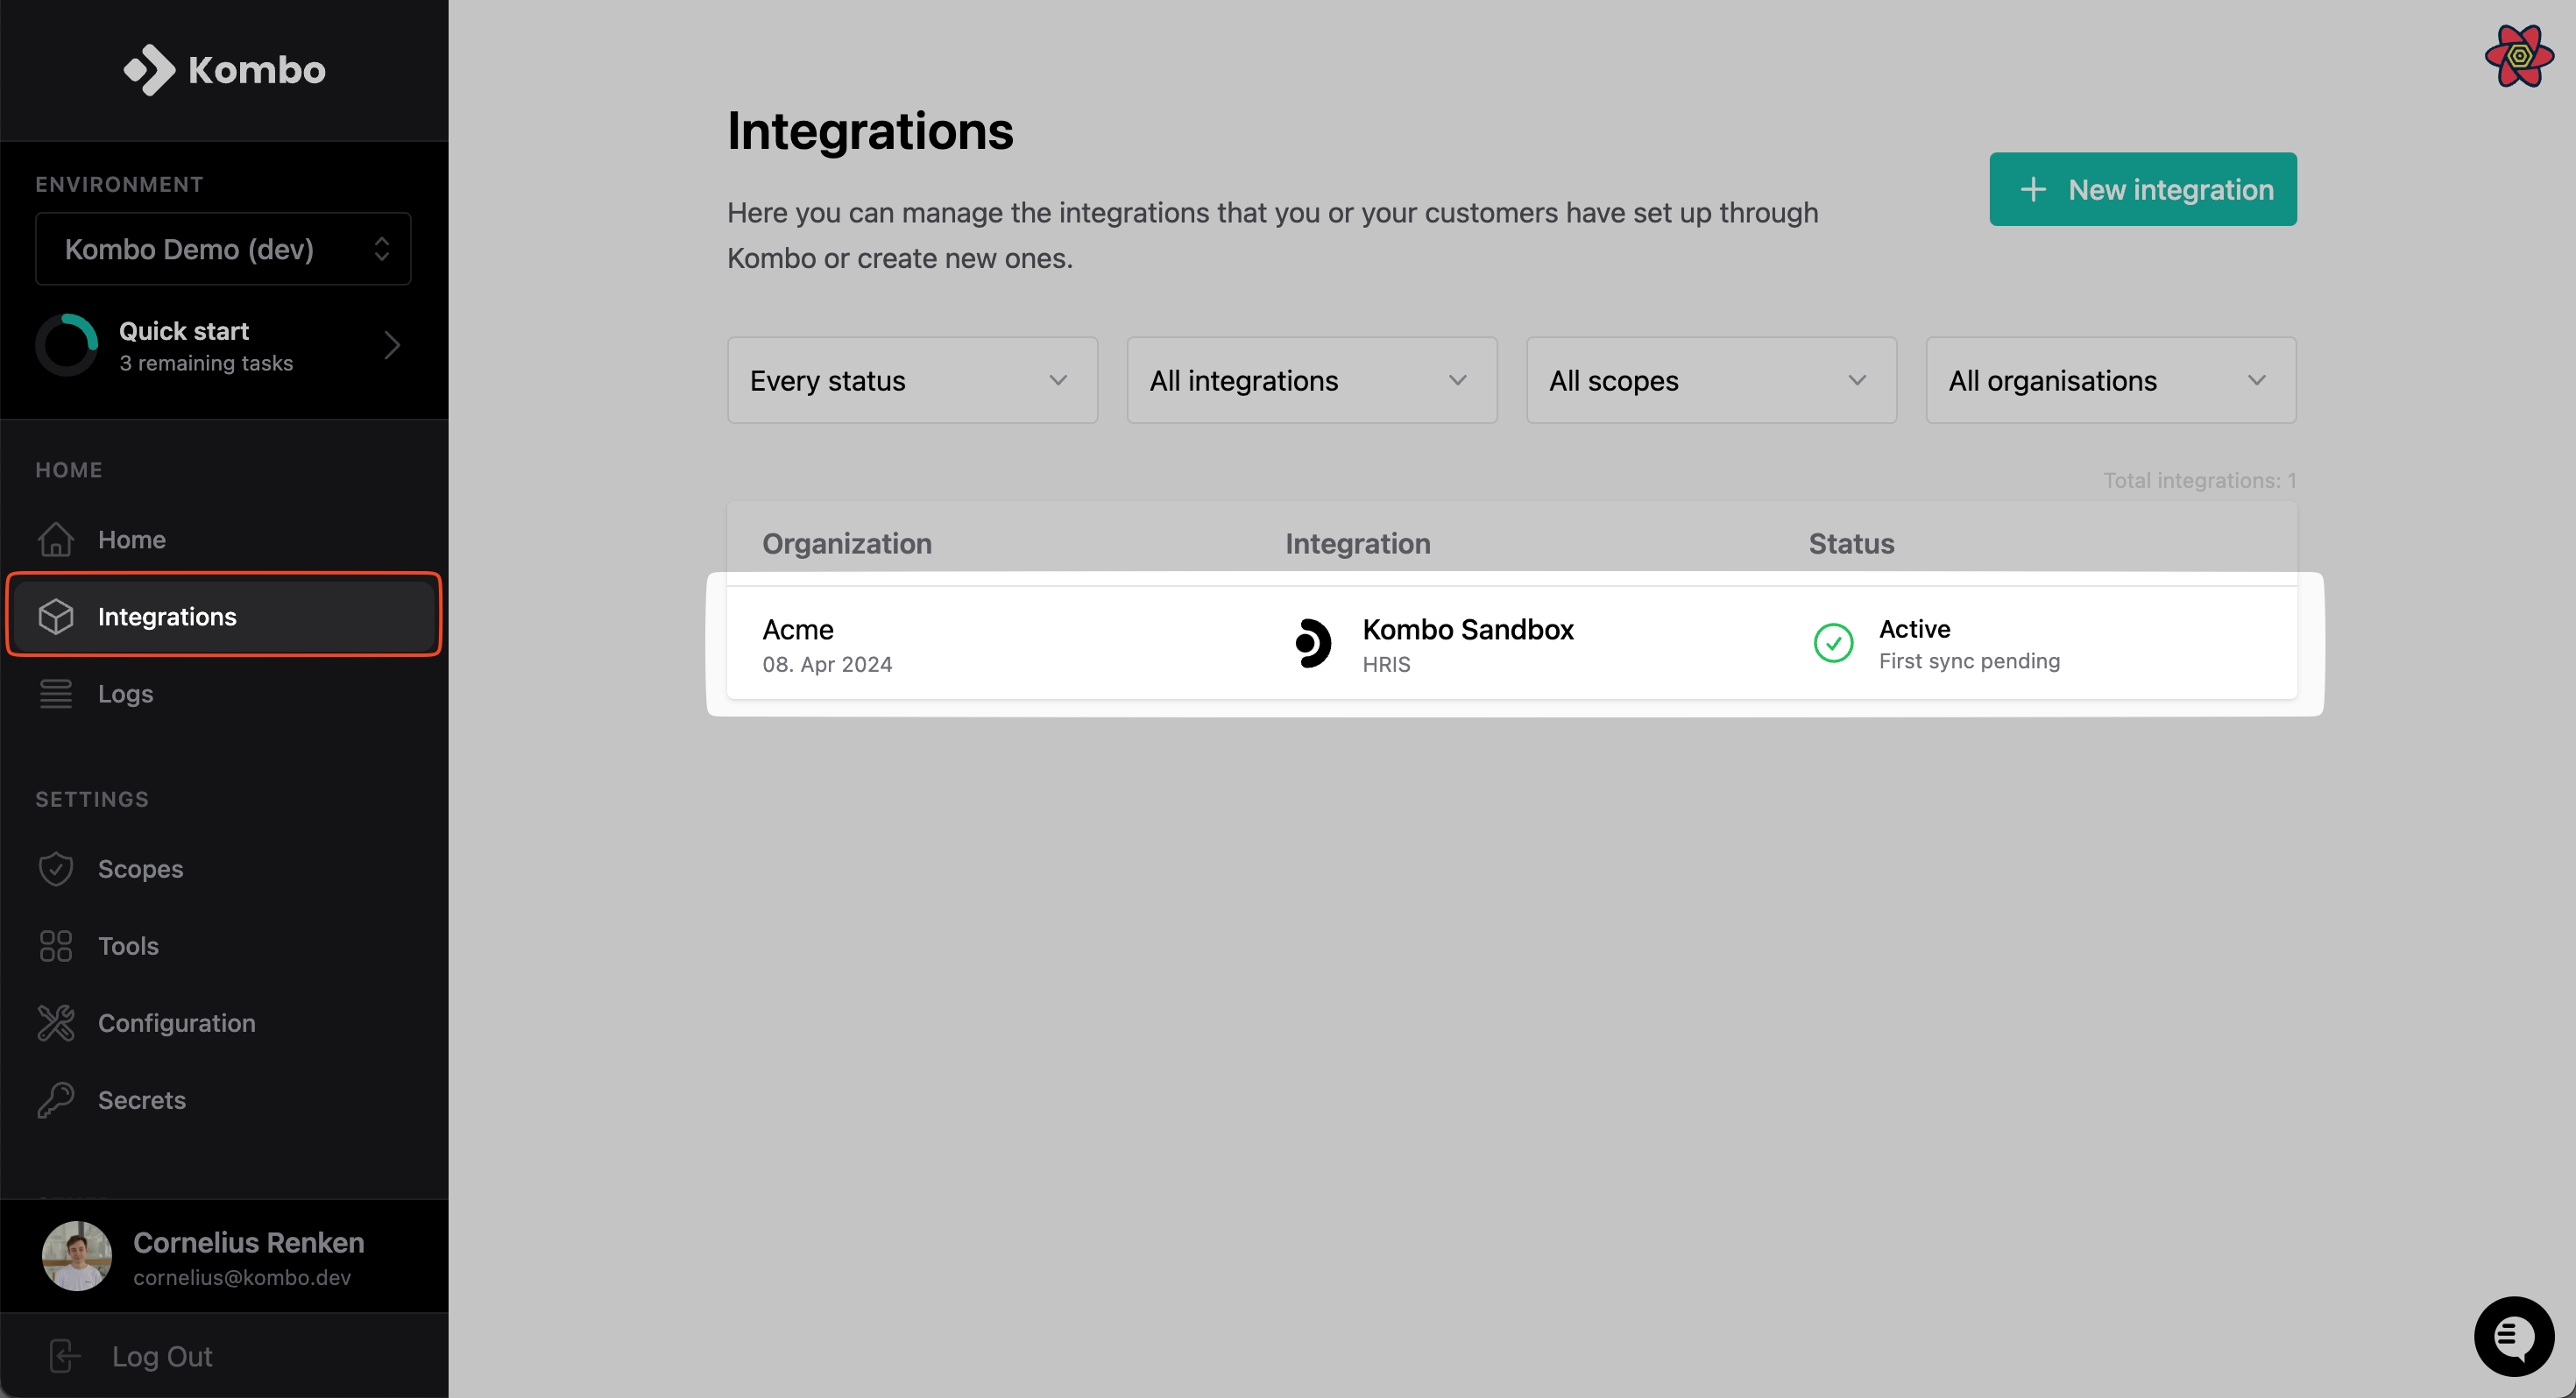
"default" is supported.
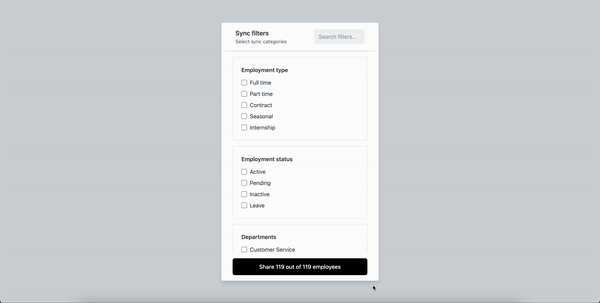
Specifying the filter
Once either your customer or you open the filtering UI, you simply have to select which employee properties should be filtered. For example, selecting Employment status -> Active will make the following syncs only include data related to active employees. Selecting multiple values for the same fields filters with an or relationship, while different fields filter with an and relation. For example, selecting Berlin and Amsterdam forlocation, and active for employment_status, will include all employees that are currently actively employed, and work in either Berlin or Amsterdam.