Overview
The Assessment UI is a visual interface in the Kombo dashboard that allows you to view assessment packages, track orders, and inspect order details for your assessment integrations. This makes it easy to debug issues, monitor assessment order statuses, and verify that your integration is working correctly.
Features
Below are the key features available in the Assessment UI.- View packages and orders
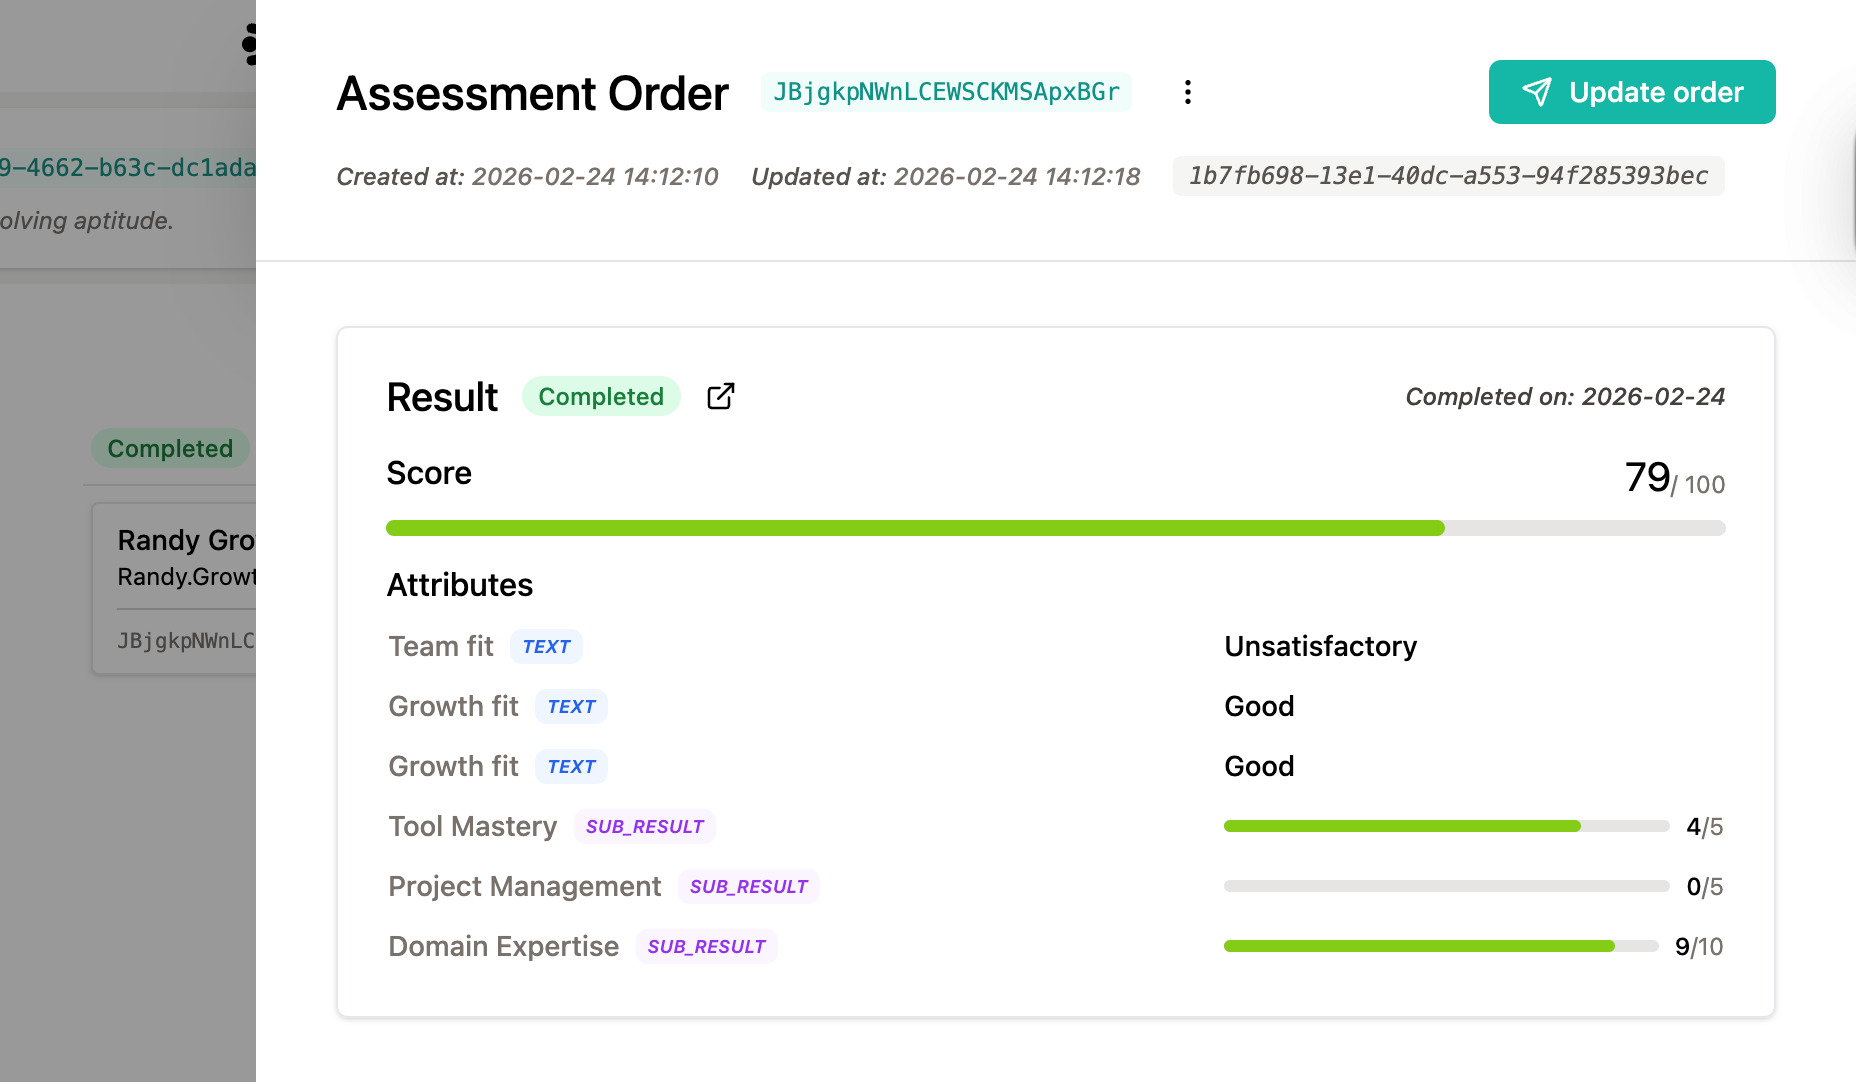
- View order details
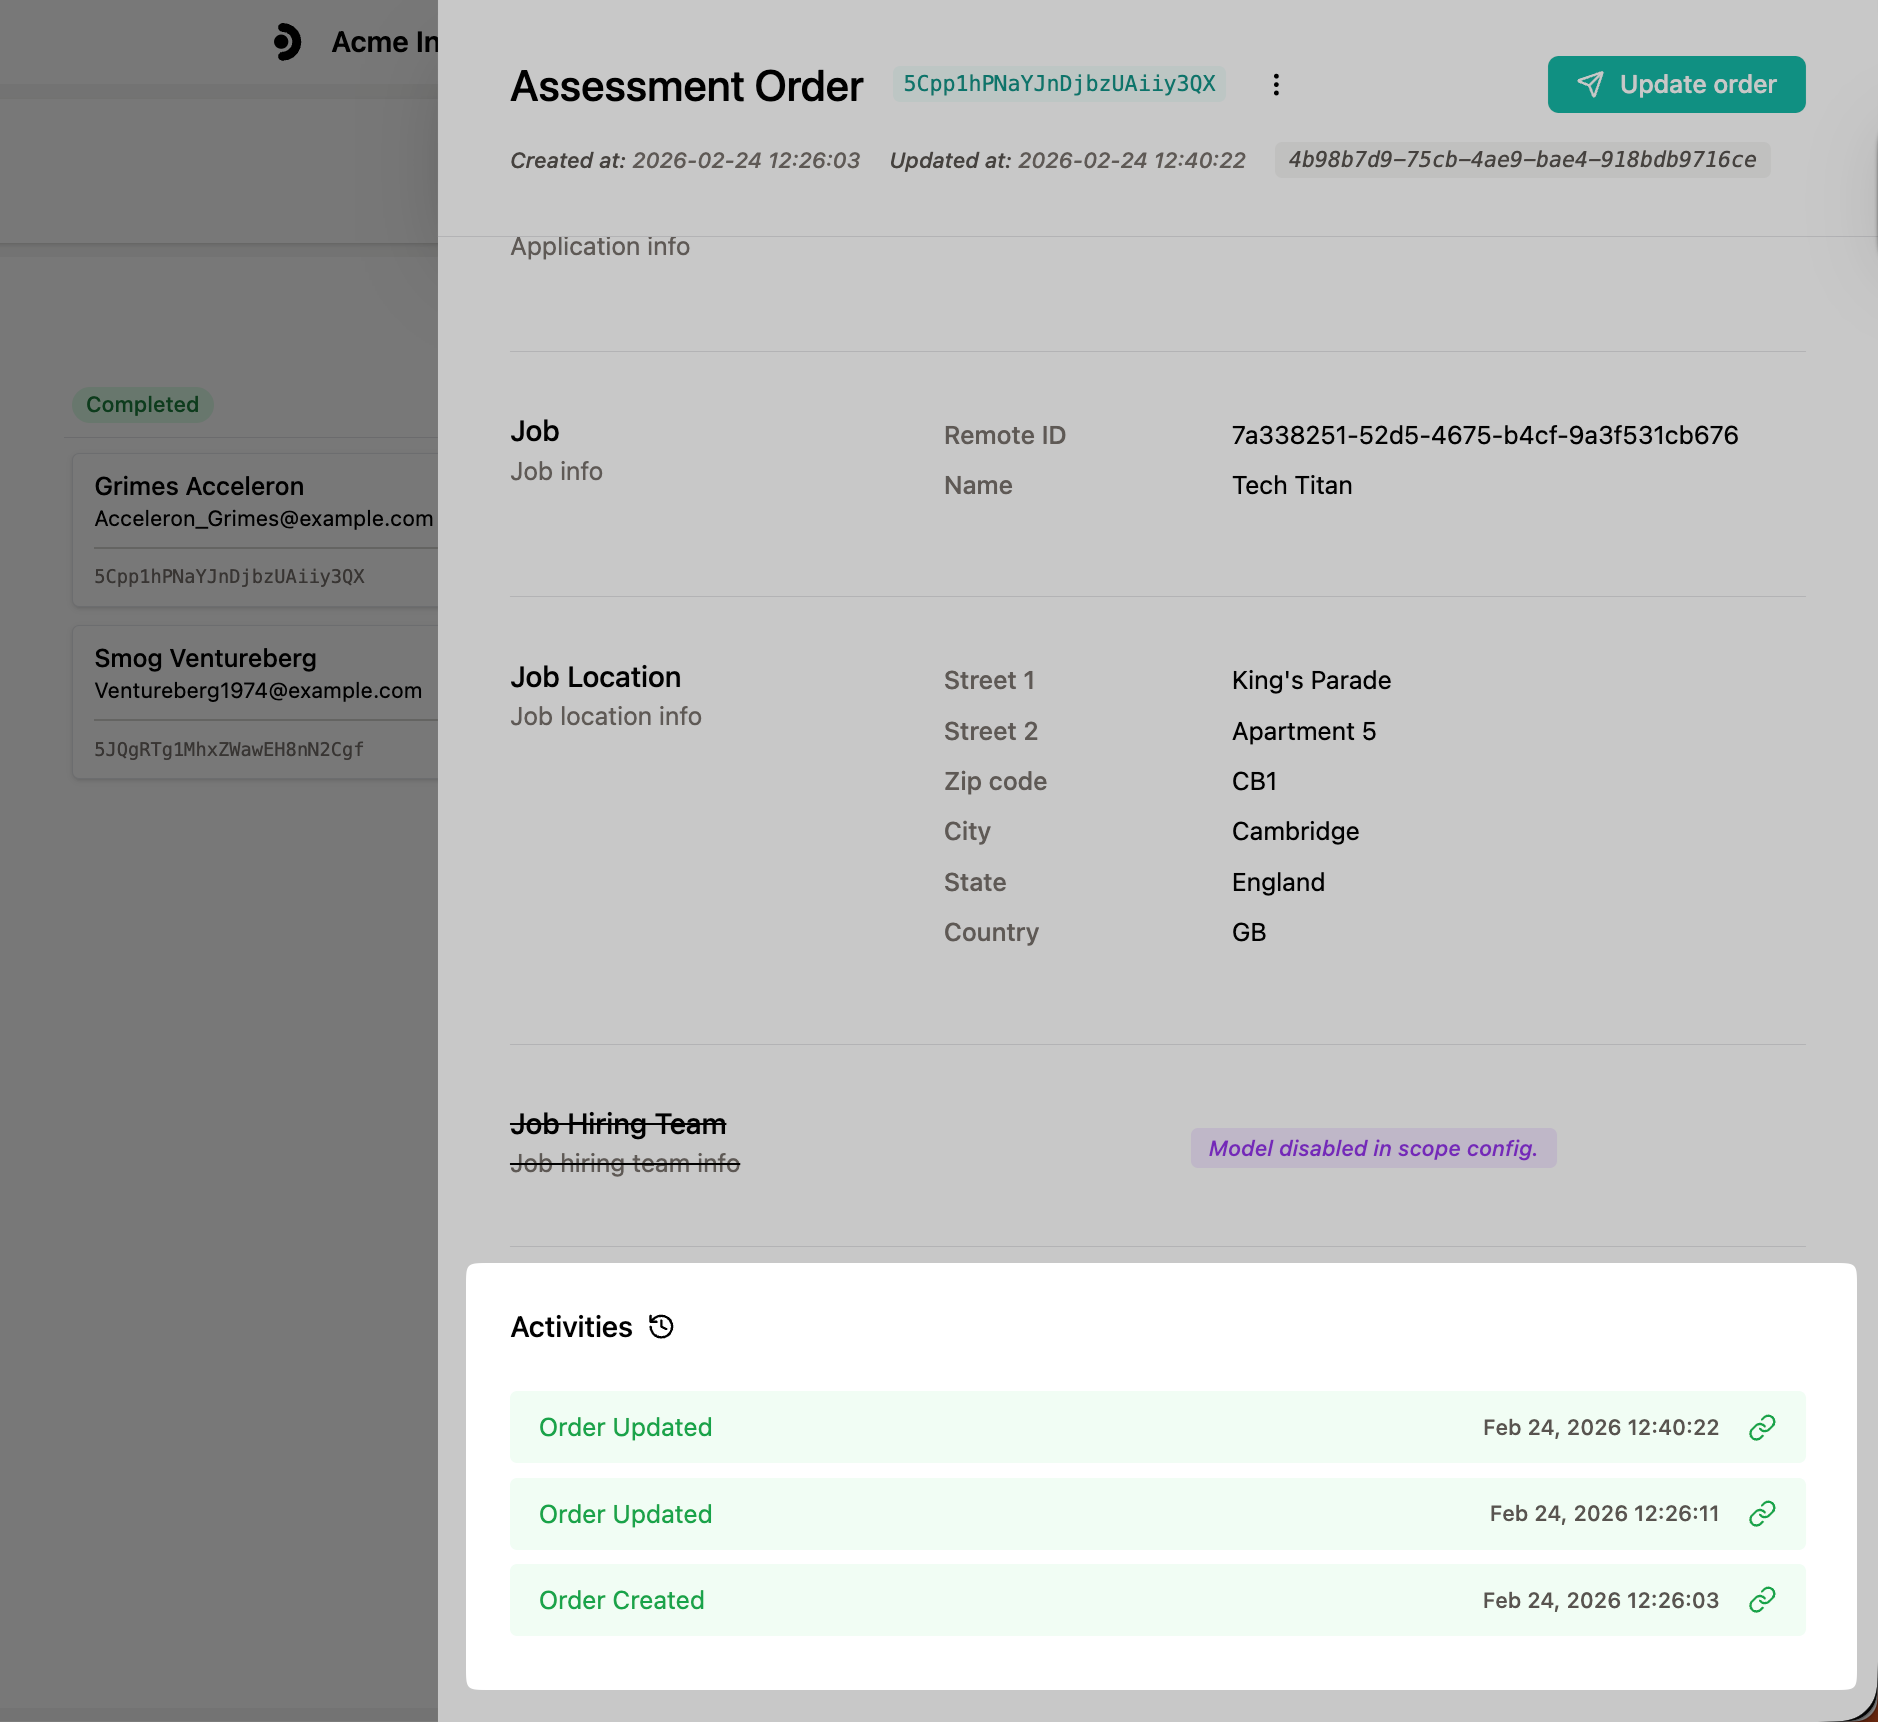
- View activity logs
The Assessment UI displays all assessment packages for an integration in a
sidebar. Clicking on a package will reveal its orders organised by their

status.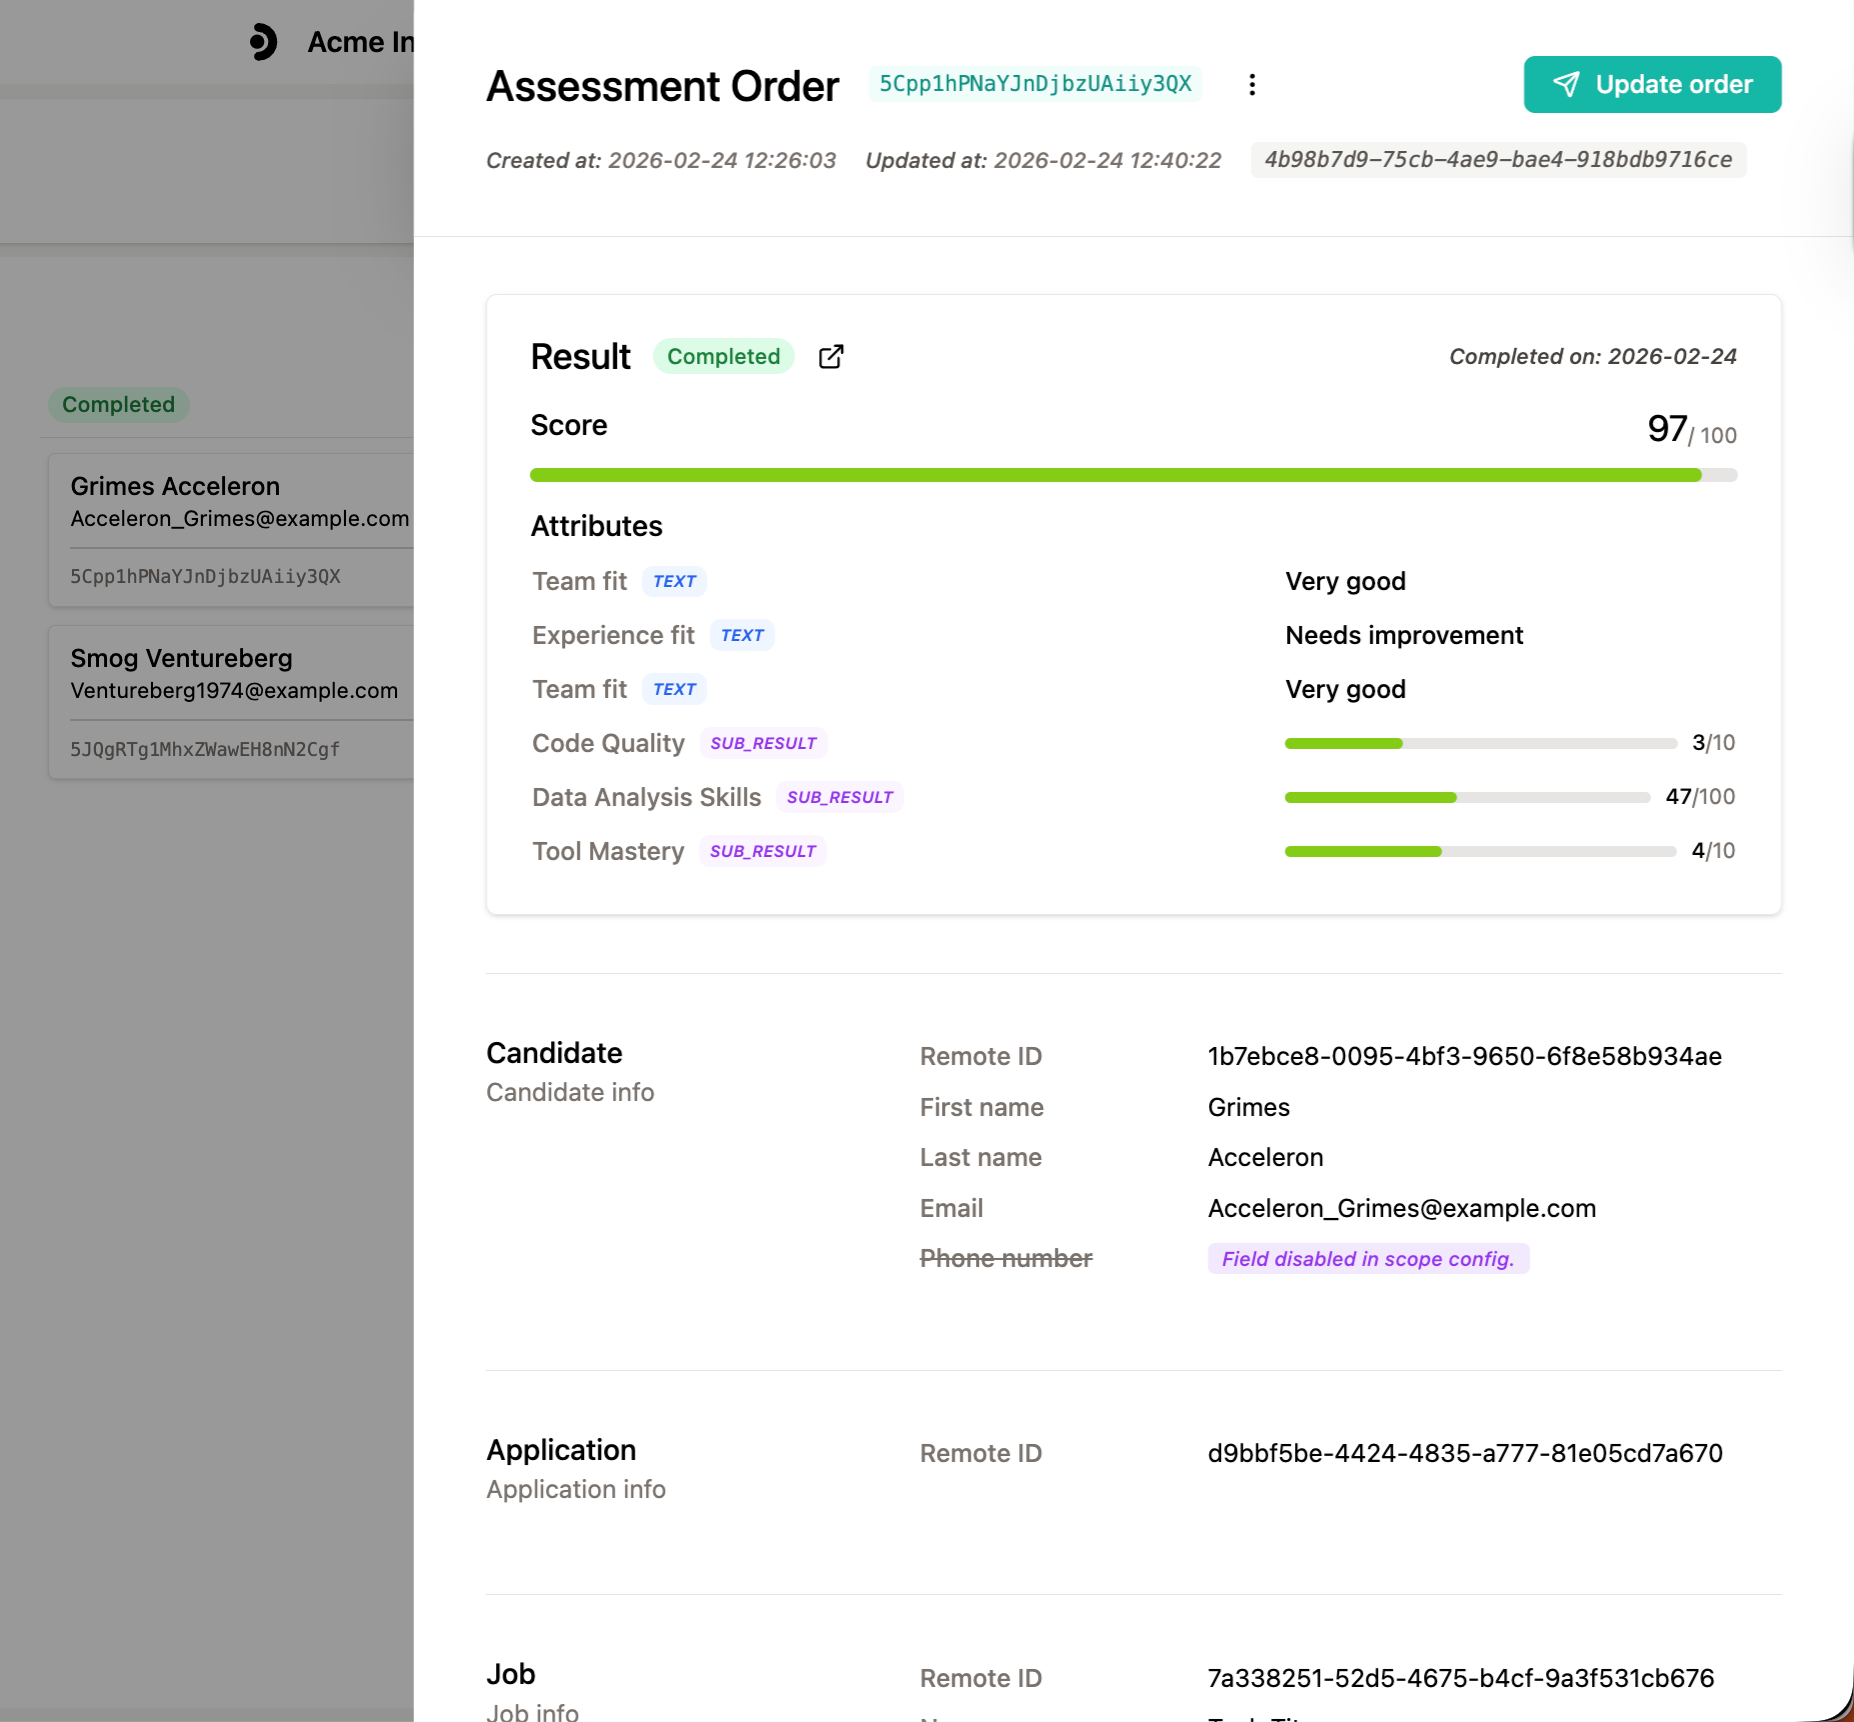
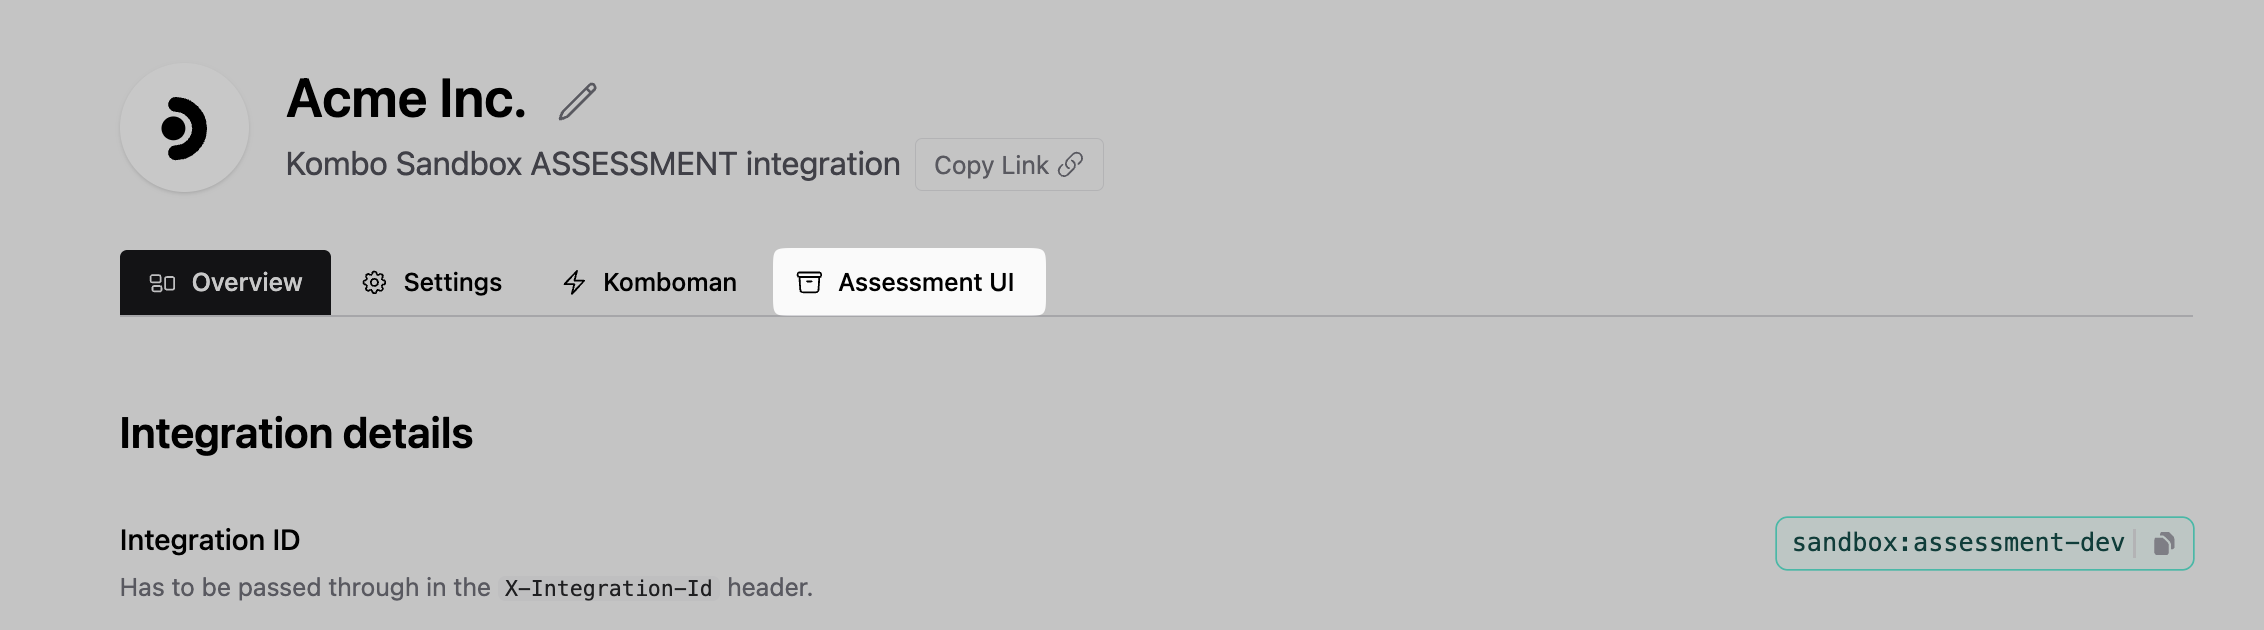
Where to Find the Assessment UI
The Assessment UI is located within individual integration pages in the Kombo dashboard:- Go to Integrations: Navigate to the Integrations page in your dashboard.
- Select an Integration: Click on any connected assessment integration.
- Access Assessment UI: Click the “Assessment UI” tab in the integration interface.
Sandbox Integration
The sandbox integration is built on top of the Assessment UI, and it aims to speed up your development by testing Kombo’s Assessment API end-to-end without needing access to a real ATS.Development Flow
1
Register webhook configuration
In the Kombo dashboard’s Configuration
page, create an Assessment
Order Received
webhook configuration.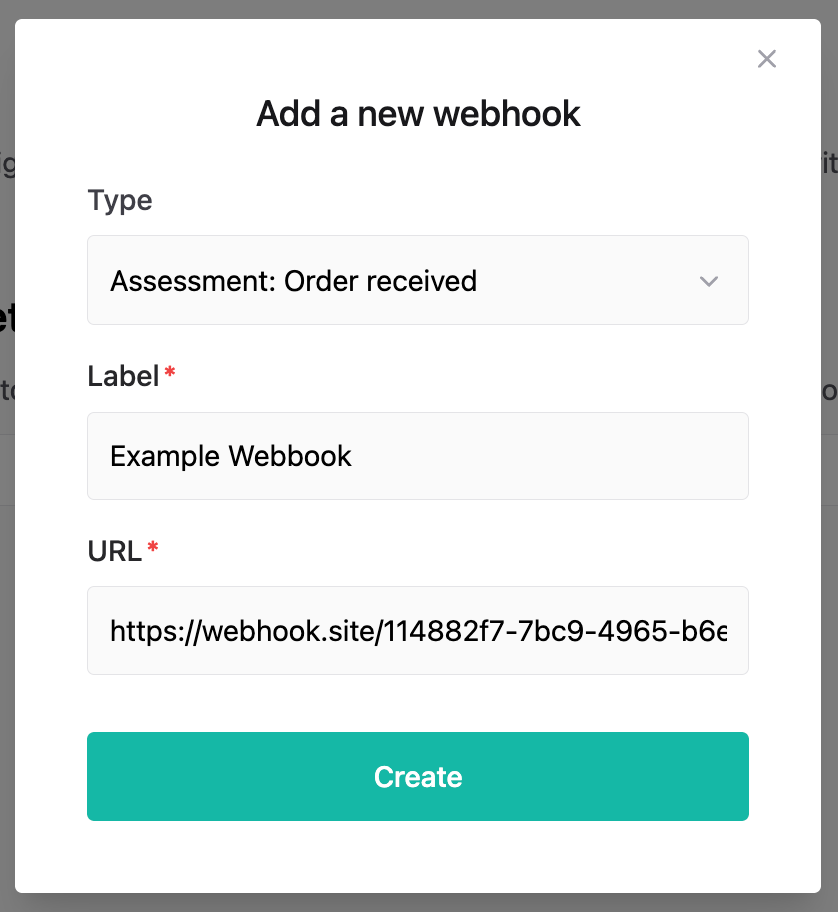
2
Connect the Sandbox
Go to the Kombo dashboard (development
environment), create a new integration, and select the Assessment Sandbox.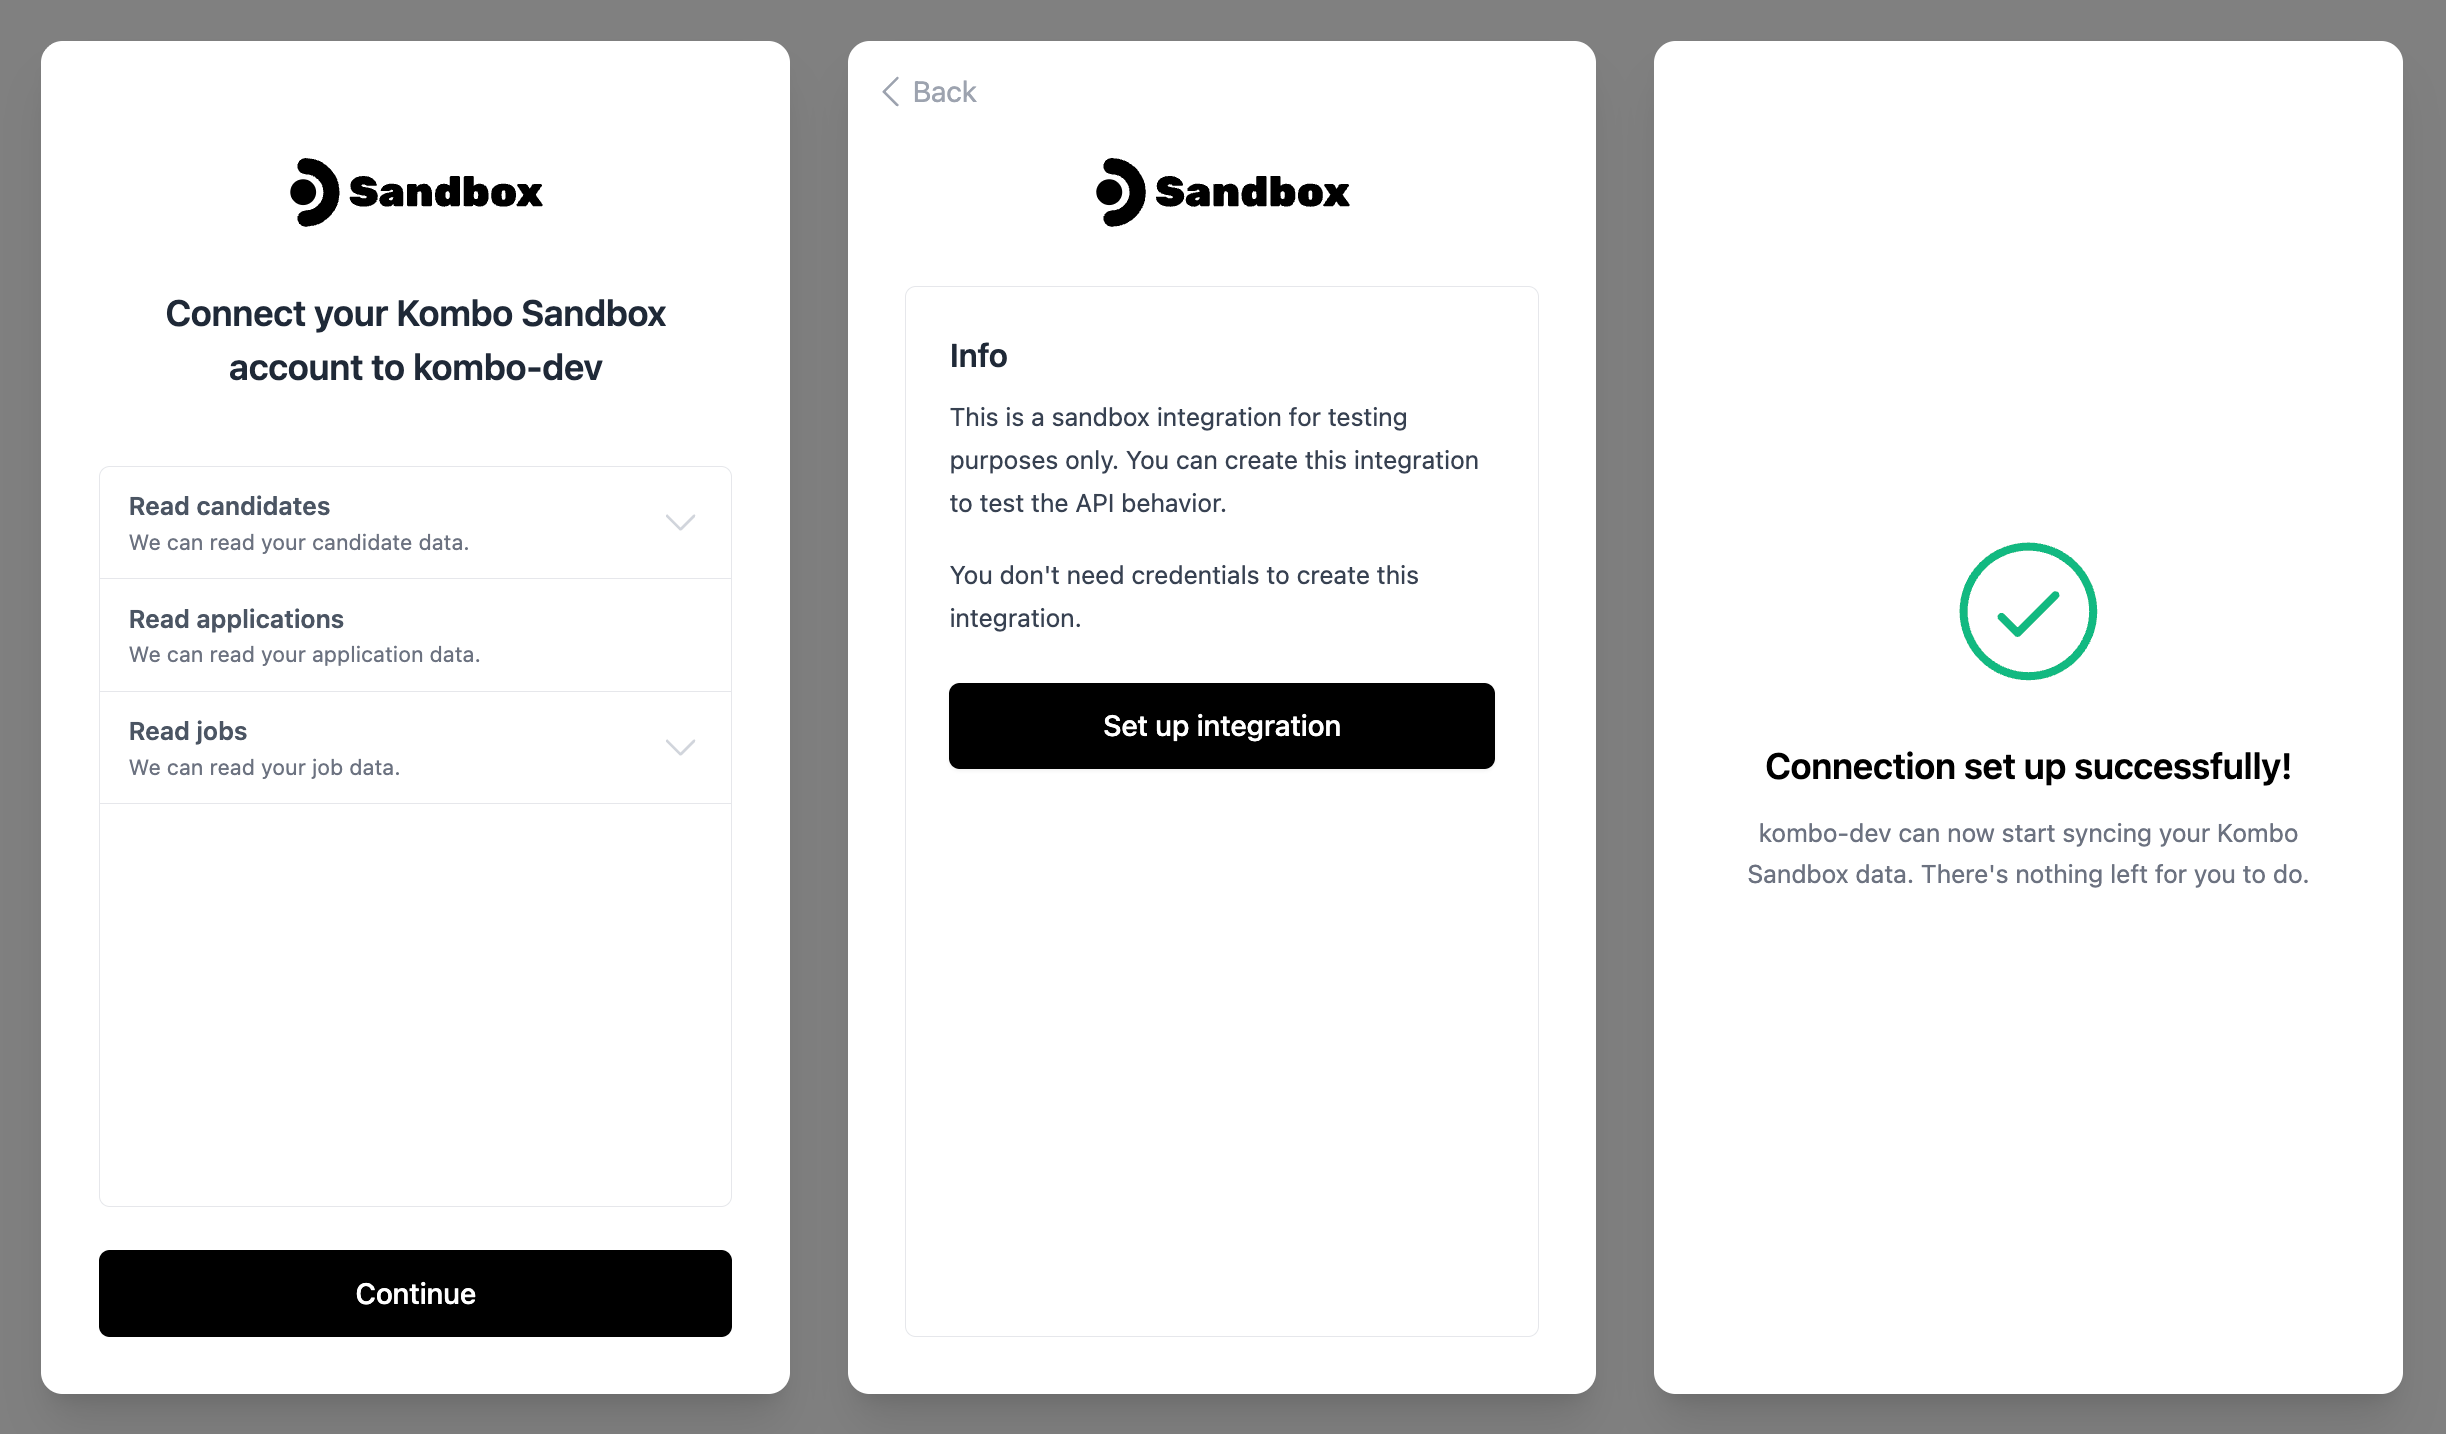
3
Create packages
Click the “Add Package” button to open the package creation form.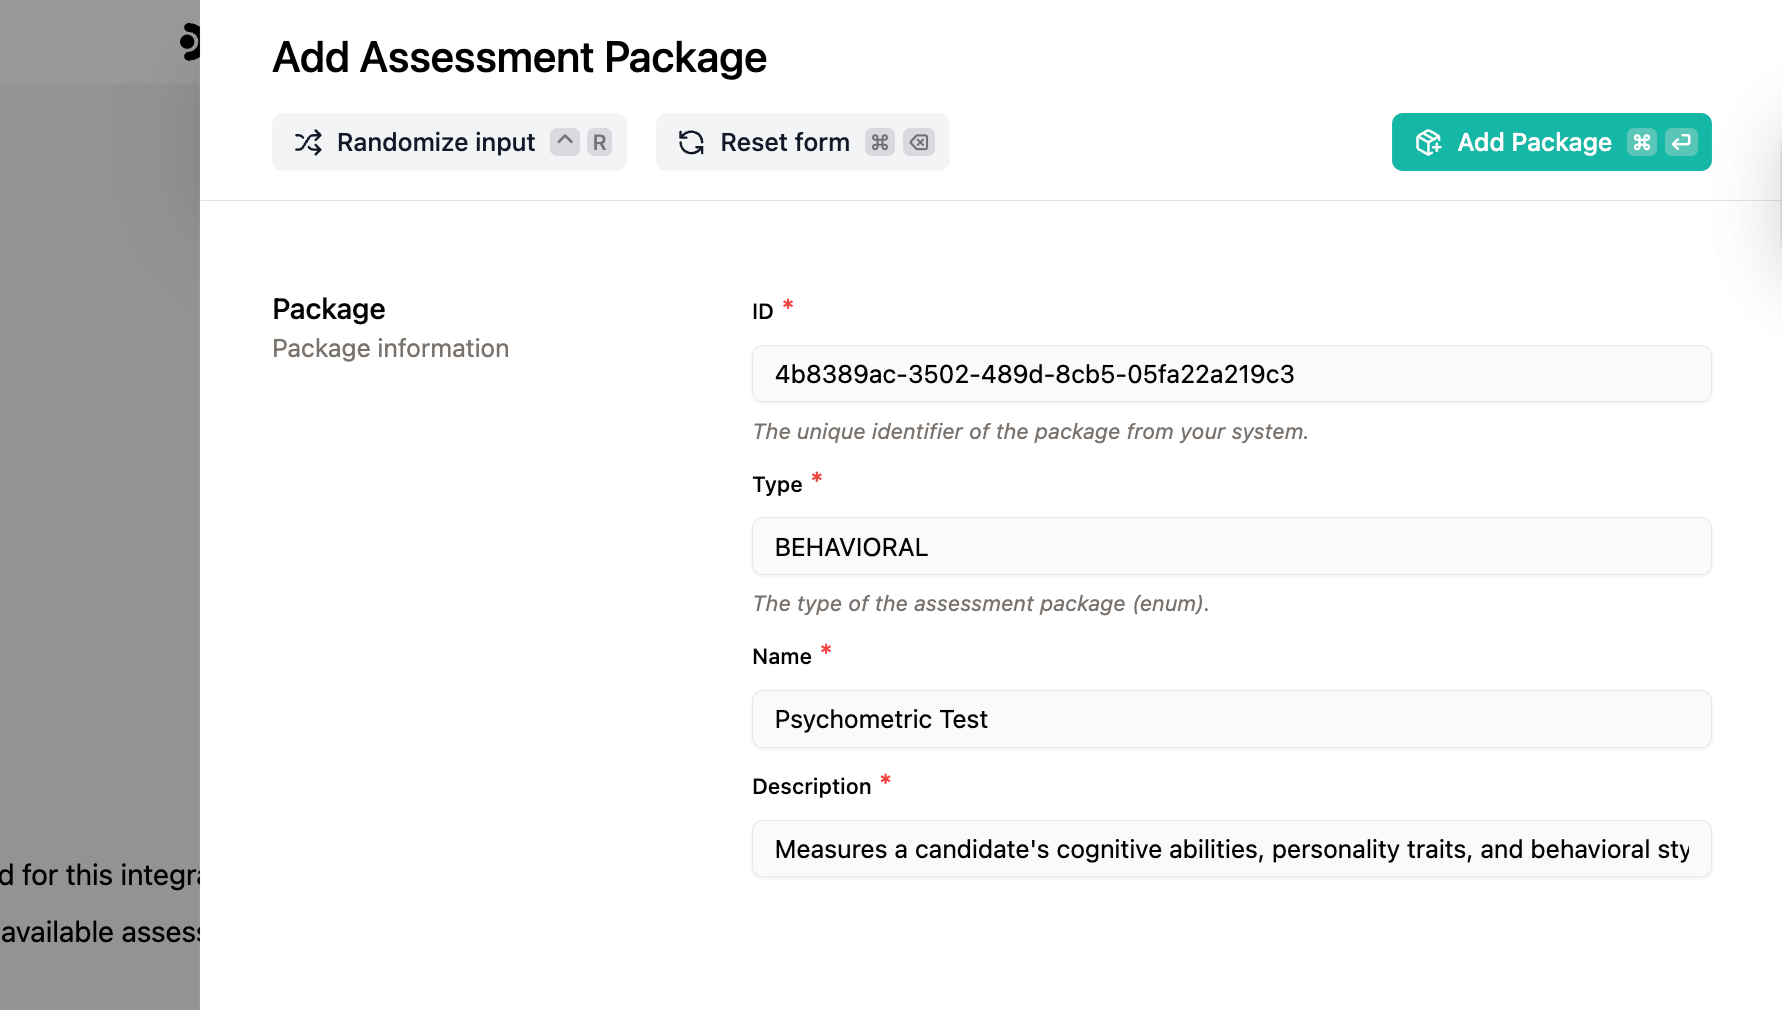
You can also create packages programmatically via the Set
Packages endpoint. This is useful when you
want to automate your test setup.
4
Trigger orders
Select a package, and click the “Create Order” button to open the
order form.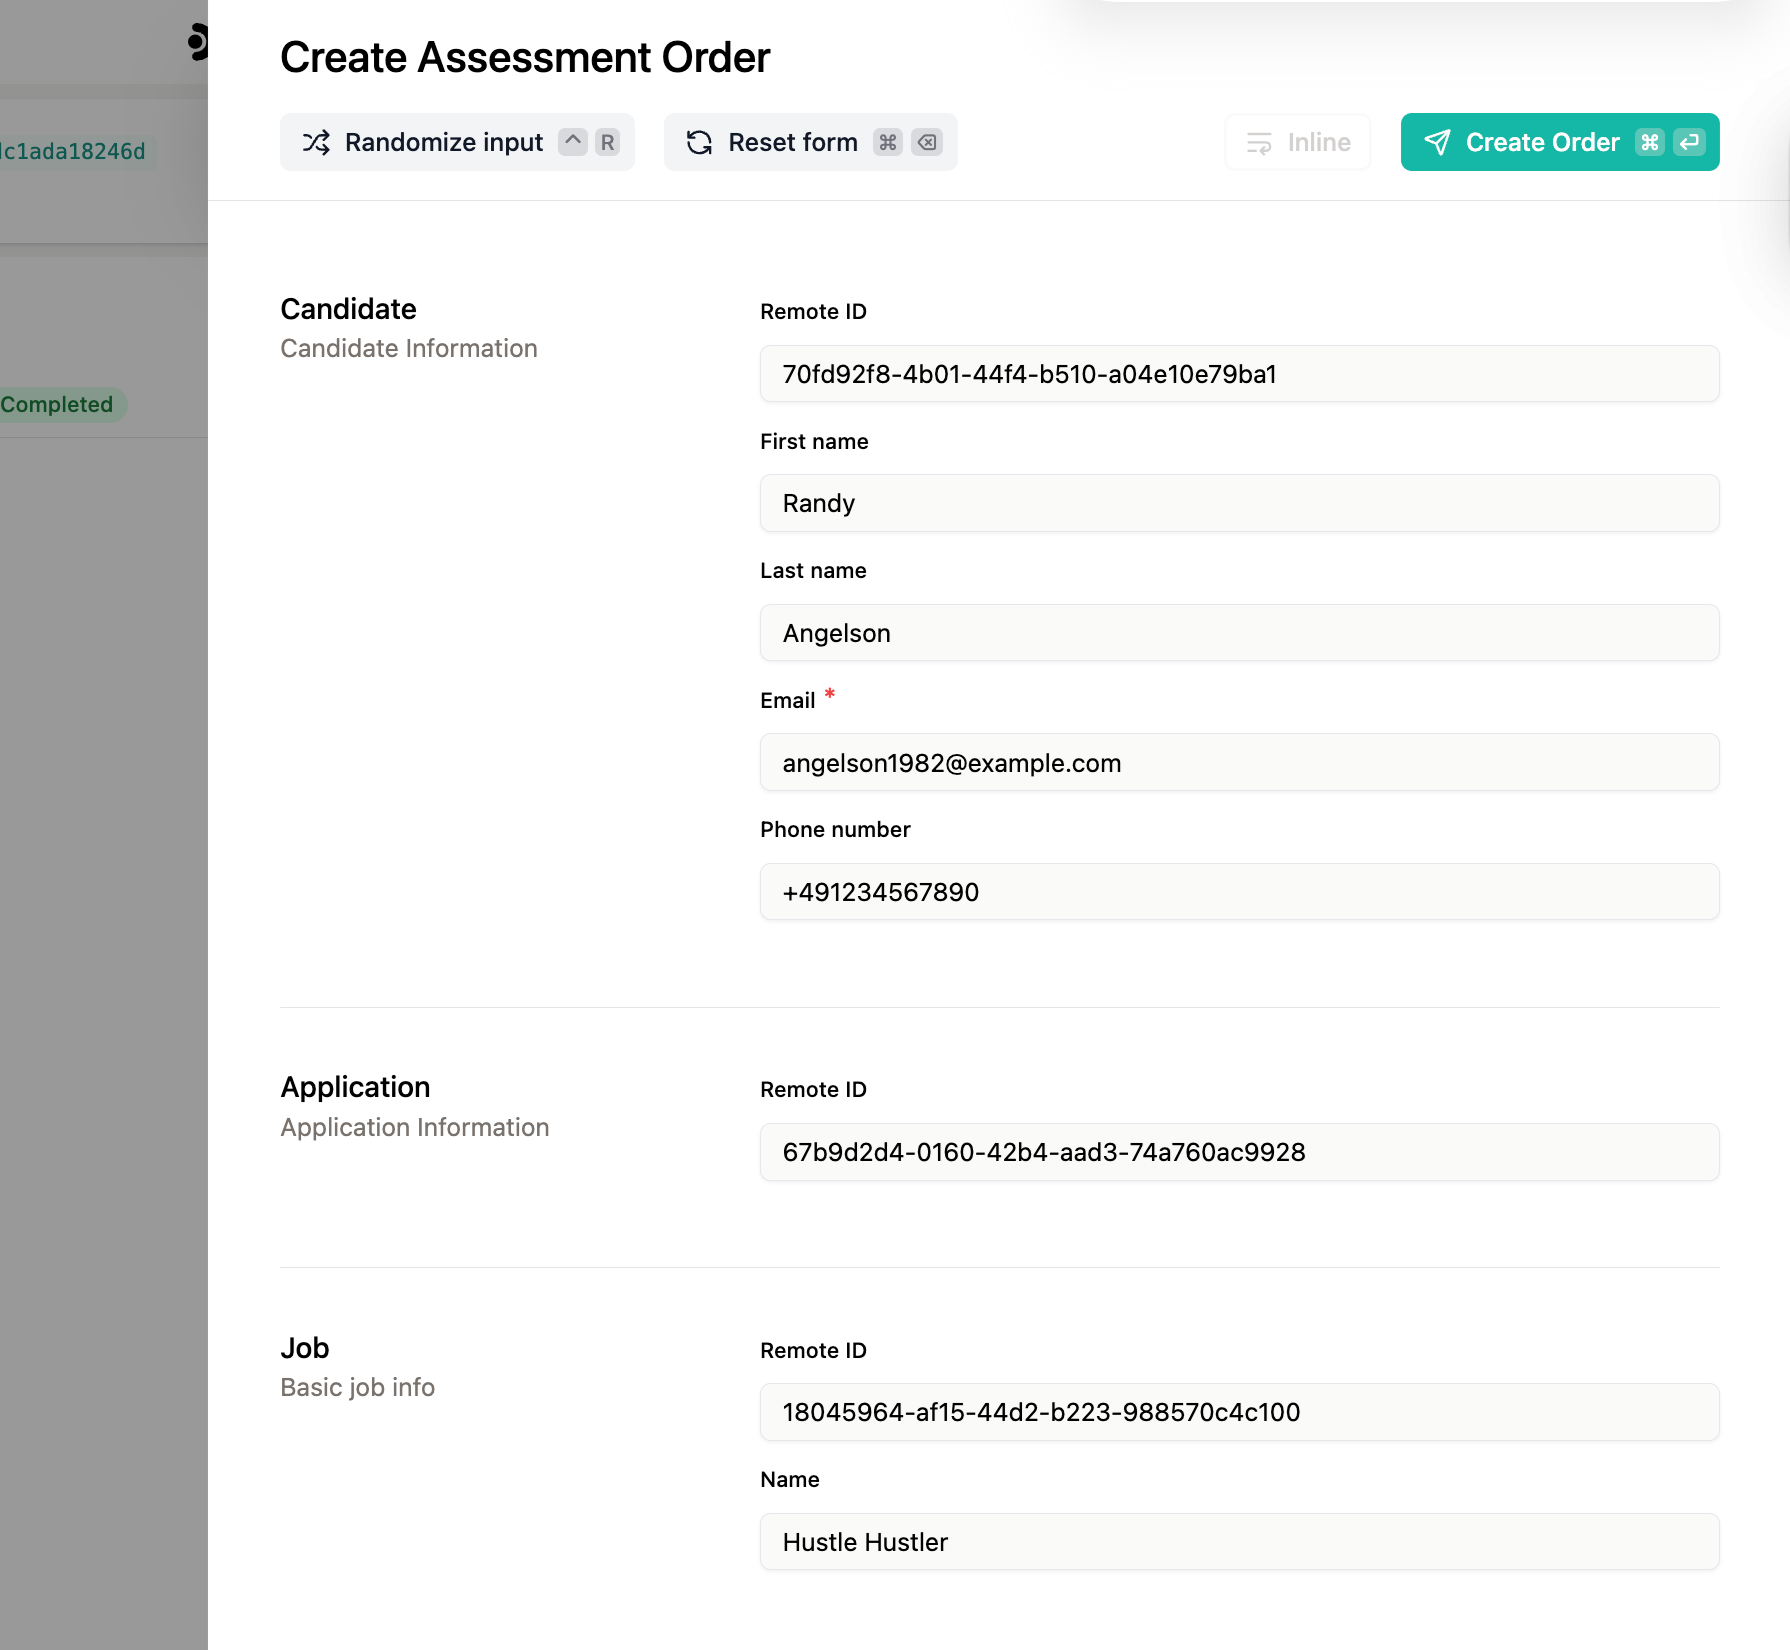
5
Process order and update result
Once an order is triggered through the UI, your application should receive
the new order webhook, process the order, and call the Update Order
Result endpoint to
submit the result.
6
Inspect the result
After the result is submitted, open the order’s details drawer to verify the
result looks correct.