> ## Documentation Index
> Fetch the complete documentation index at: https://docs.kombo.dev/llms.txt
> Use this file to discover all available pages before exploring further.
# Setup
Before we can get started with development, there's a bit of setup to do. Please follow the steps below carefully so that you won't have any issues down the line.
## Log into the dashboard
Log into the Kombo dashboard. You should have received an **invite via email** but if you didn't, **reach out** to your team members or to Kombo directly via Slack/Teams.
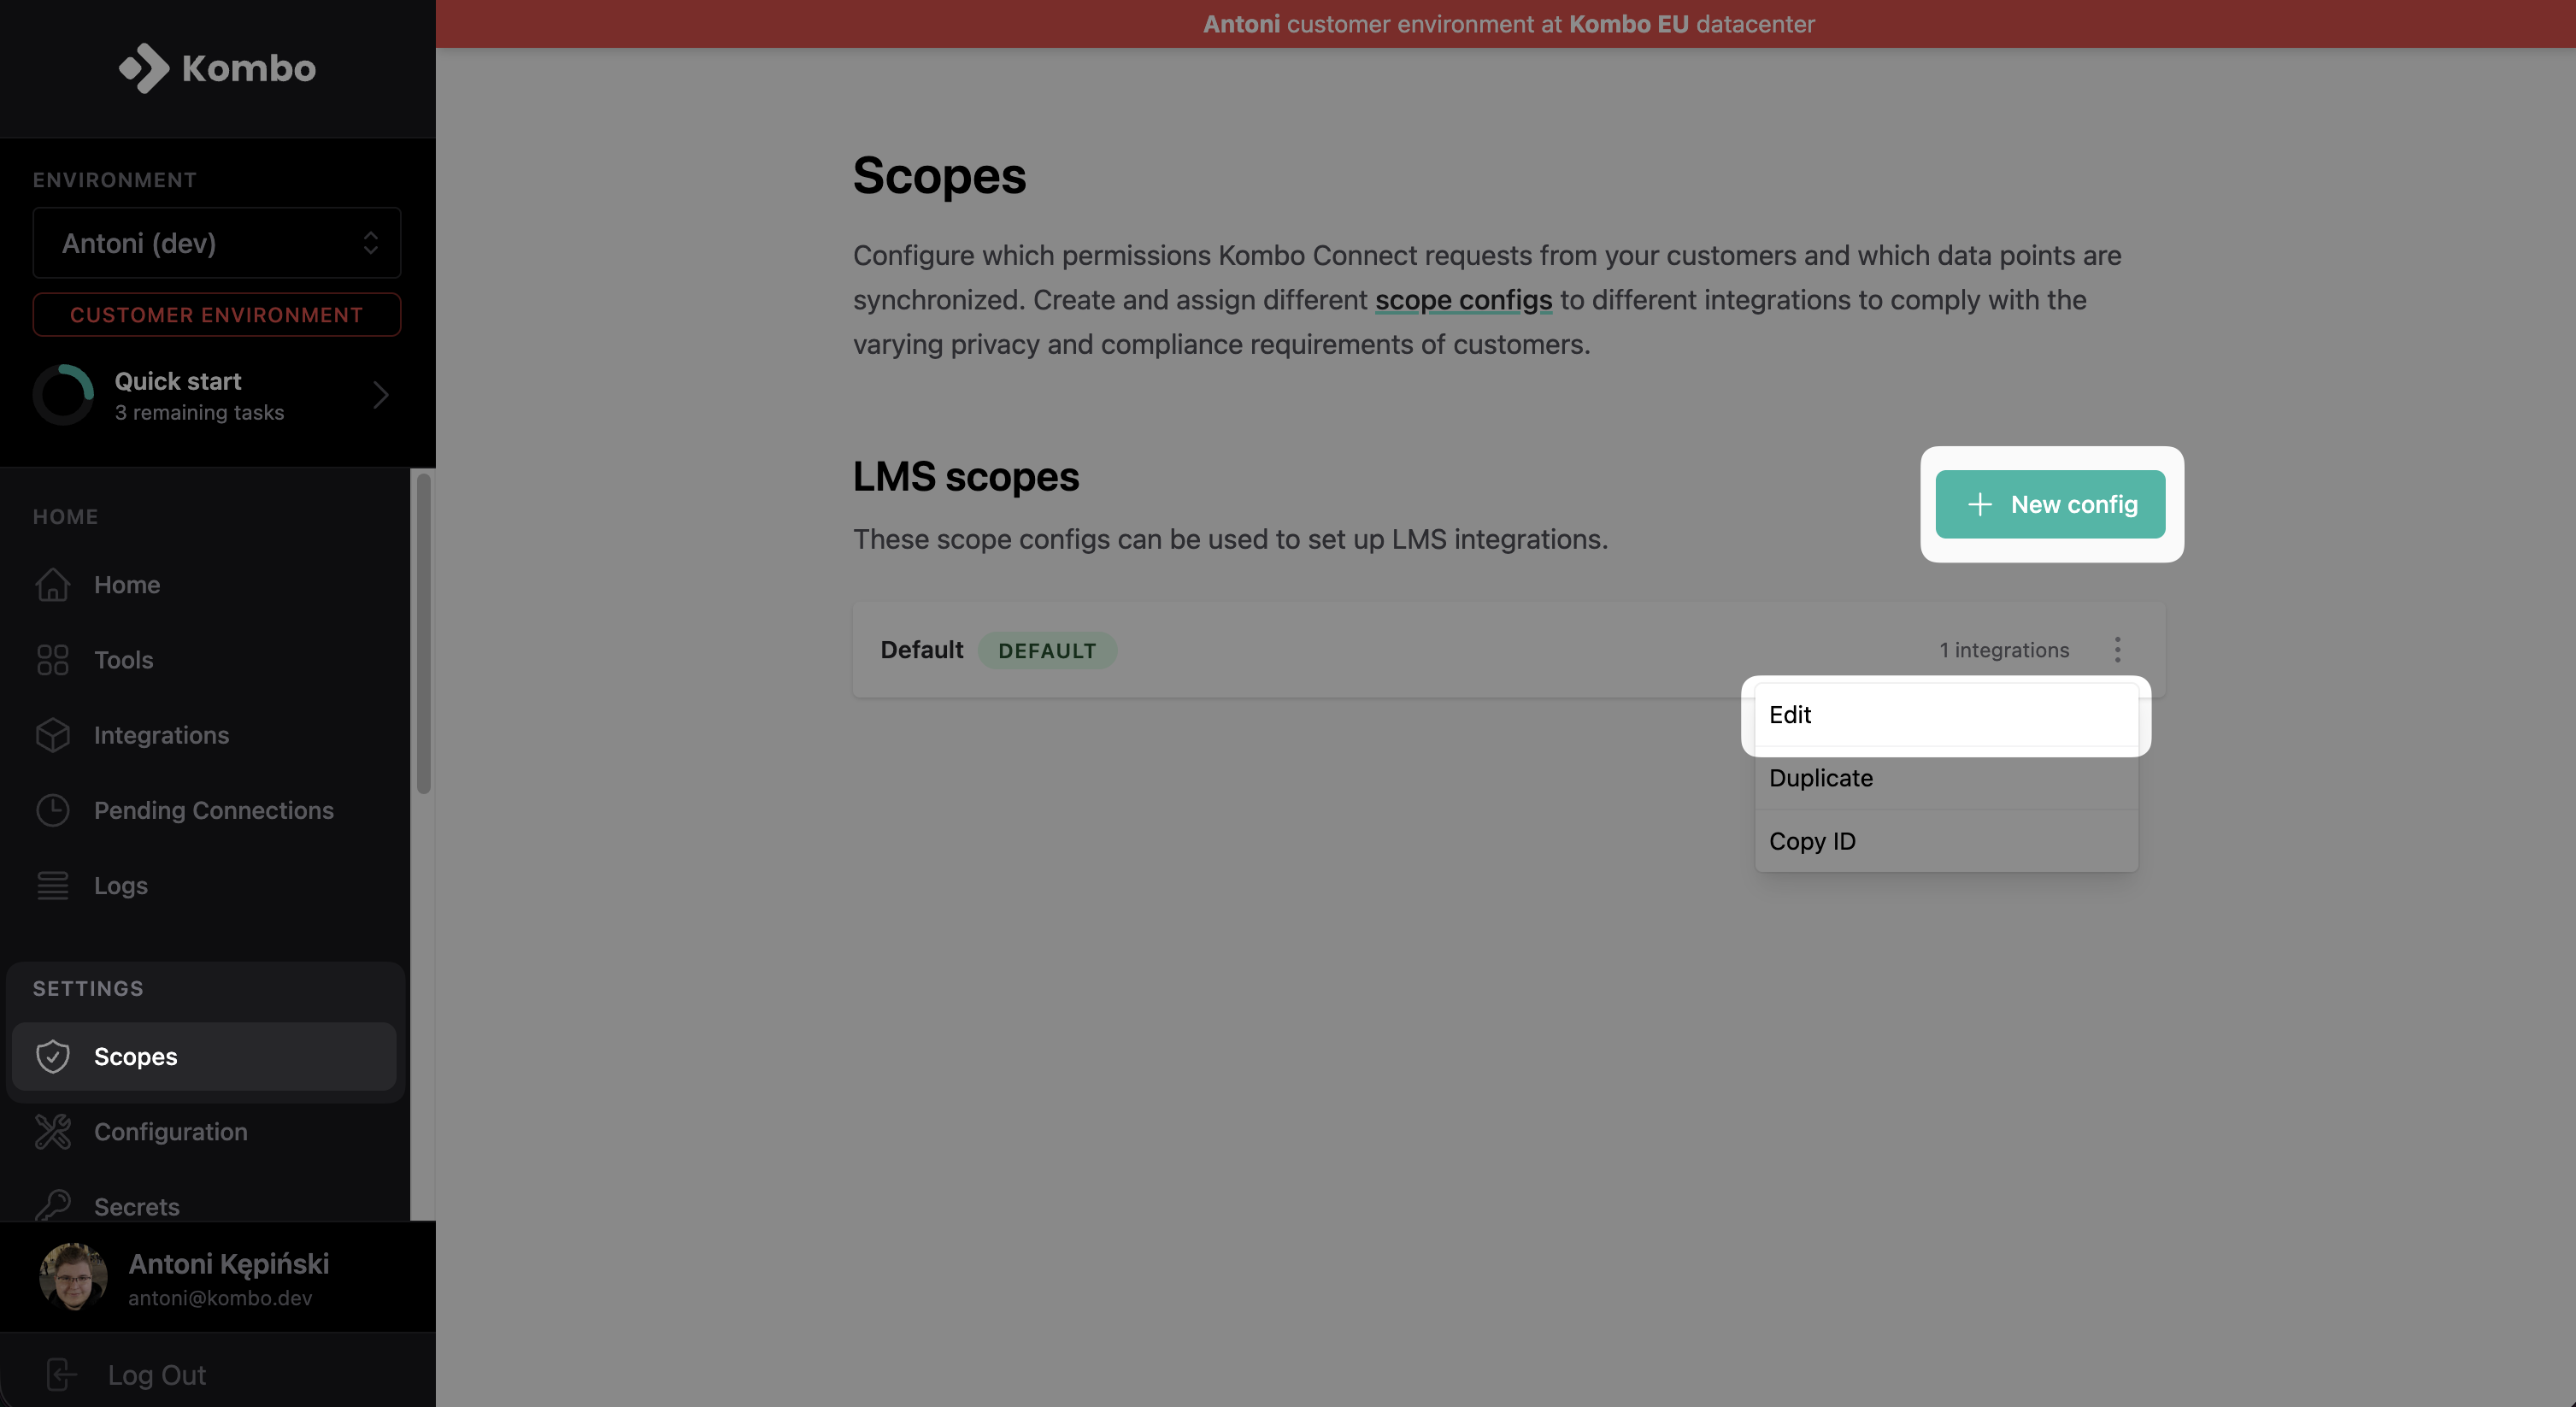
 ## Scope configuration
The scope config allows you to set which models and properties will be included when reading data from Kombo. Additionally, when your customers create an integration, they will only be prompted to grant permission to read the properties included in your scope config.
To understand more about this feature and how to use it to evoke a great first impression with customers, [read more in our docs](/lms/features/scopes).
Go to the [scopes overview](https://app.kombo.dev/scope-config) and click on "**New config**" or "**Edit**" an existing one.
## Scope configuration
The scope config allows you to set which models and properties will be included when reading data from Kombo. Additionally, when your customers create an integration, they will only be prompted to grant permission to read the properties included in your scope config.
To understand more about this feature and how to use it to evoke a great first impression with customers, [read more in our docs](/lms/features/scopes).
Go to the [scopes overview](https://app.kombo.dev/scope-config) and click on "**New config**" or "**Edit**" an existing one.
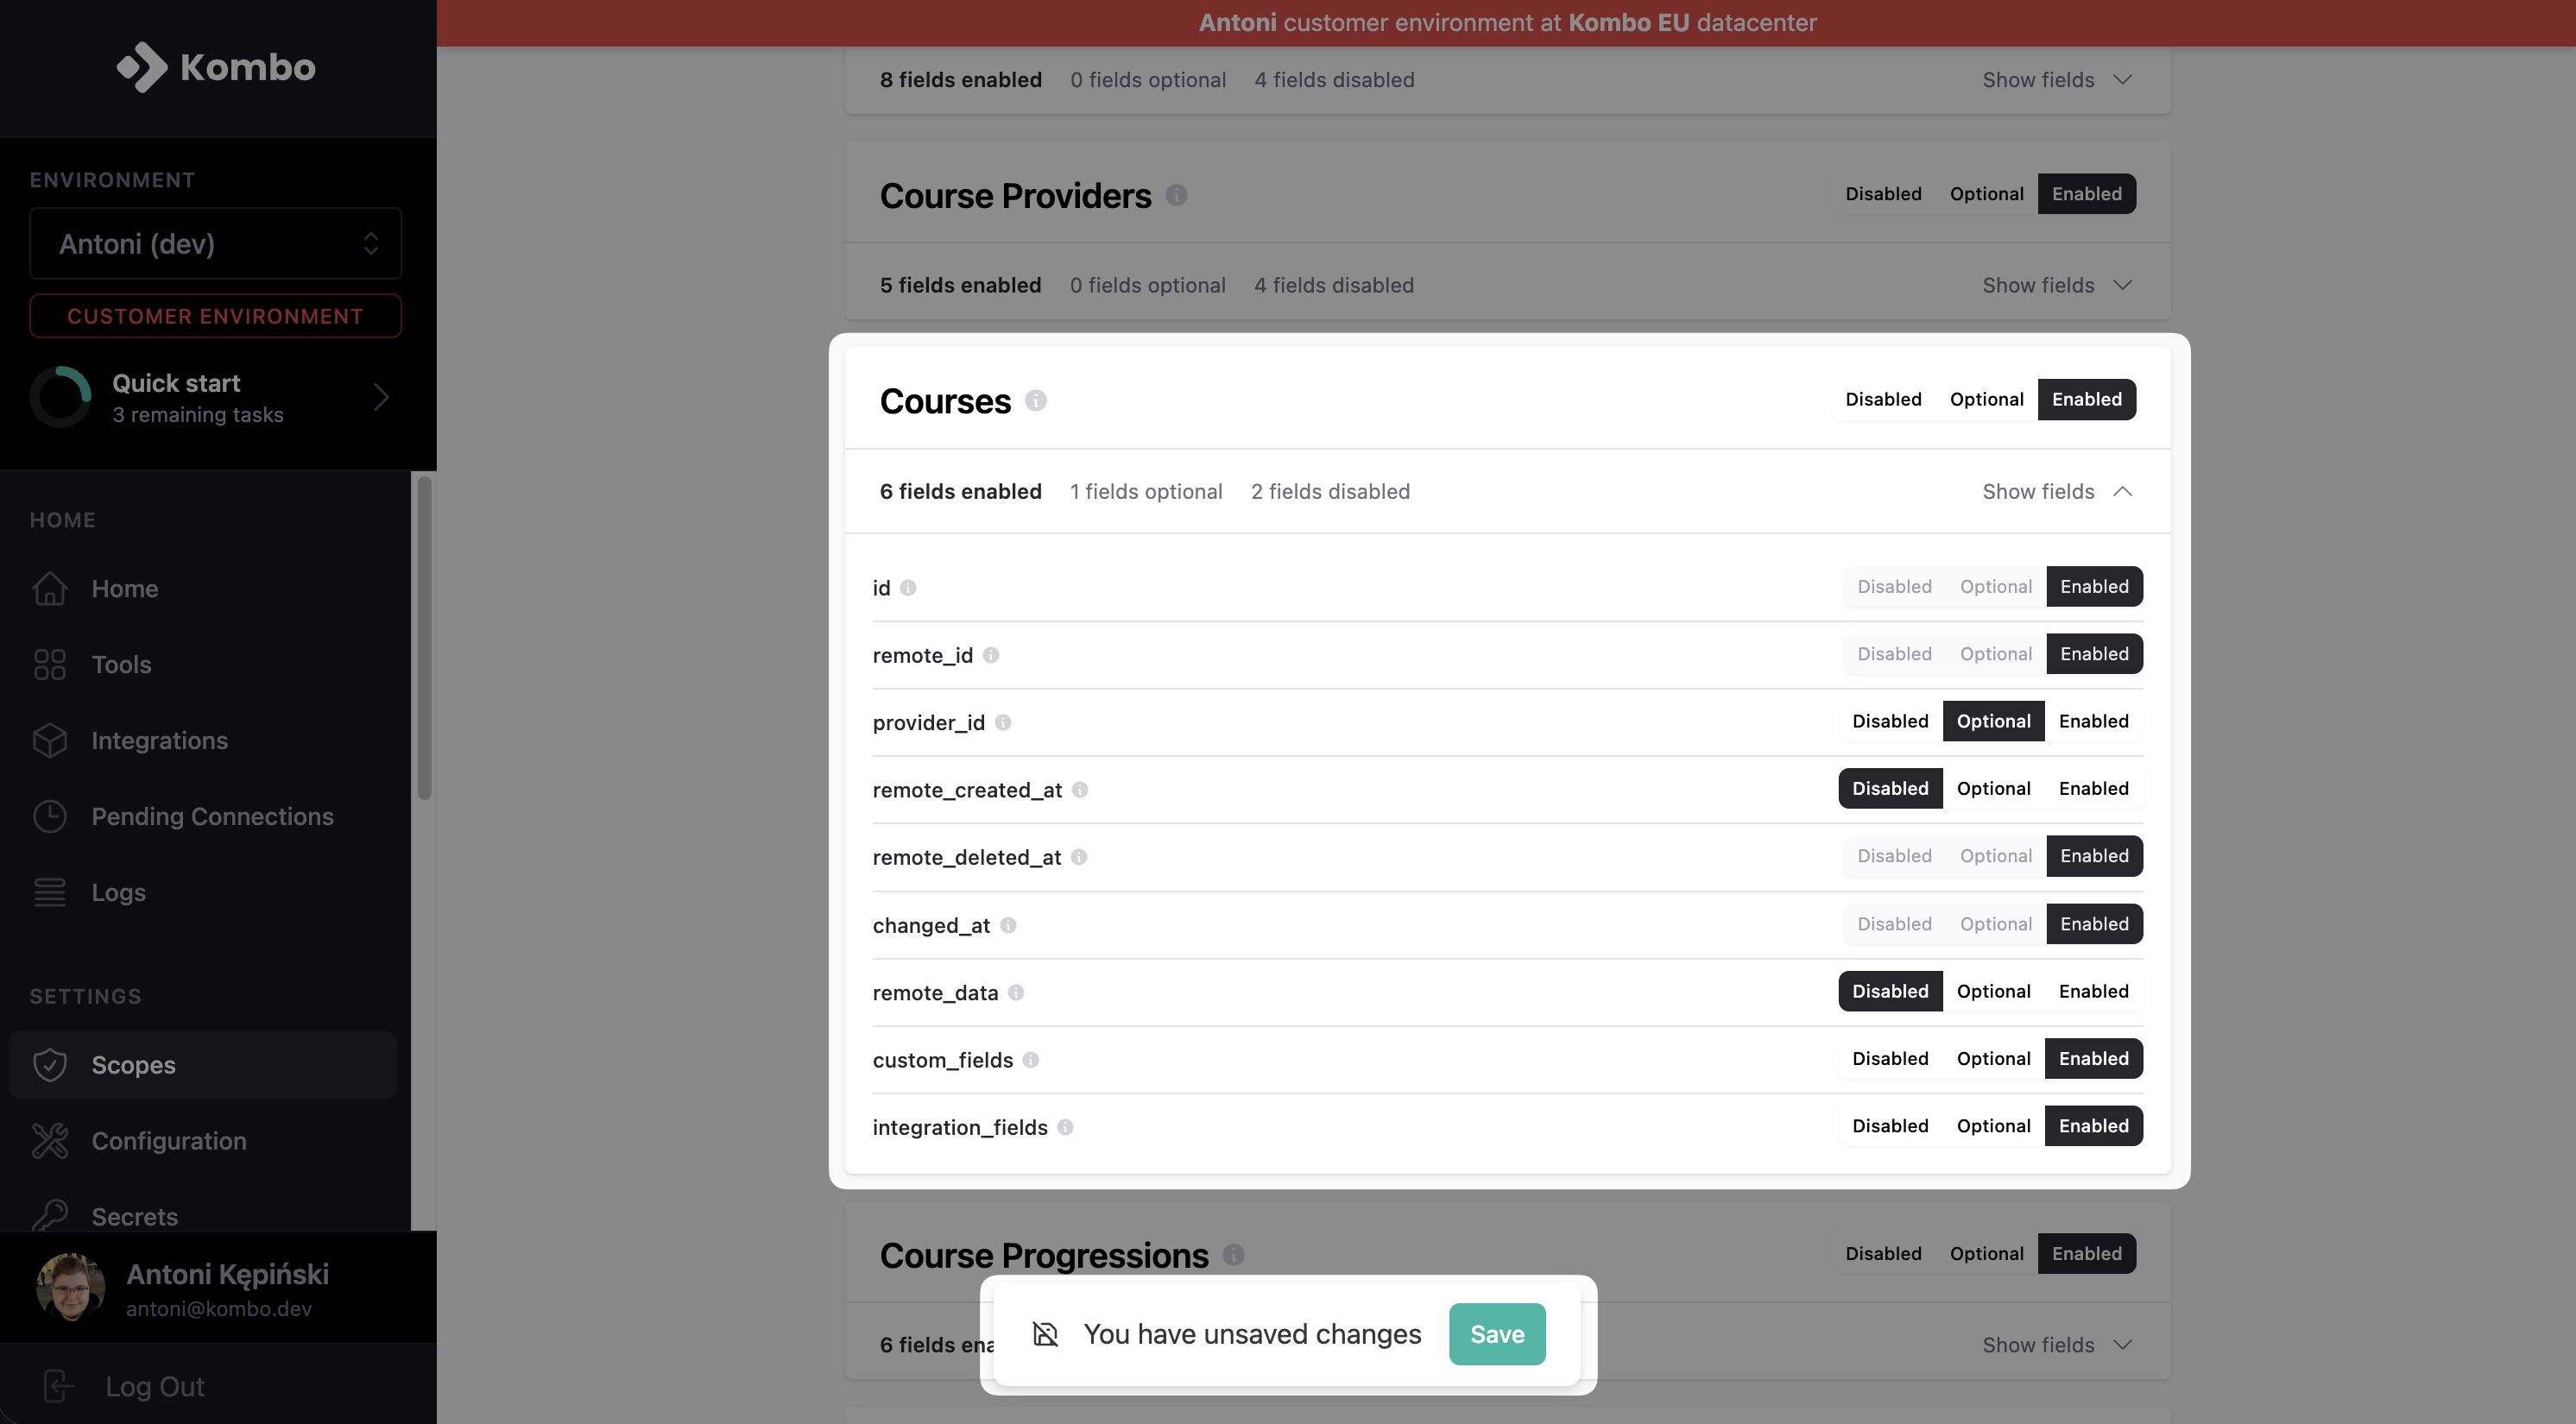
 Select the data models that you need and click on "**Save**".
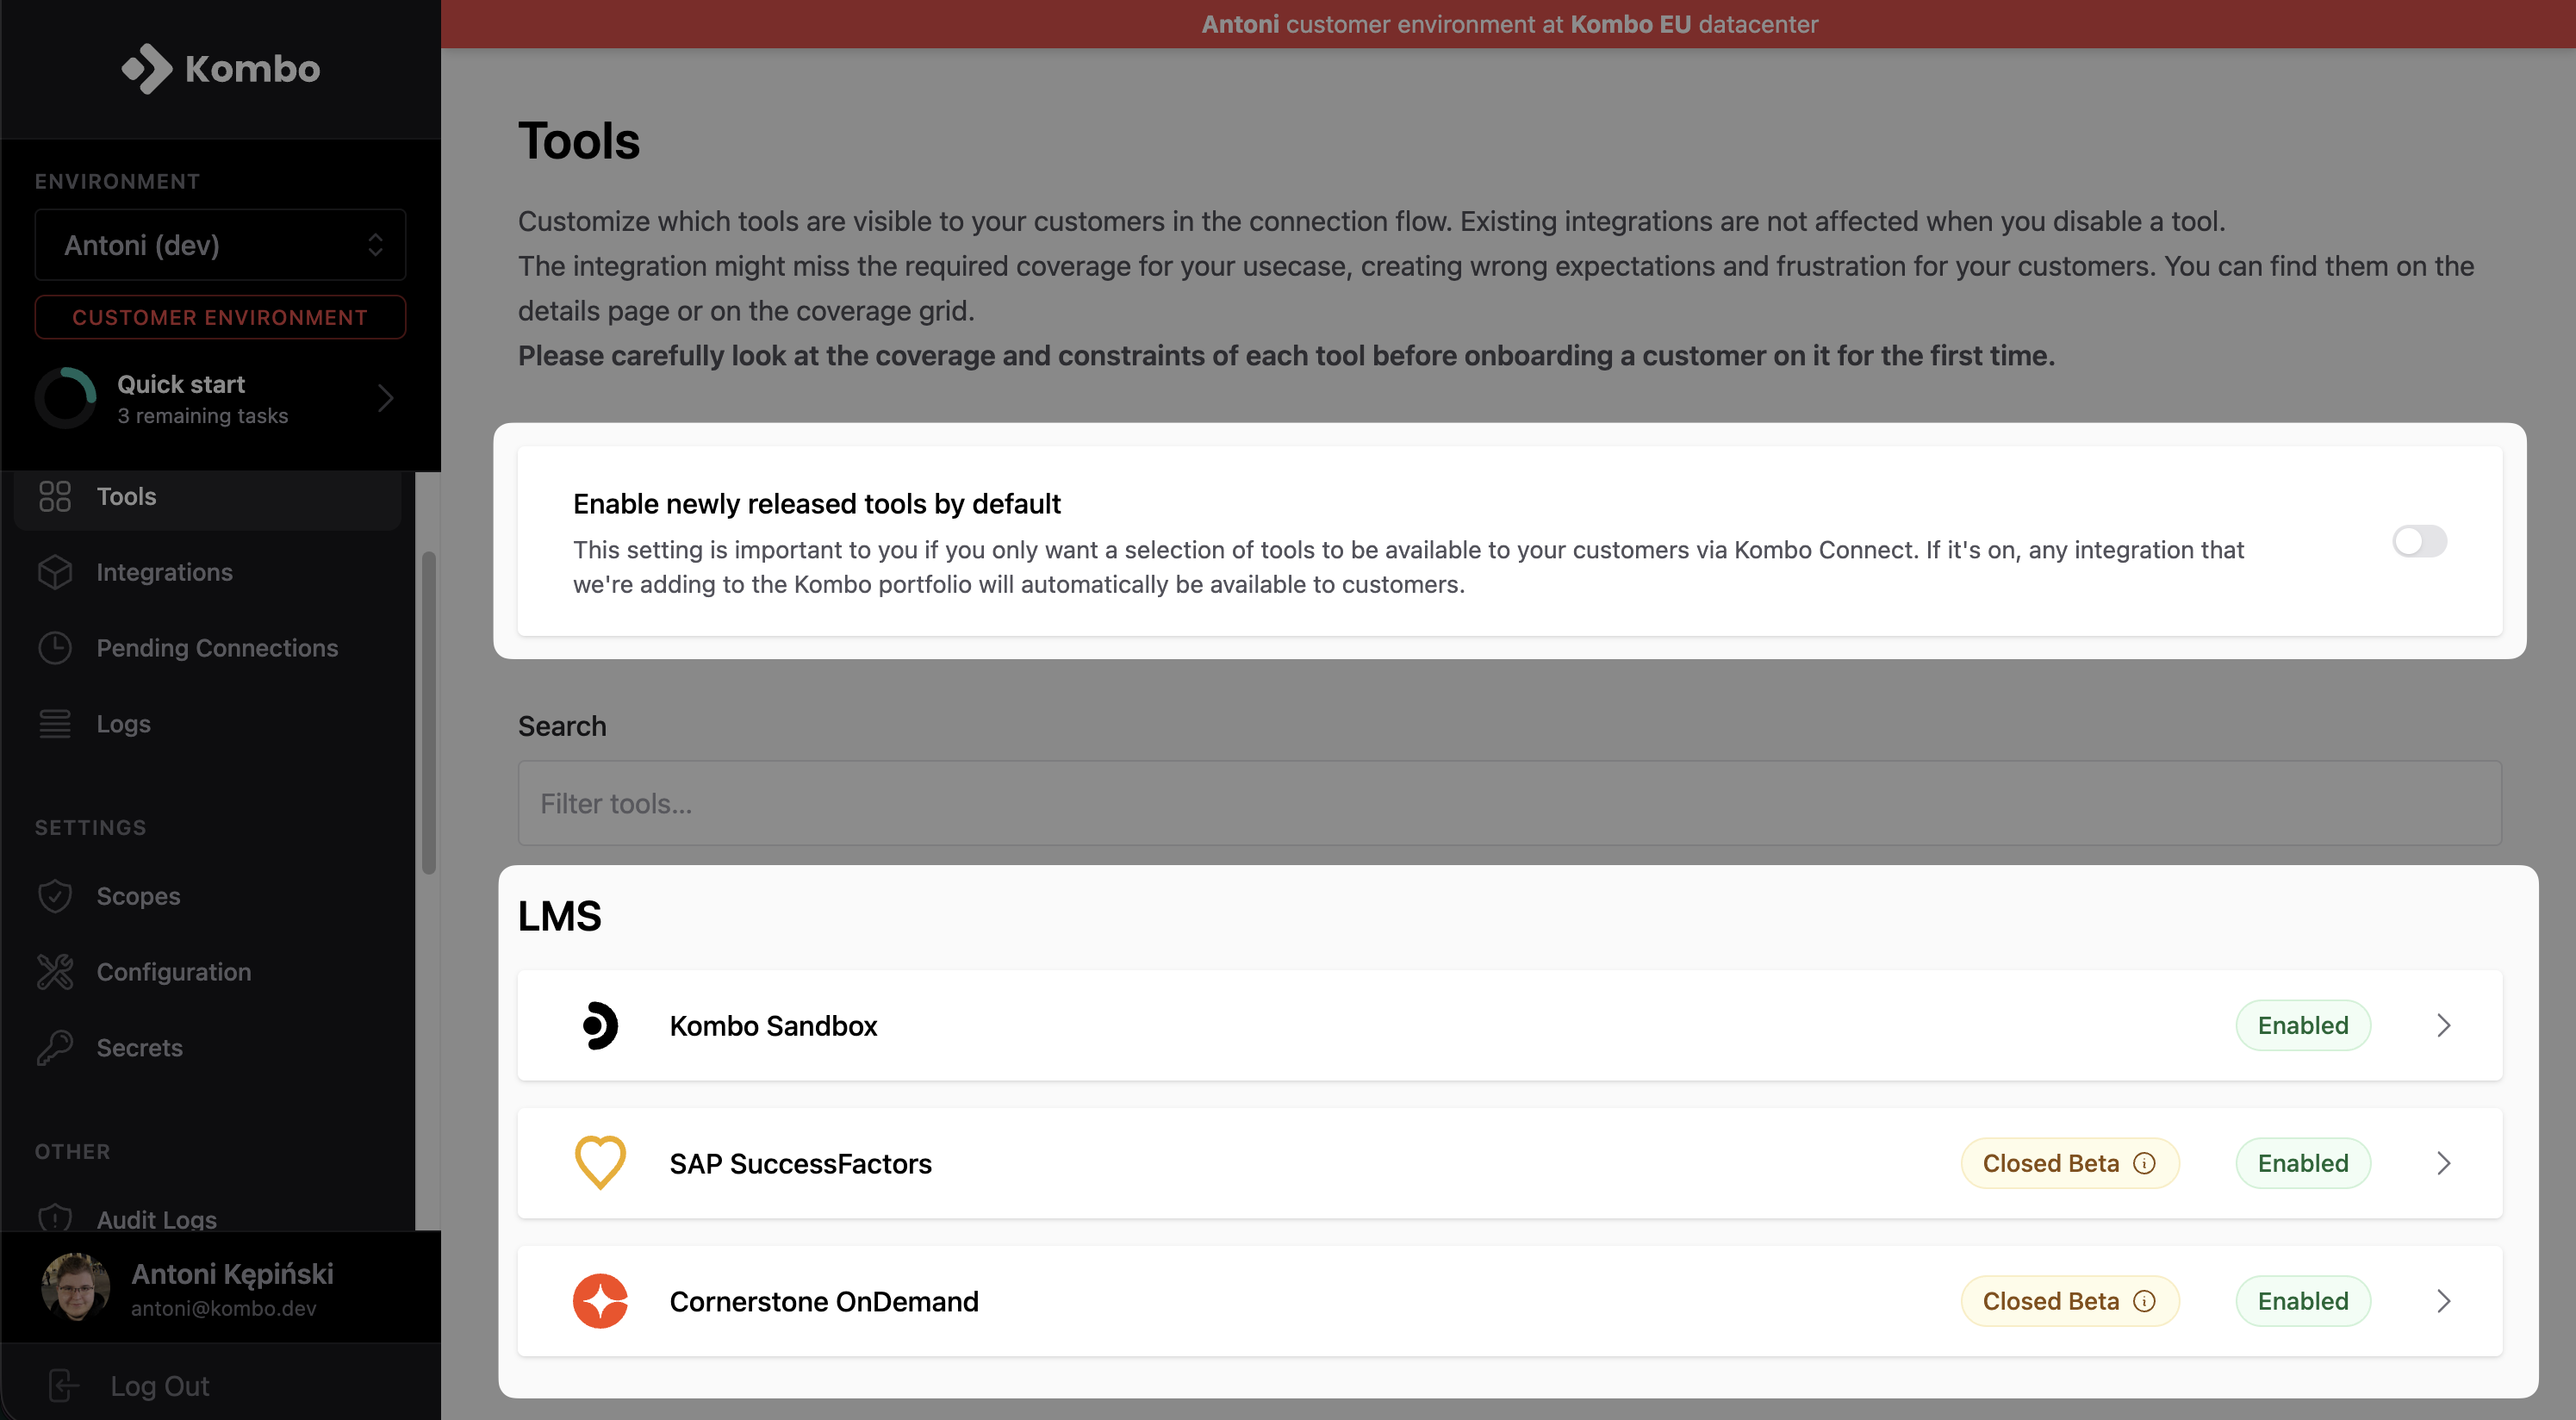
 ## Integration configuration
Go to the [tools overview](https://app.kombo.dev/tools) and select/deselect all tools that you want to offer. You can change this at any time.
You can also select if you want to enable newly released tools; on average Kombo adds one tool per week.
## Integration configuration
Go to the [tools overview](https://app.kombo.dev/tools) and select/deselect all tools that you want to offer. You can change this at any time.
You can also select if you want to enable newly released tools; on average Kombo adds one tool per week.
 ## Set up a linked account for development
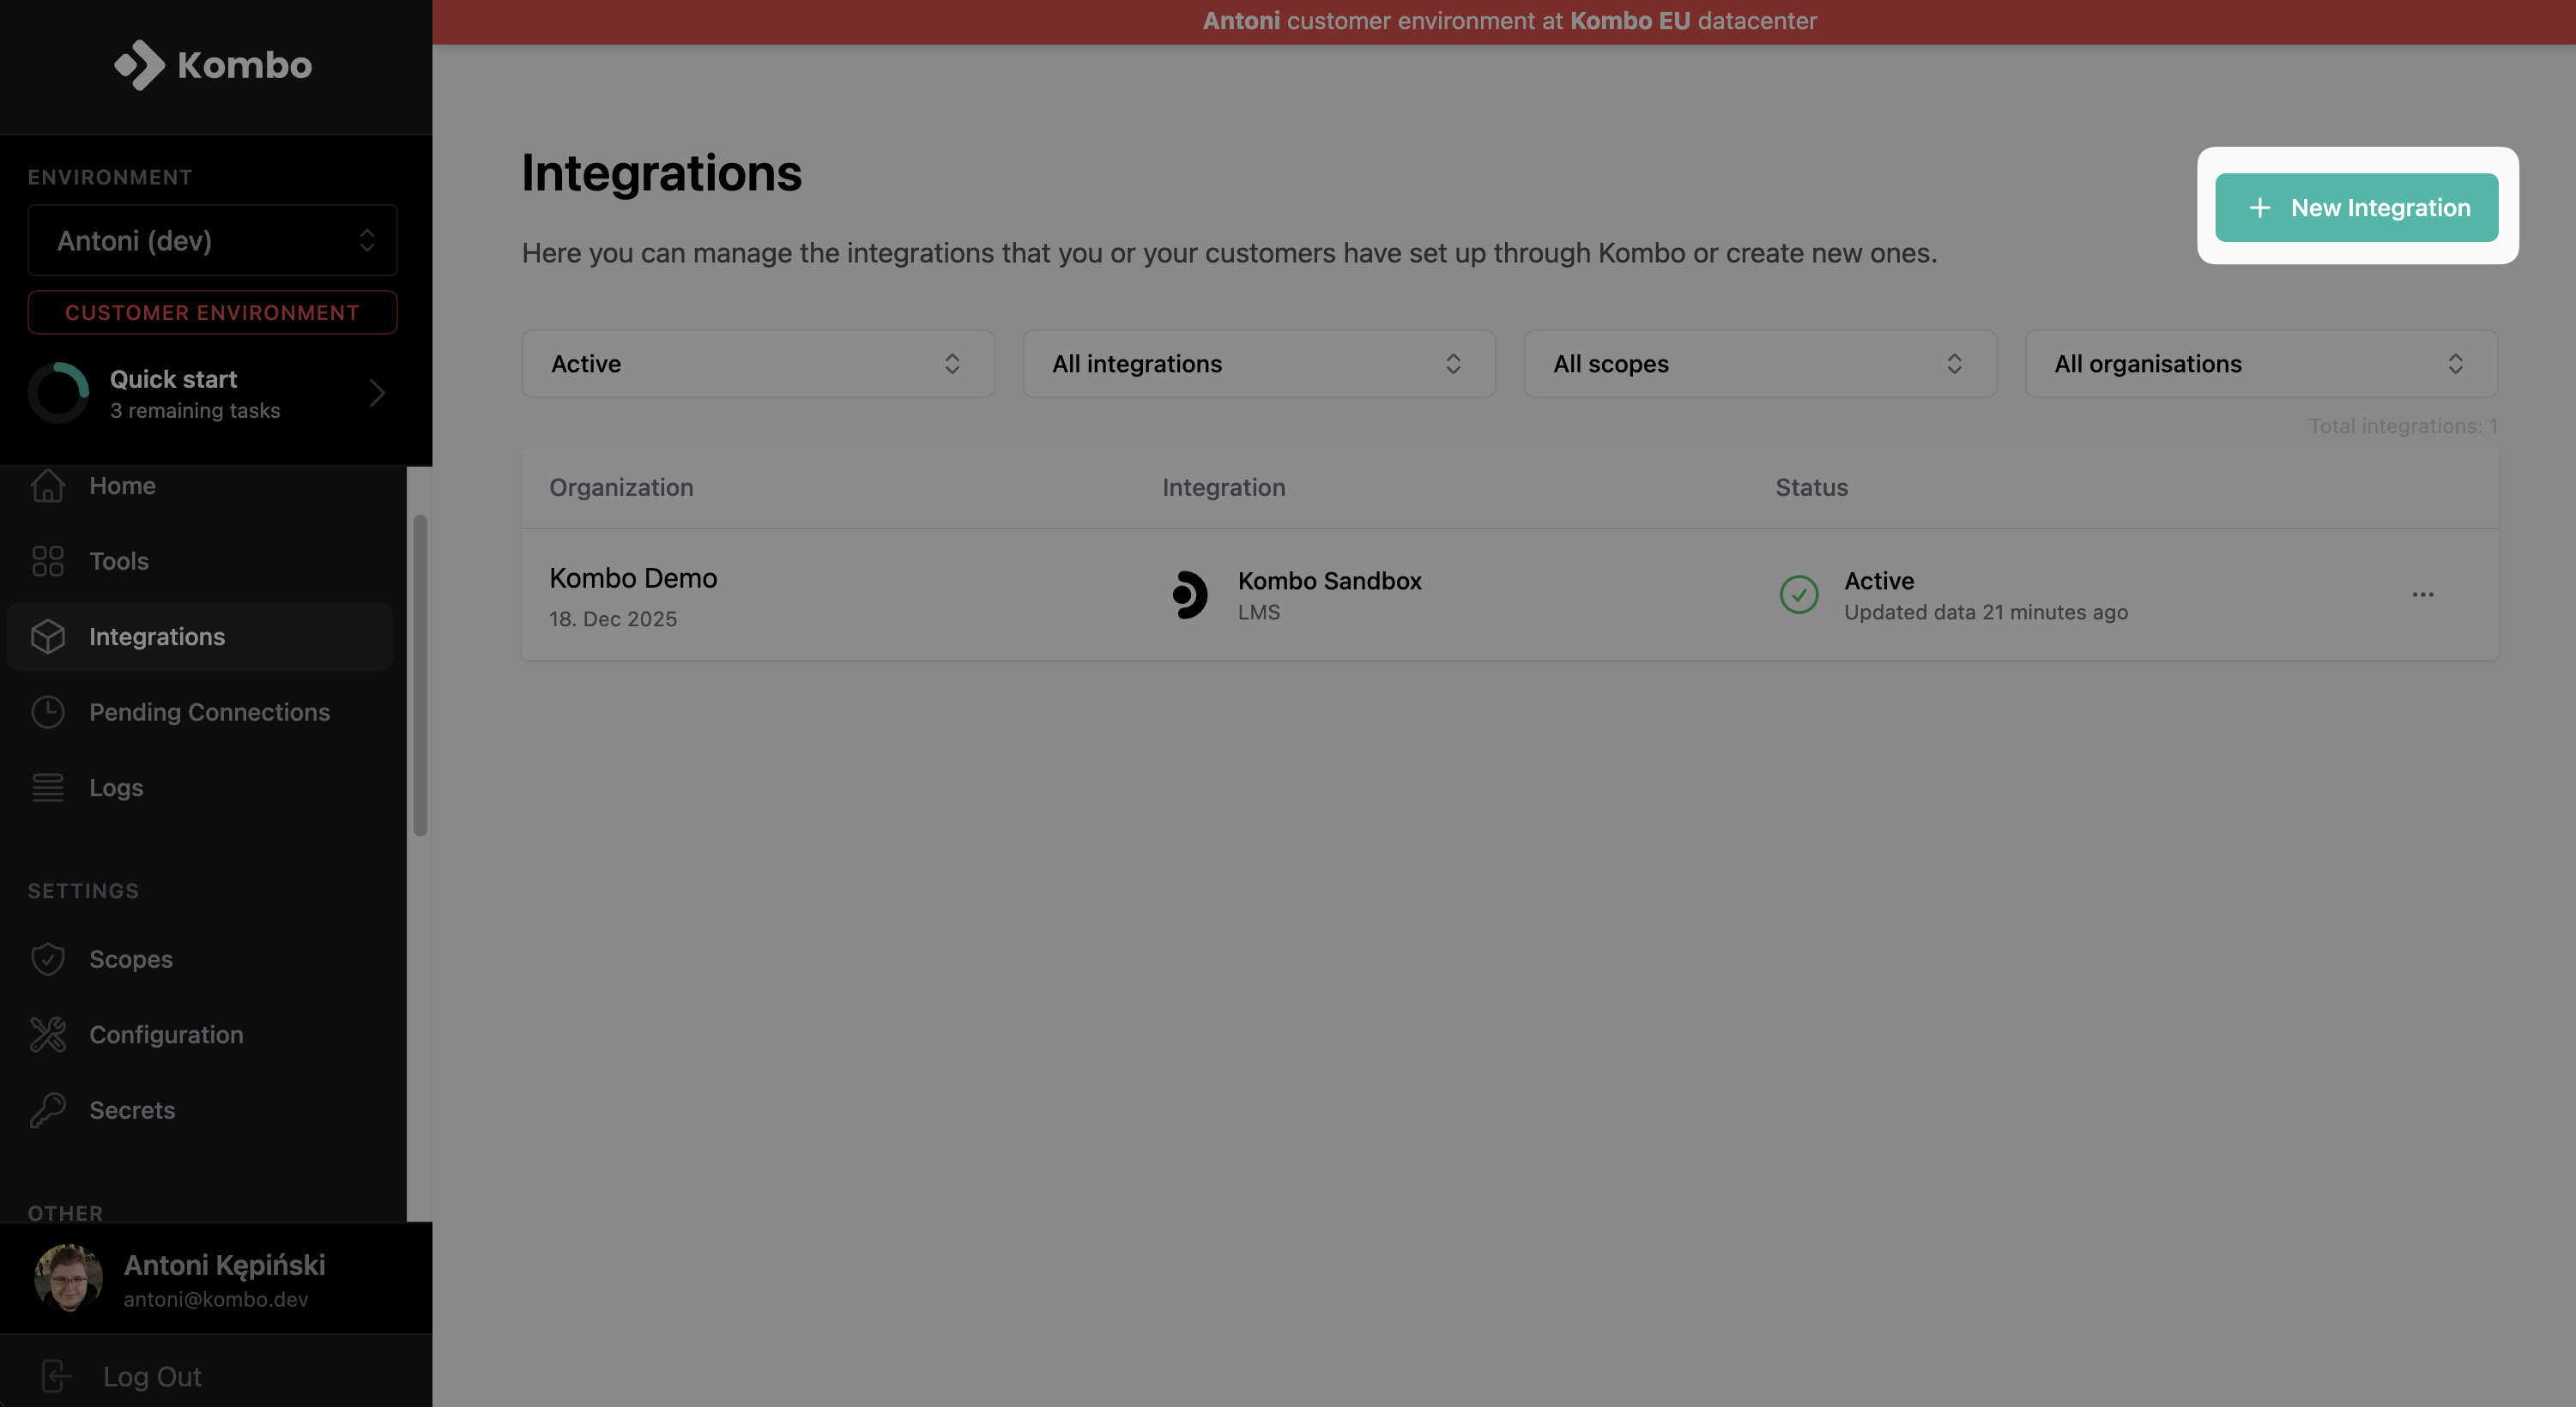
To call the API you always need to have a linked LMS account to pull and push data from. You can either use our built-in mock integration to get started quickly (recommended), or [get yourself a sandbox via a free trial](/lms/getting-started/sandbox-integrations).
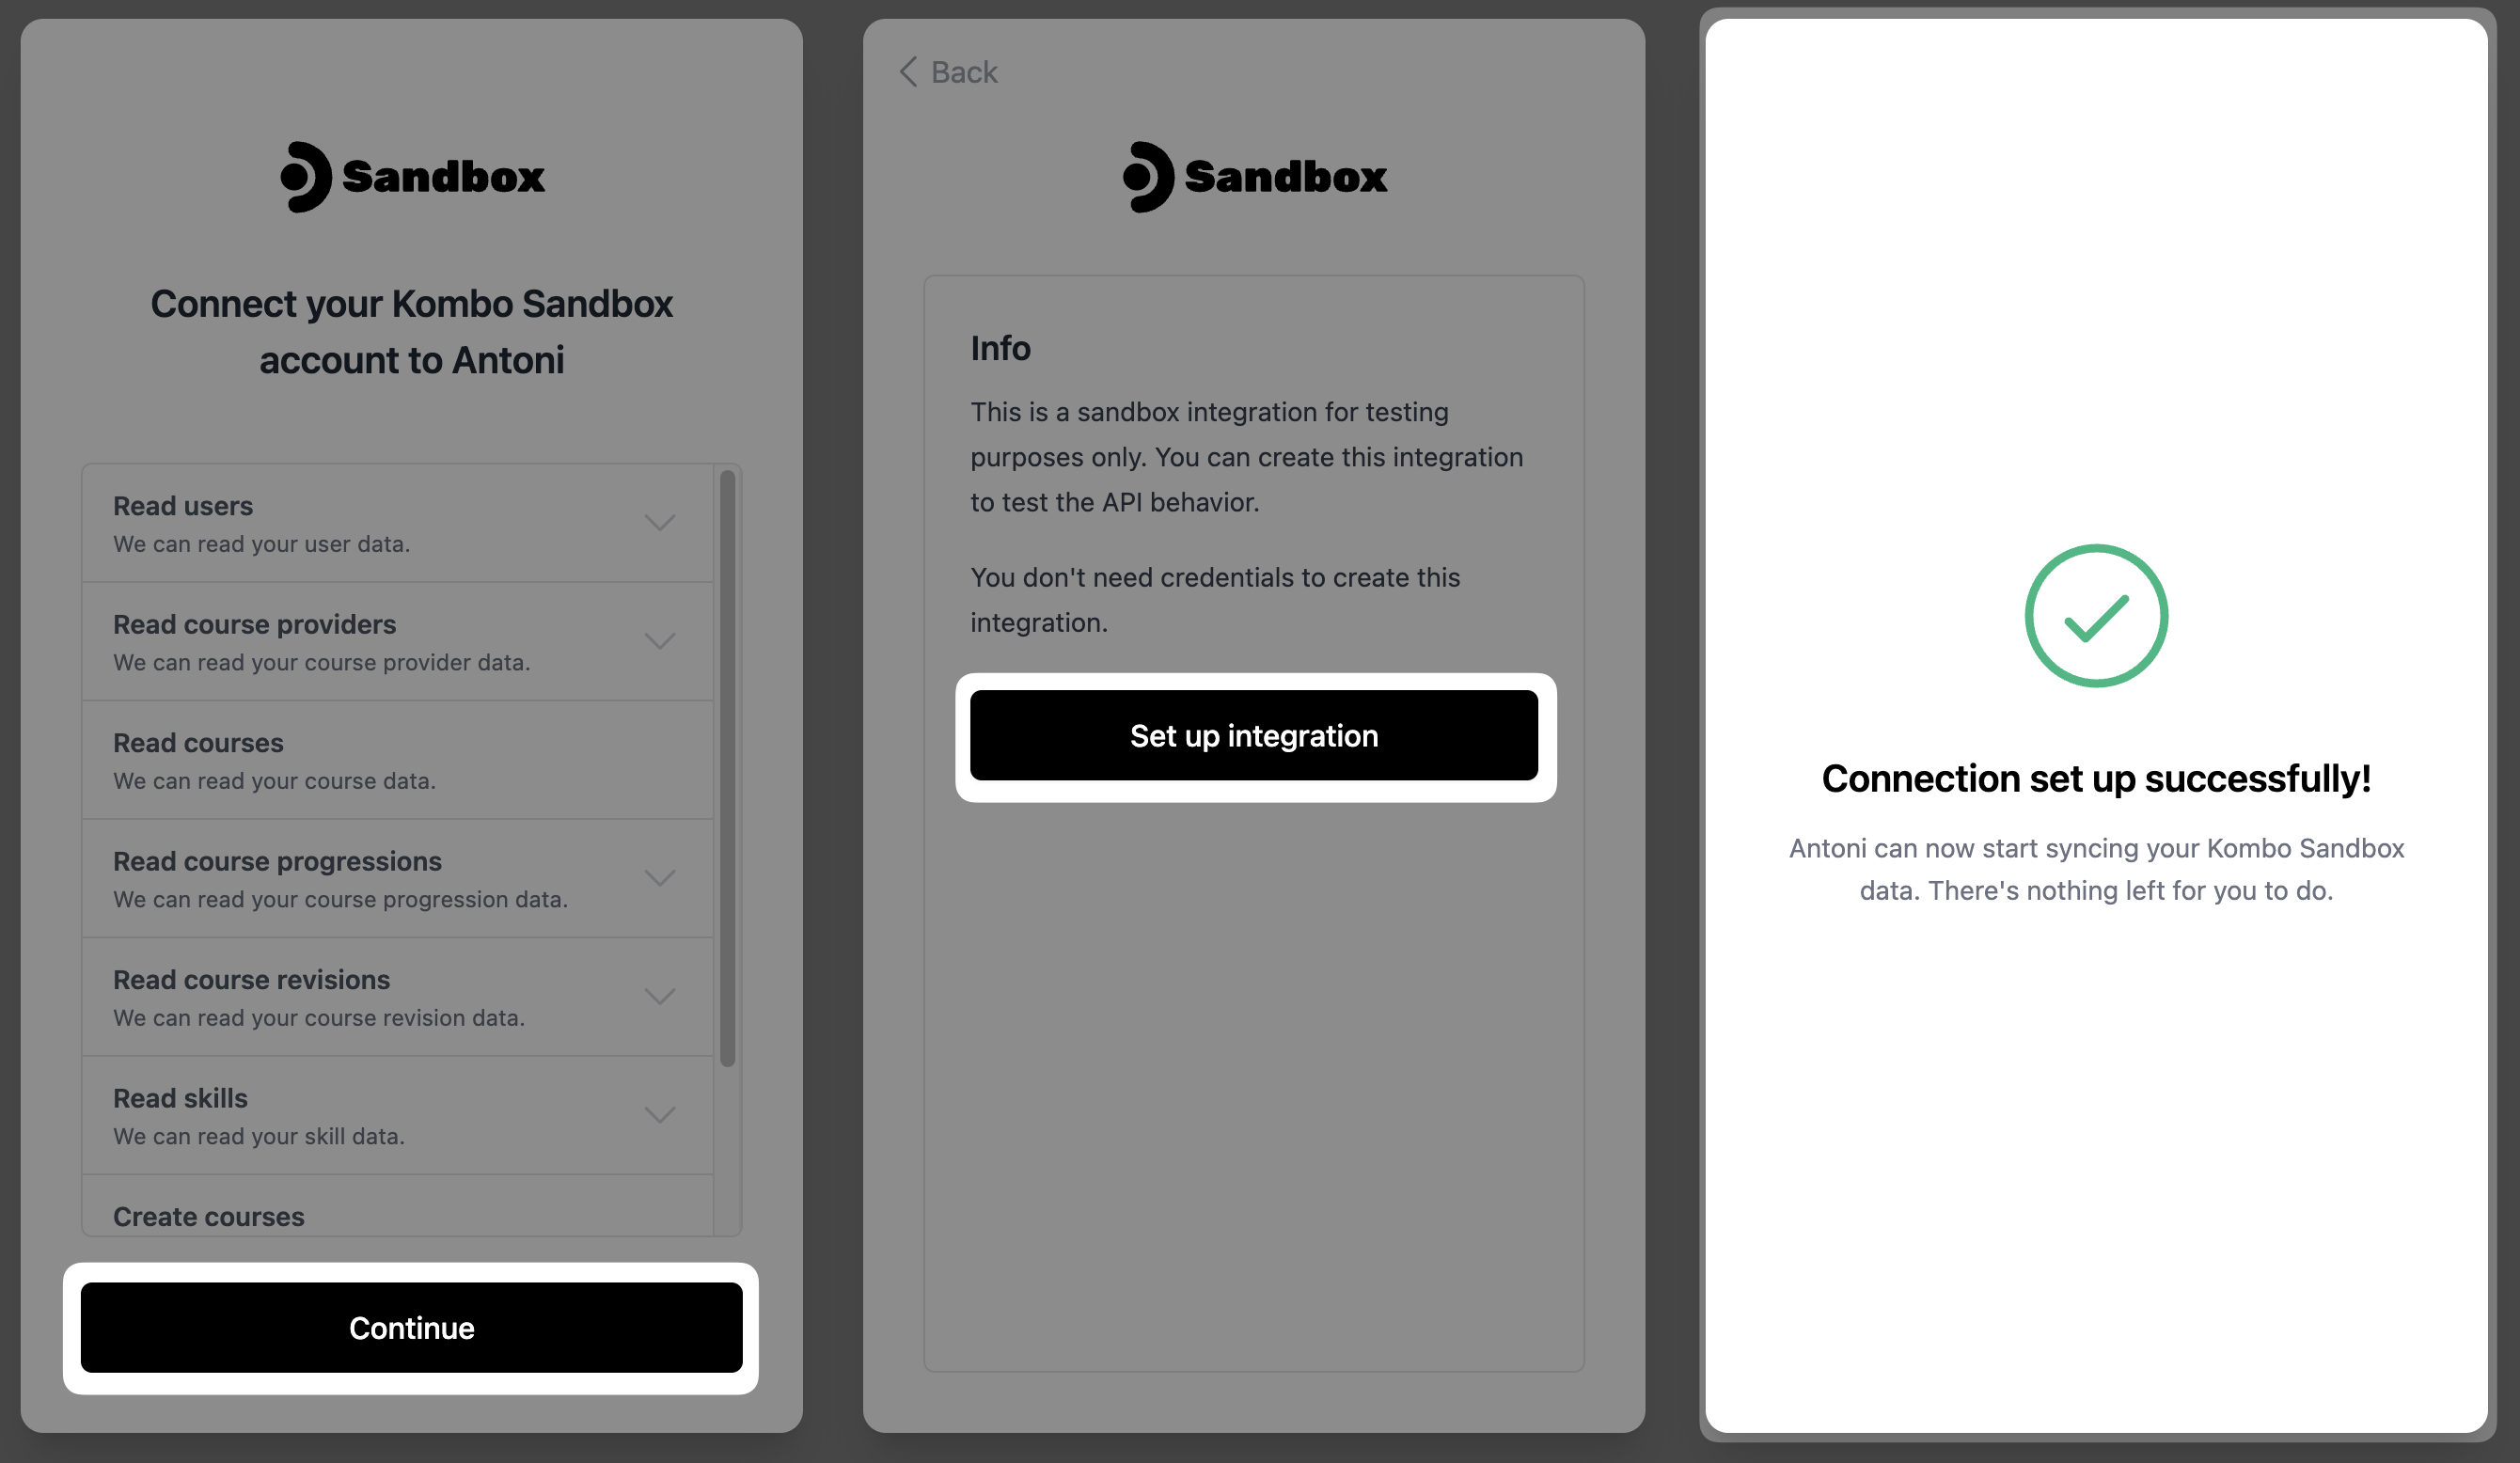
To use our built-in sandbox, go to the [integrations tab](https://app.kombo.dev/integrations) and click on "**New integration**", selecting **Kombo Sandbox** as your tool.
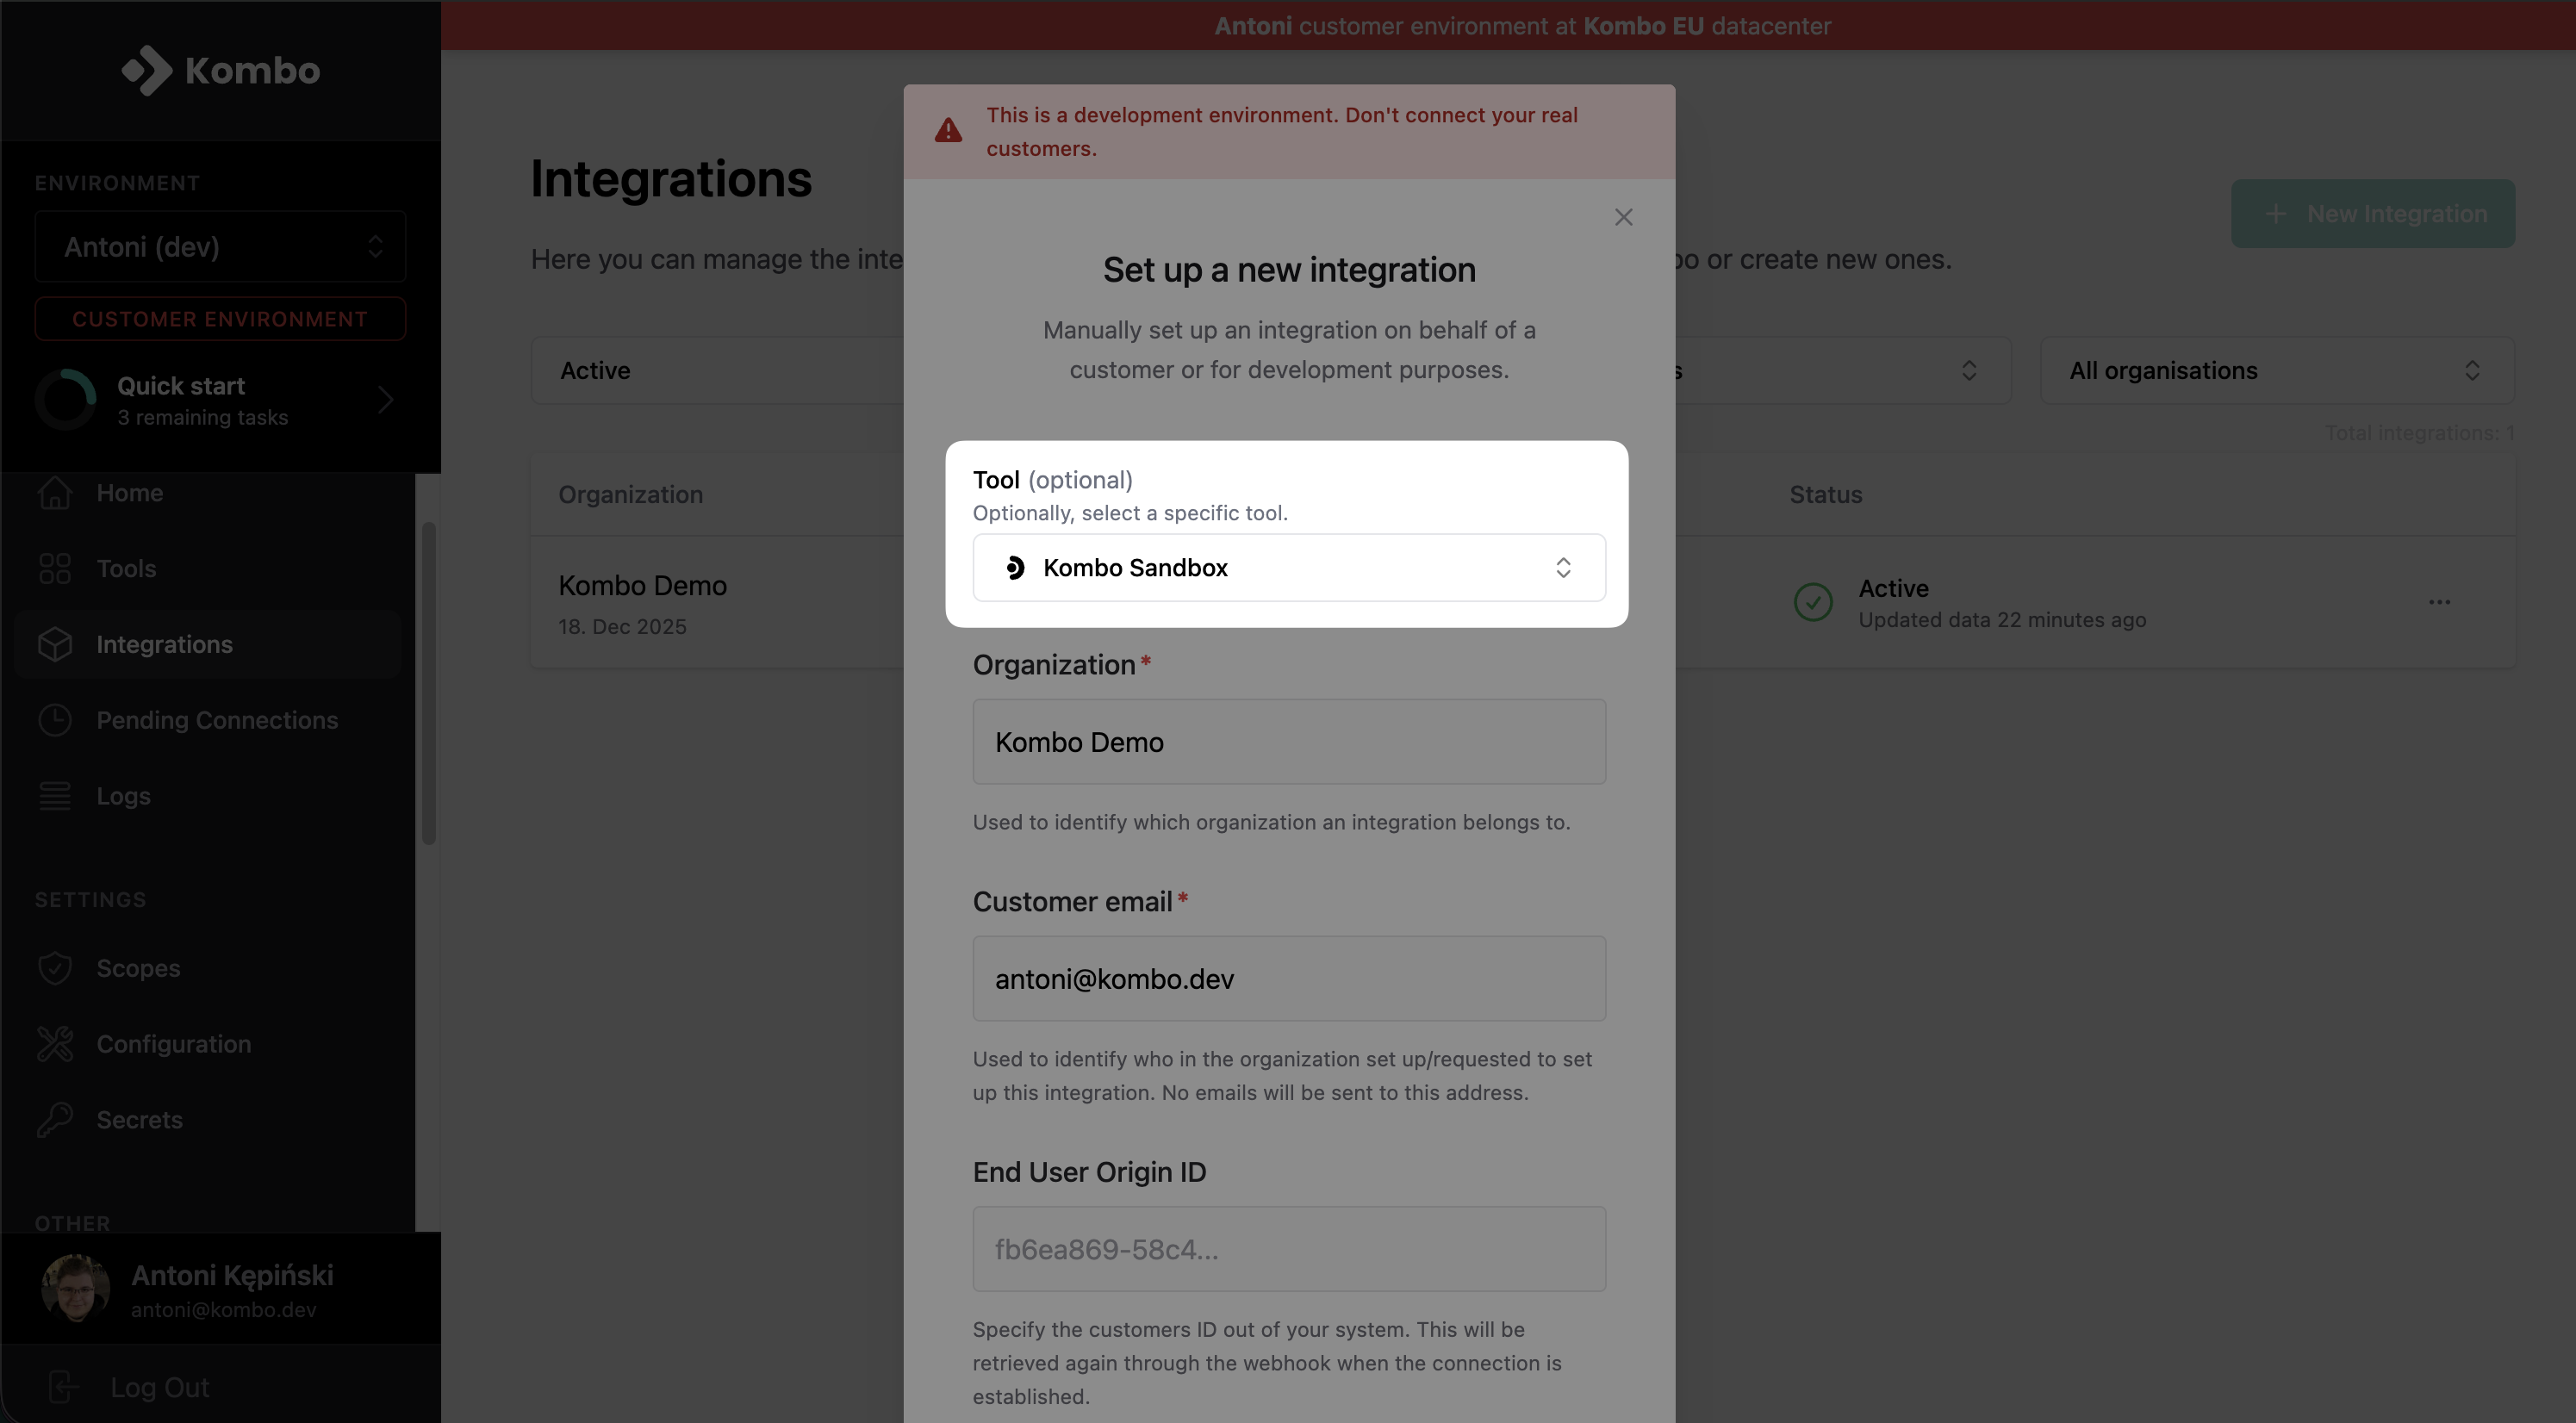
What you see now is the so-called connection flow. Customers will see this UI when connecting their LMS to your product via Kombo. You can preview the various connection flows of the different tools on the [tools page](/lms/guides/implementing-new-tools#resources).
Click "**Continue**" and "**Set up integration**".
## Set up a linked account for development
To call the API you always need to have a linked LMS account to pull and push data from. You can either use our built-in mock integration to get started quickly (recommended), or [get yourself a sandbox via a free trial](/lms/getting-started/sandbox-integrations).
To use our built-in sandbox, go to the [integrations tab](https://app.kombo.dev/integrations) and click on "**New integration**", selecting **Kombo Sandbox** as your tool.
What you see now is the so-called connection flow. Customers will see this UI when connecting their LMS to your product via Kombo. You can preview the various connection flows of the different tools on the [tools page](/lms/guides/implementing-new-tools#resources).
Click "**Continue**" and "**Set up integration**".
 **Click** on the tile that just appeared to get to the details page of the integration.
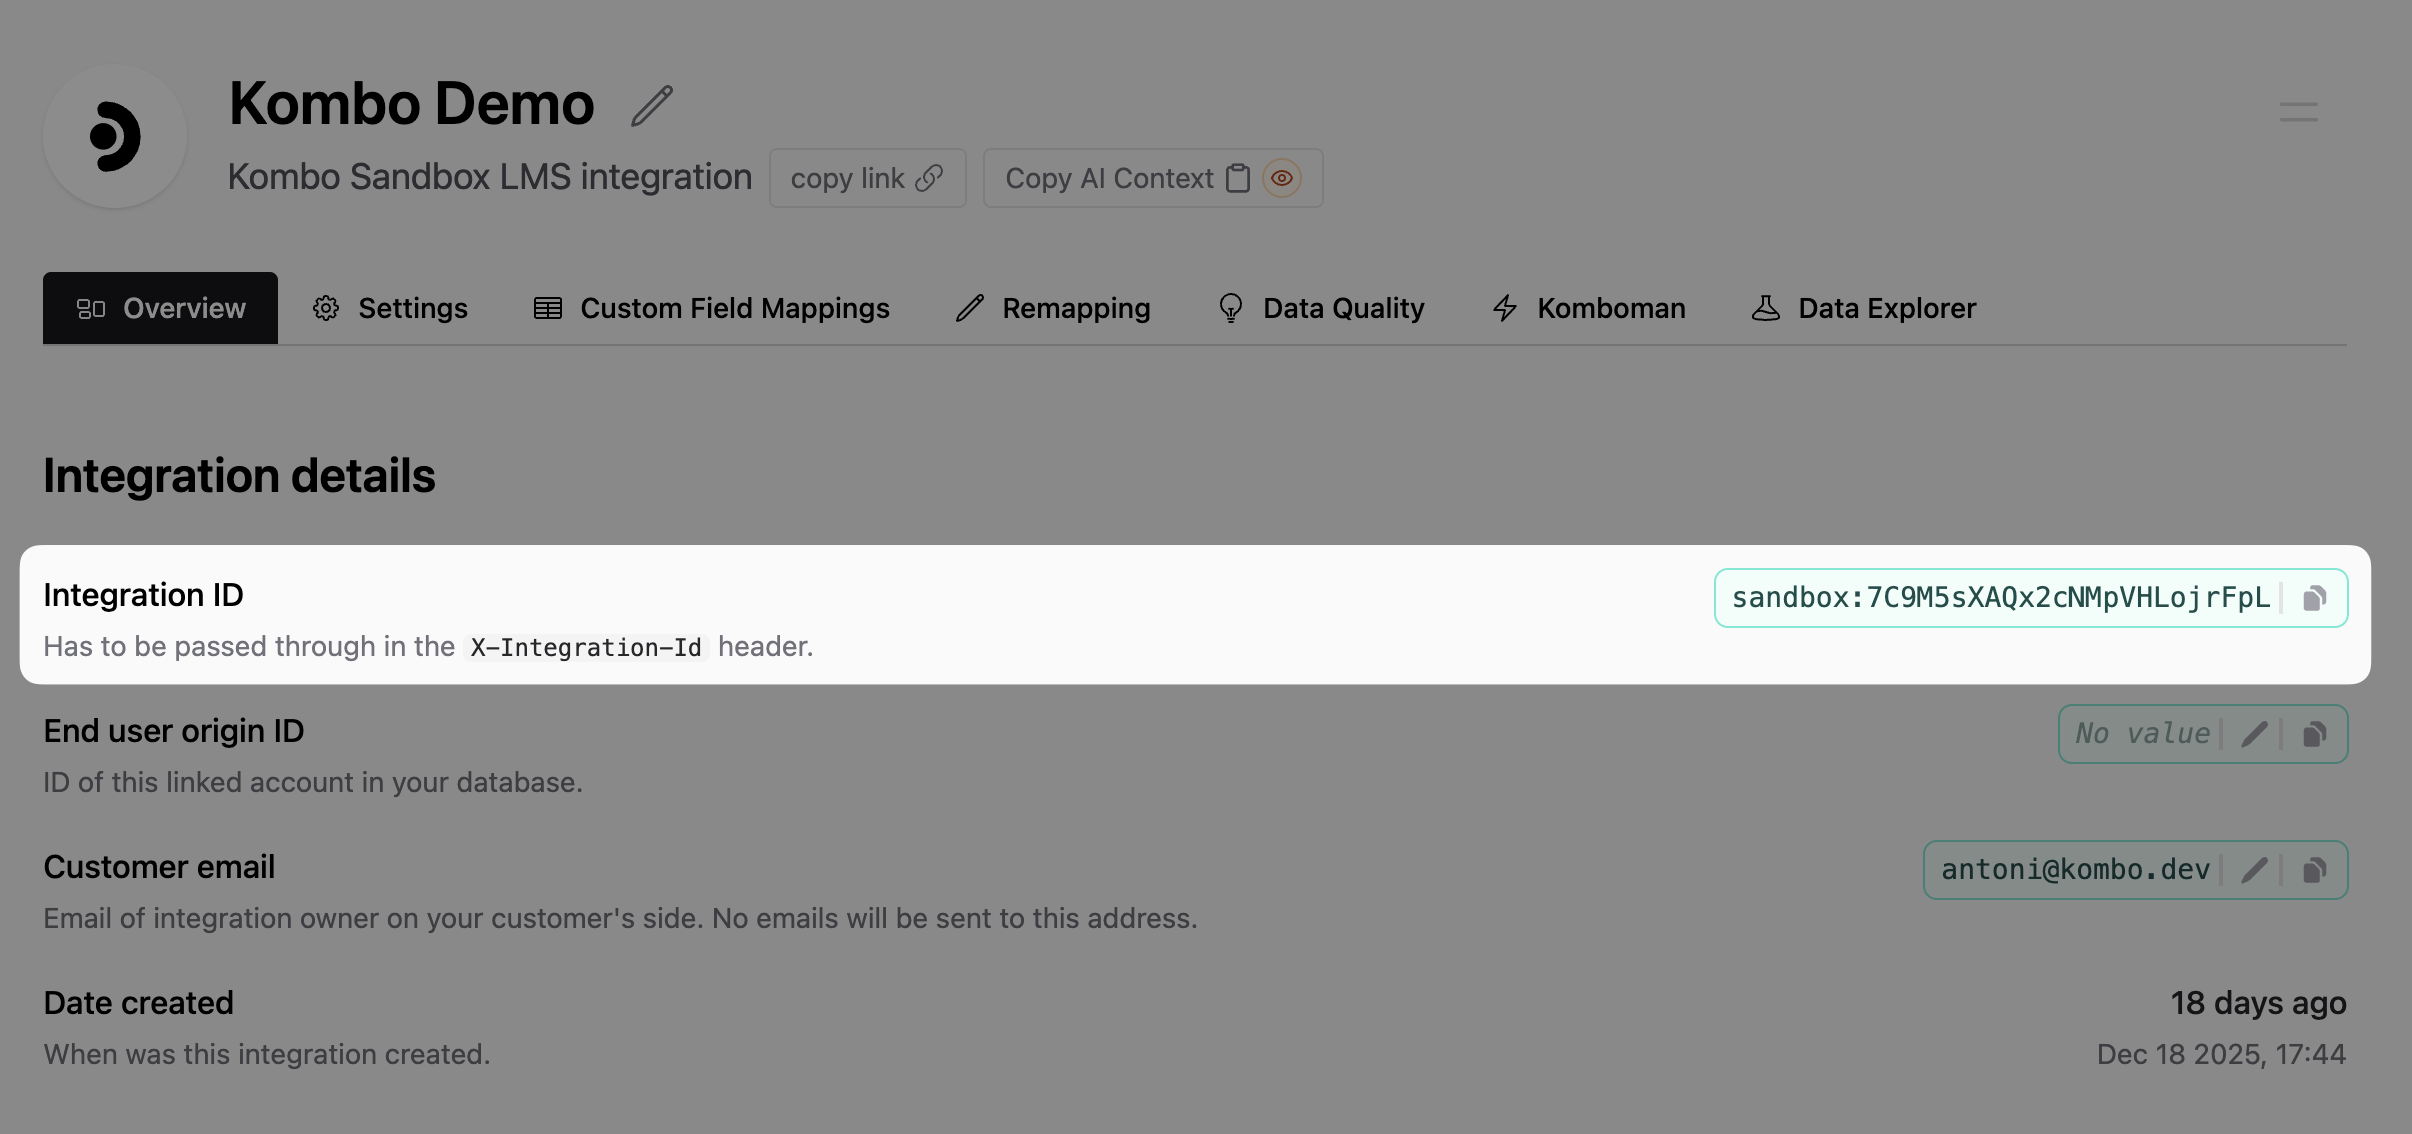
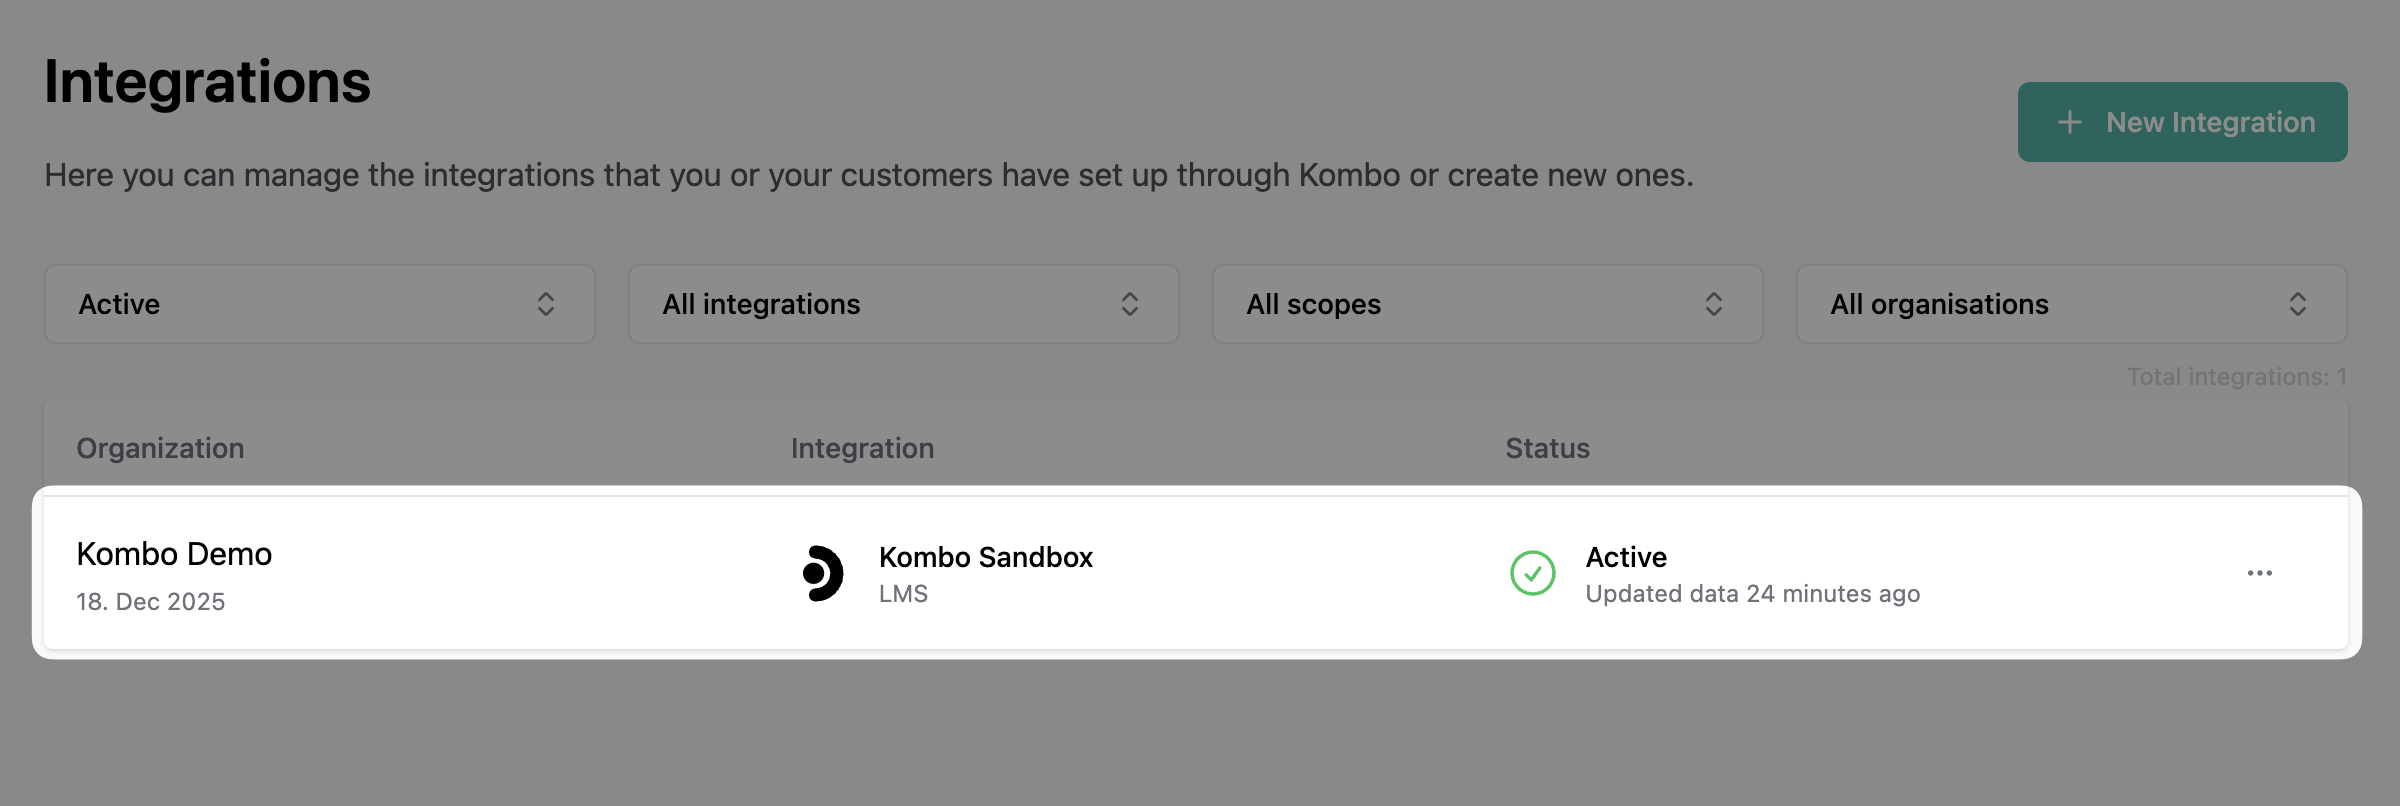 On this page, you can find all info related to the integration. For now, you will only need the integration ID.
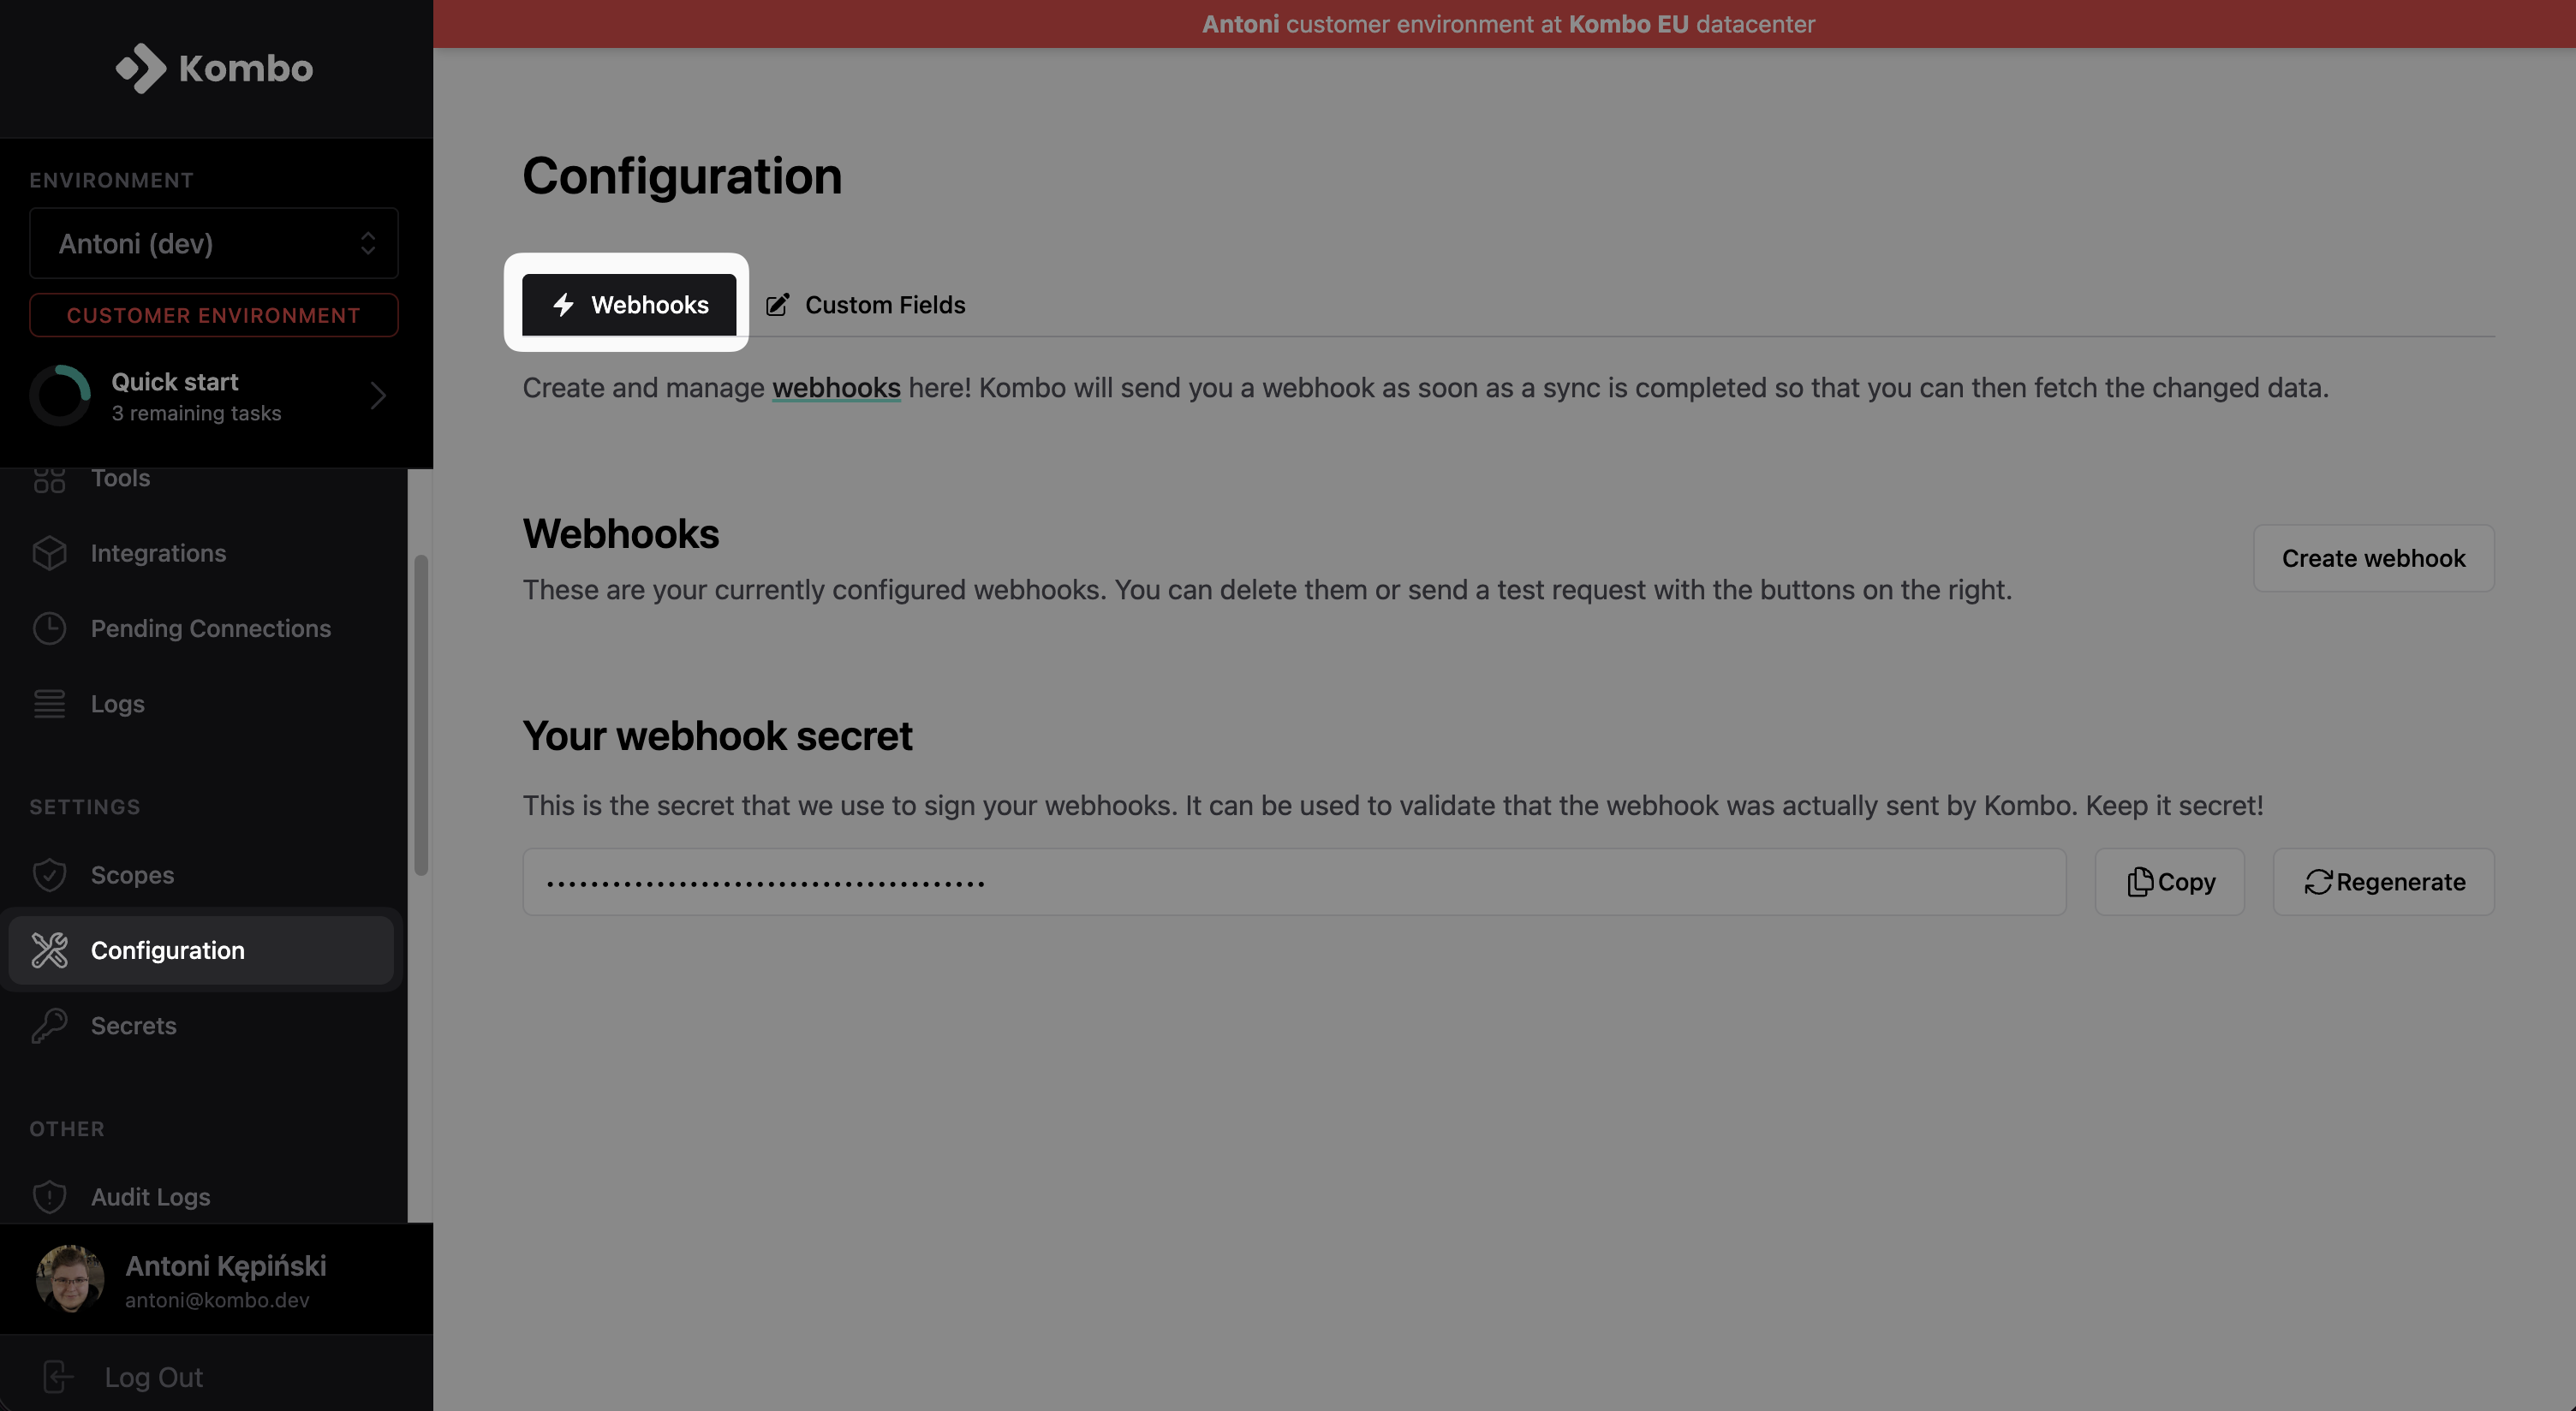
 ## Set up webhooks
Webhooks are a fundamental part of your Kombo implementation. There are multiple different webhook types for different purposes (you can find all of them [here](/lms/guides/webhooks)) but setting them up always works the same:
Go to the [webhooks tab](https://app.kombo.dev/configuration/webhooks).
## Set up webhooks
Webhooks are a fundamental part of your Kombo implementation. There are multiple different webhook types for different purposes (you can find all of them [here](/lms/guides/webhooks)) but setting them up always works the same:
Go to the [webhooks tab](https://app.kombo.dev/configuration/webhooks).
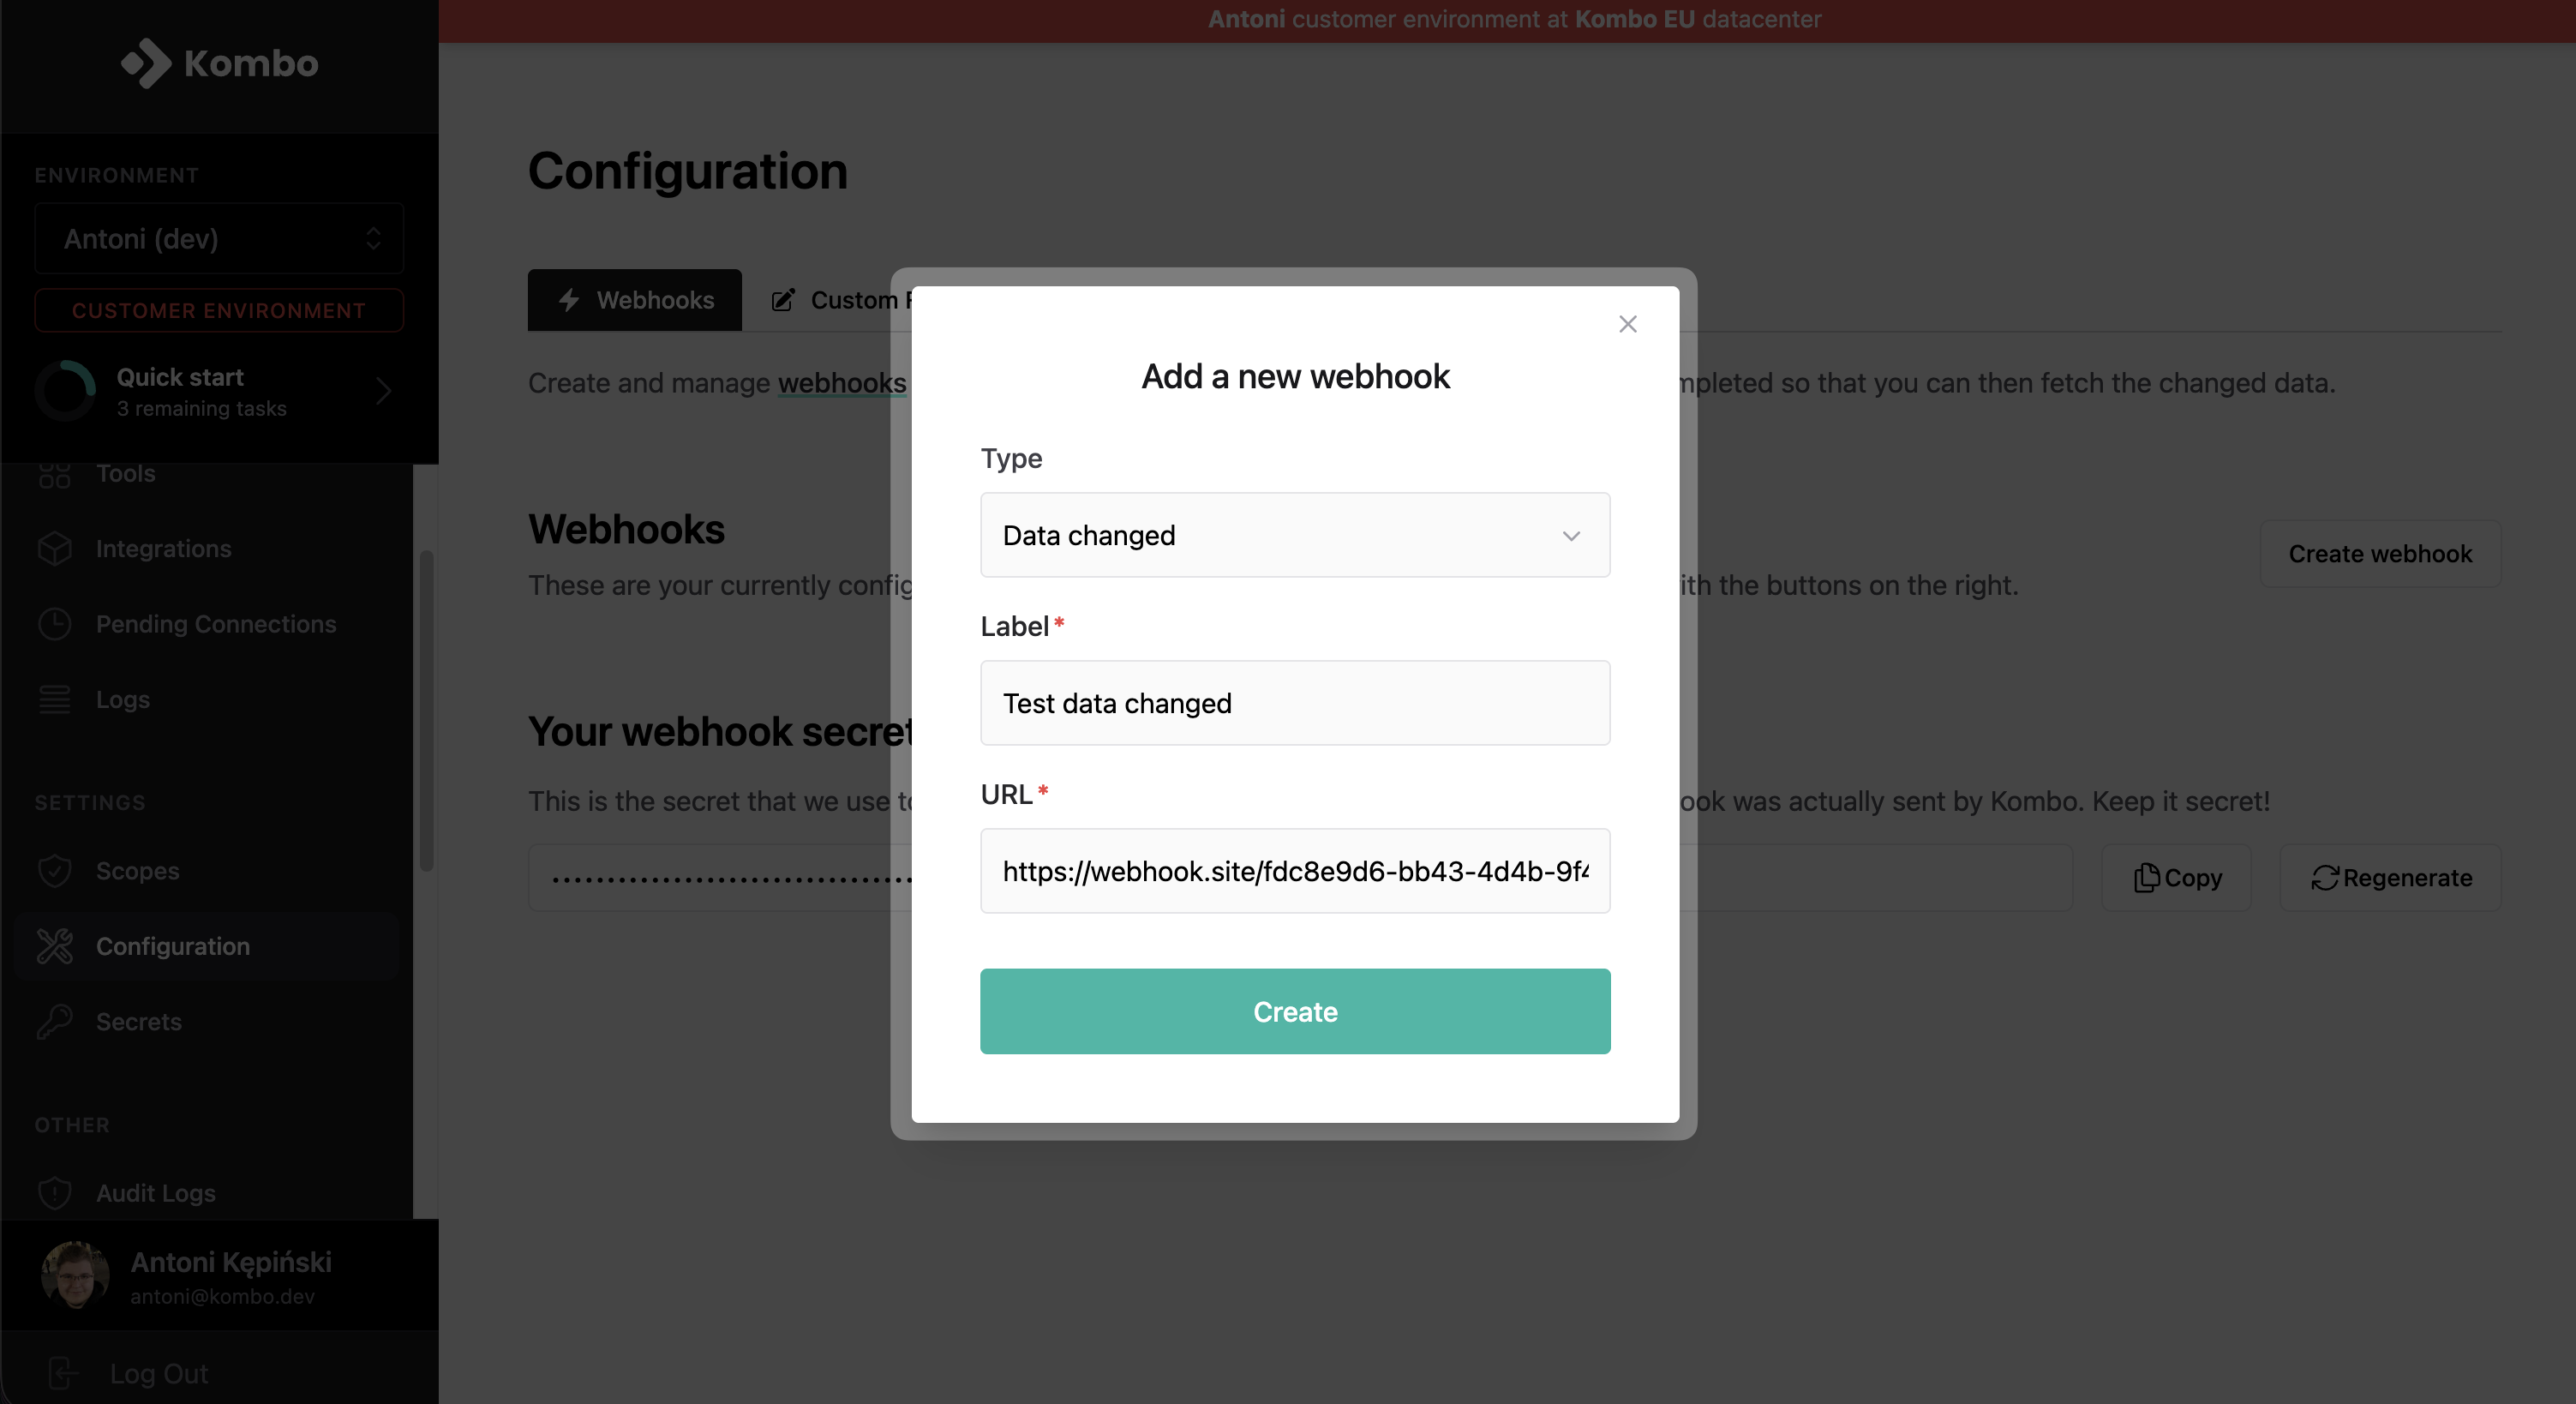
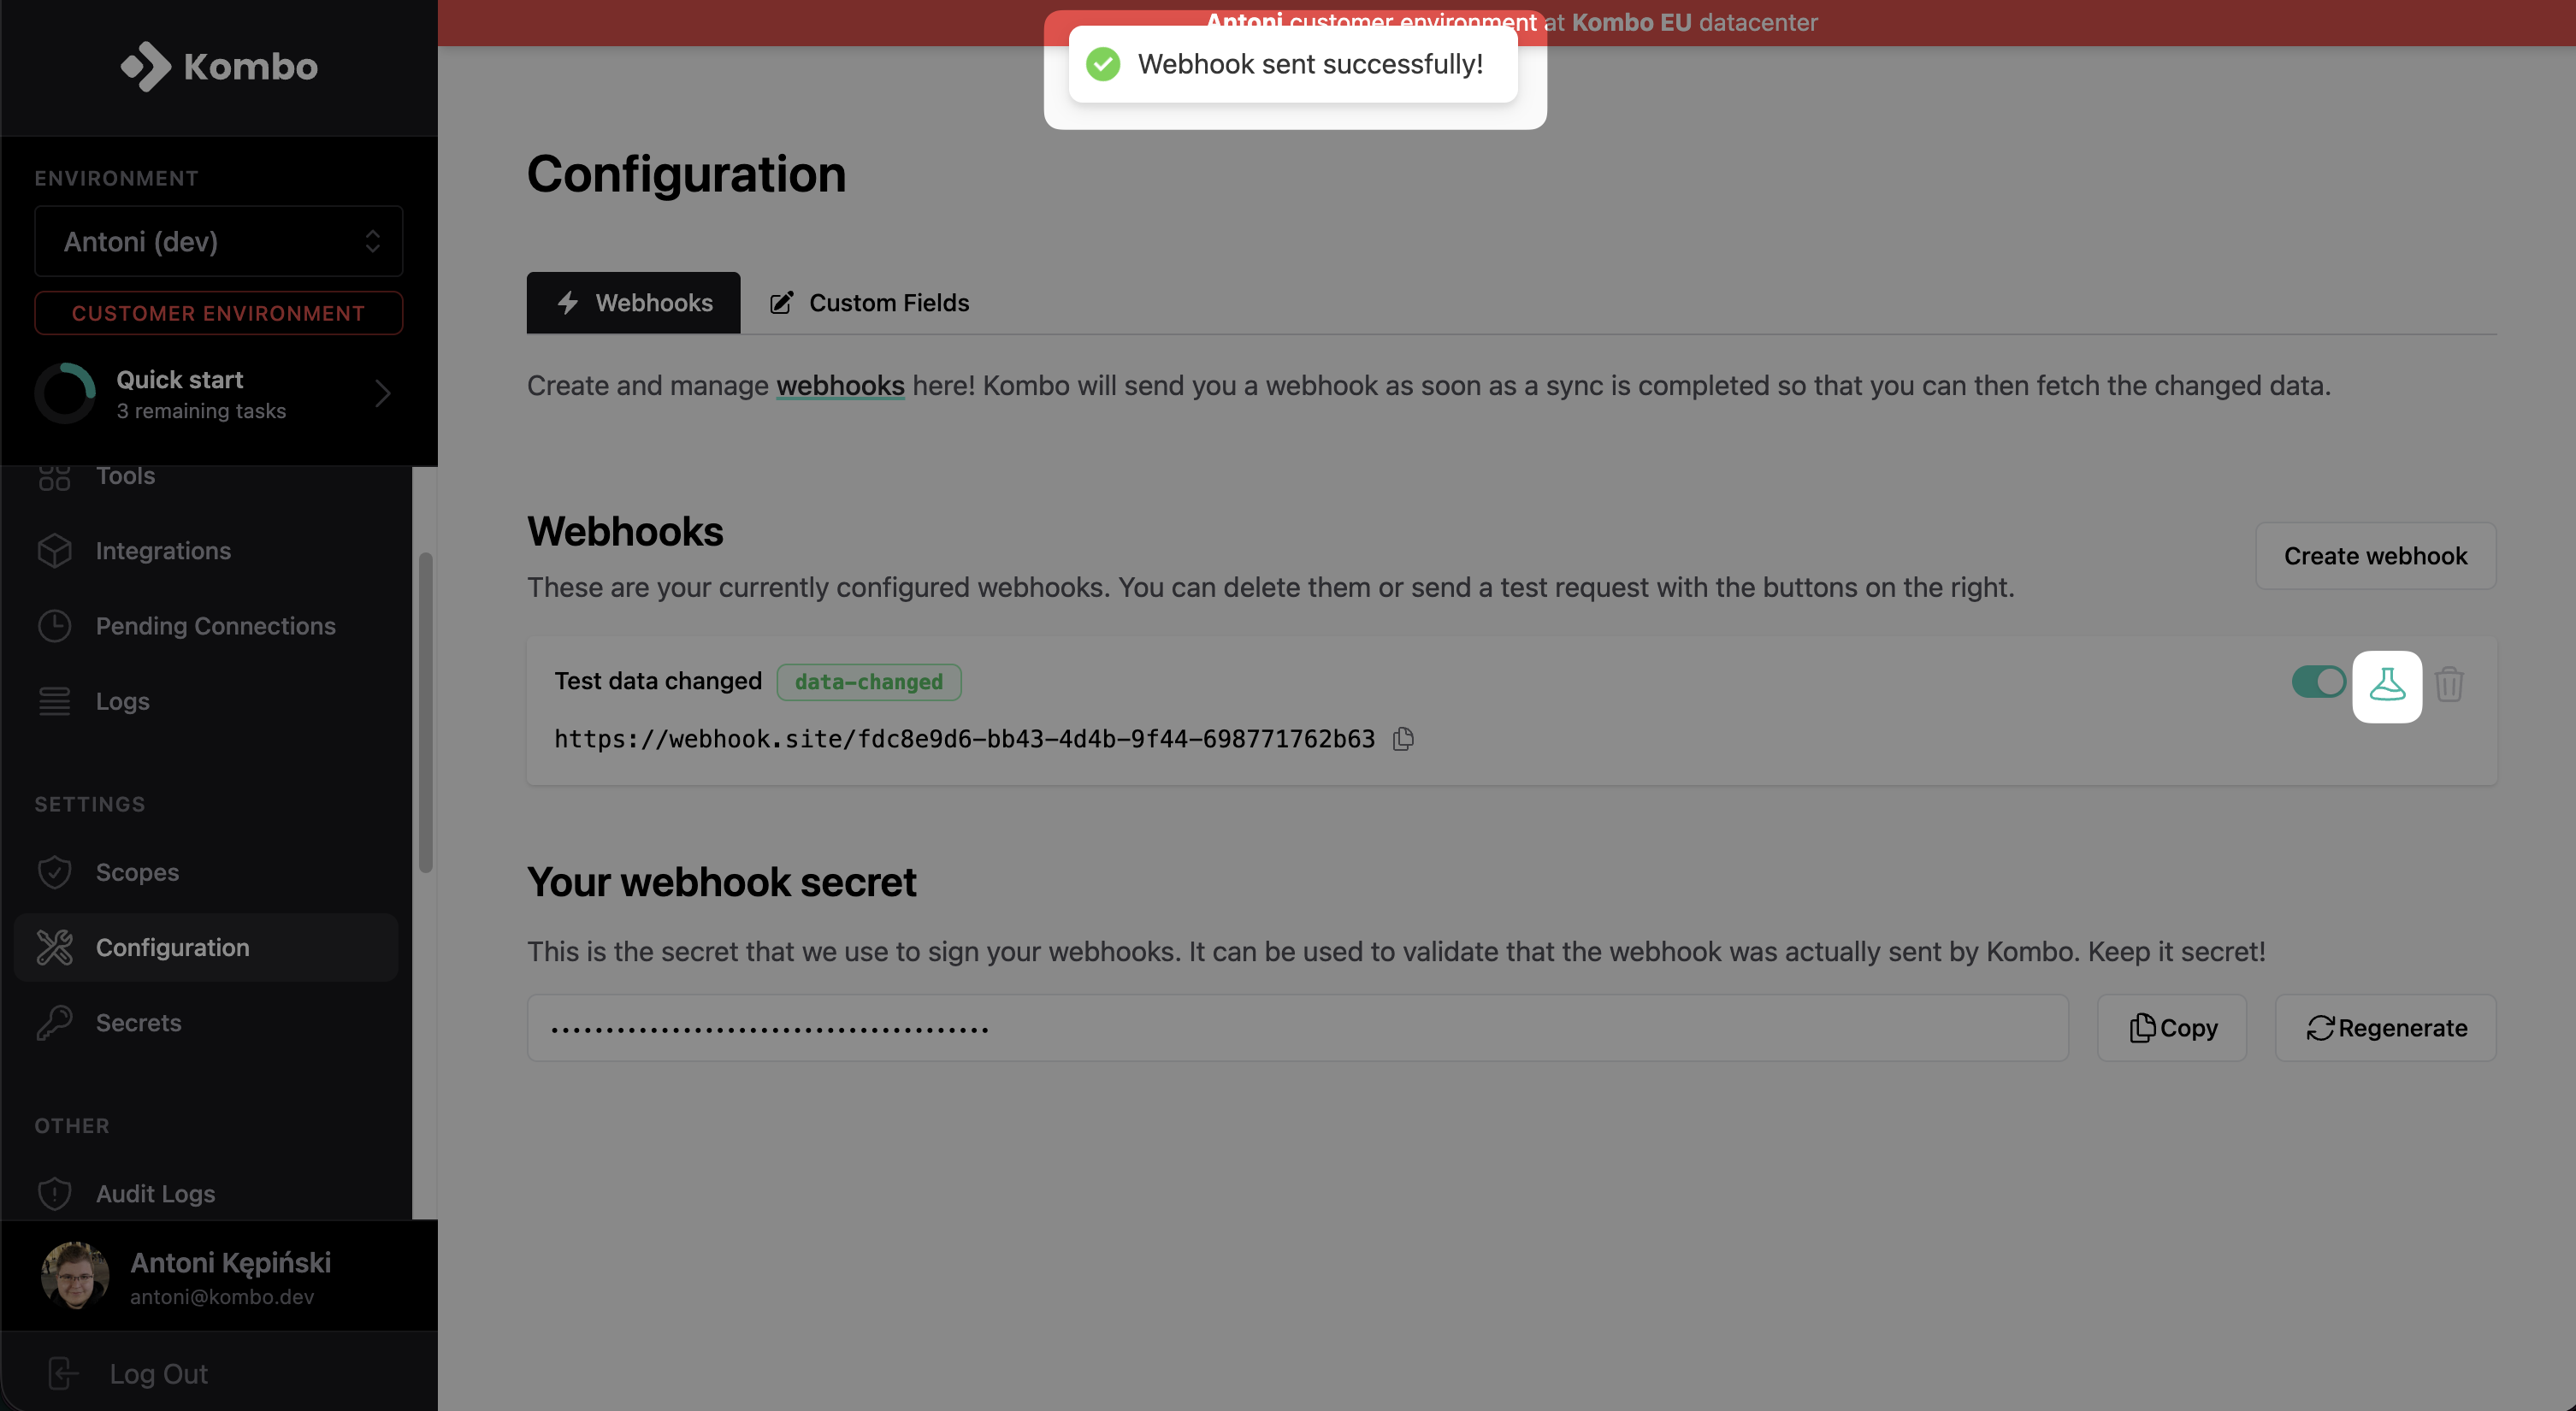
 Create a webhook, give it a descriptive label, enter the URL, and select the desired type.
 Send a test webhook by clicking the test button.
 Later on in this guide, we will talk more about the most important types of
webhooks, but you can find an all-encompassing overview on our [webhooks
page](/lms/guides/webhooks).
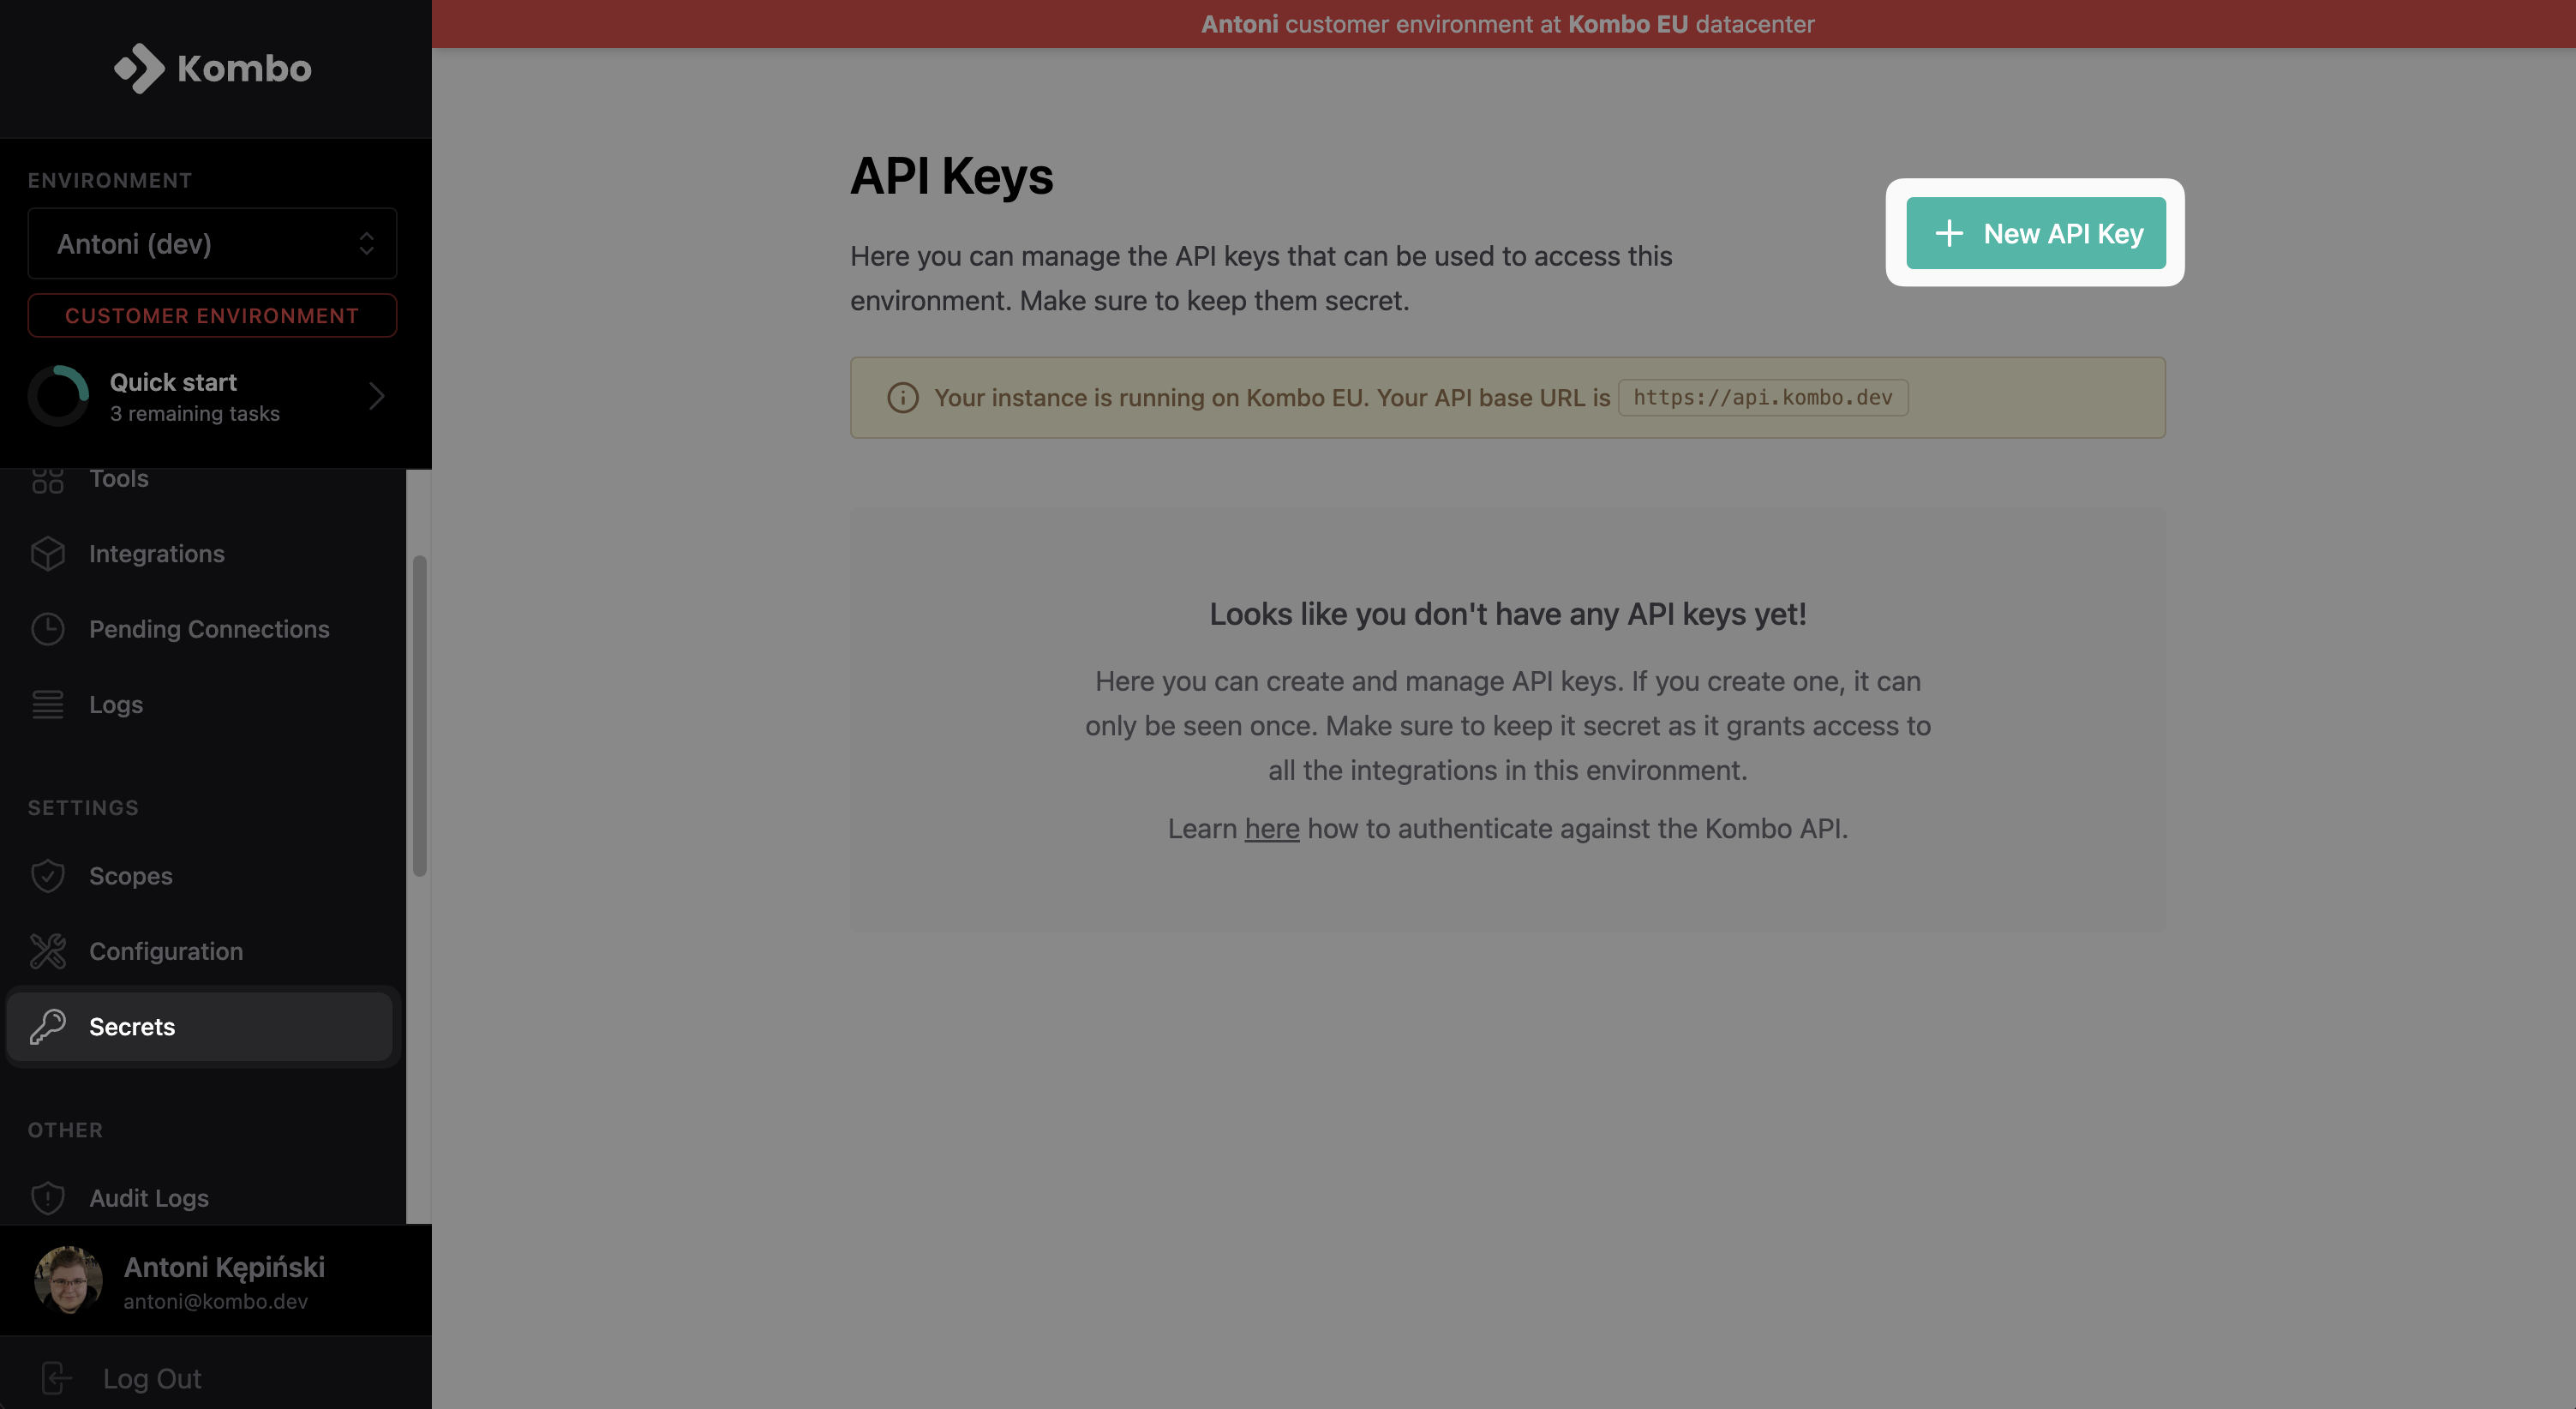
## Create Kombo API key
Go to the [Secrets tab](https://app.kombo.dev/secrets) and click on "**New API key**".
Later on in this guide, we will talk more about the most important types of
webhooks, but you can find an all-encompassing overview on our [webhooks
page](/lms/guides/webhooks).
## Create Kombo API key
Go to the [Secrets tab](https://app.kombo.dev/secrets) and click on "**New API key**".
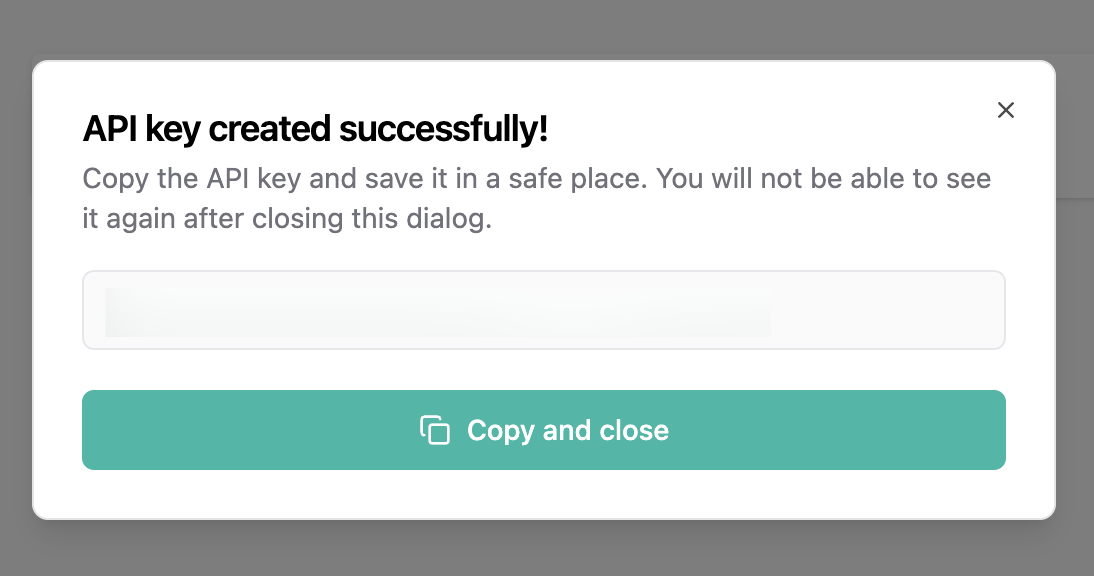
 Name the API key and click "**Create API key**".
 Copy the token and store it somewhere safe.
 ## Test your setup
You made it through the setup and have everything in place to get started developing!
To verify you set up the sandbox integration and API key correctly, try the following HTTP request to the ["get integration details"-endpoint](/lms/v1/get-integrations-integration-id):
```bash theme={null}
curl --request GET \
--url https://api.kombo.dev/v1/integrations/{integration_id} \
--header 'Authorization: '
```
You can also use any other endpoint like ["get courses"](/lms/v1/get-courses) or ["get course progressions"](/lms/v1/get-course-progressions). The Sandbox integration will return you some sample data for it.
**Tip:** You can use our [official server-side SDKs](/libraries-and-sdks) to
interact with the Kombo API in an ergonomic and type-safe manner. Check if
your tech stack is already supported!
## Optional: set up Postman collection
To make development easier, we recommend setting up a Postman collection. It takes only one minute and can be done like this:
* **Copy** the link of our OpenAPI schema:
```bash theme={null}
https://api.kombo.dev/openapi.json
```
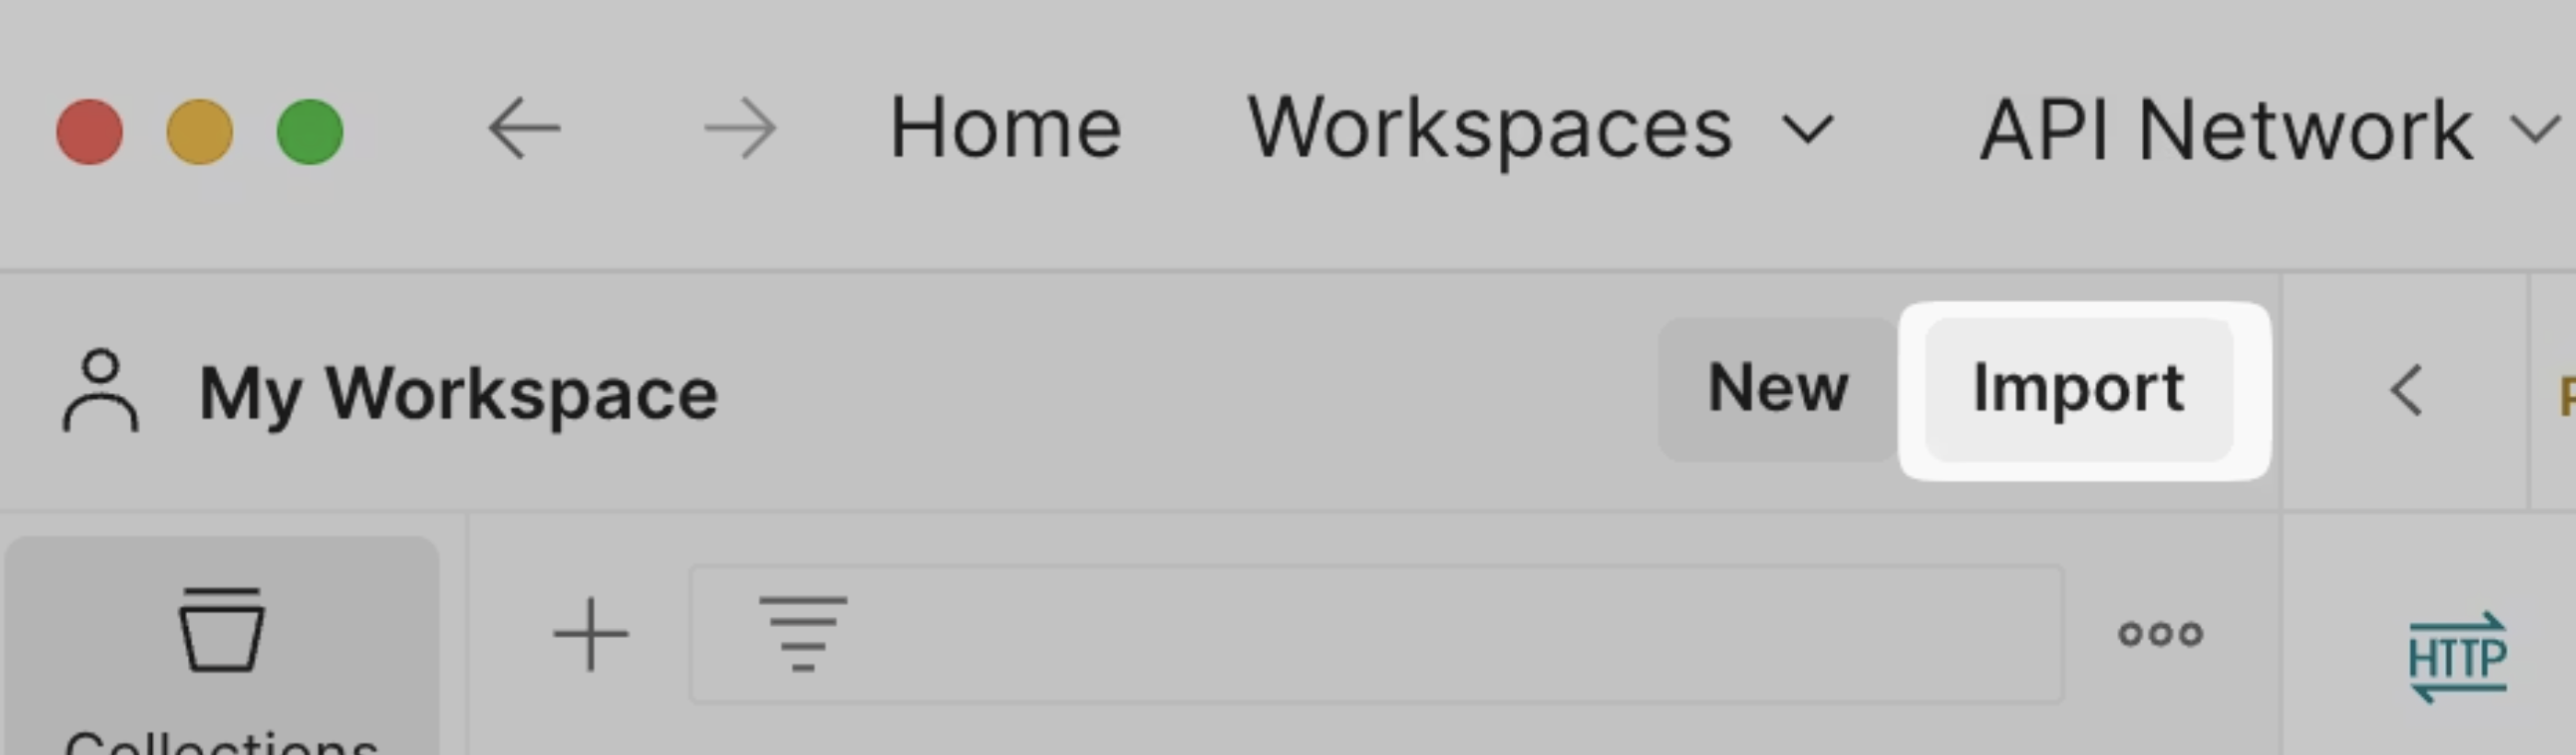
* Open Postman, and click **Import**
## Test your setup
You made it through the setup and have everything in place to get started developing!
To verify you set up the sandbox integration and API key correctly, try the following HTTP request to the ["get integration details"-endpoint](/lms/v1/get-integrations-integration-id):
```bash theme={null}
curl --request GET \
--url https://api.kombo.dev/v1/integrations/{integration_id} \
--header 'Authorization: '
```
You can also use any other endpoint like ["get courses"](/lms/v1/get-courses) or ["get course progressions"](/lms/v1/get-course-progressions). The Sandbox integration will return you some sample data for it.
**Tip:** You can use our [official server-side SDKs](/libraries-and-sdks) to
interact with the Kombo API in an ergonomic and type-safe manner. Check if
your tech stack is already supported!
## Optional: set up Postman collection
To make development easier, we recommend setting up a Postman collection. It takes only one minute and can be done like this:
* **Copy** the link of our OpenAPI schema:
```bash theme={null}
https://api.kombo.dev/openapi.json
```
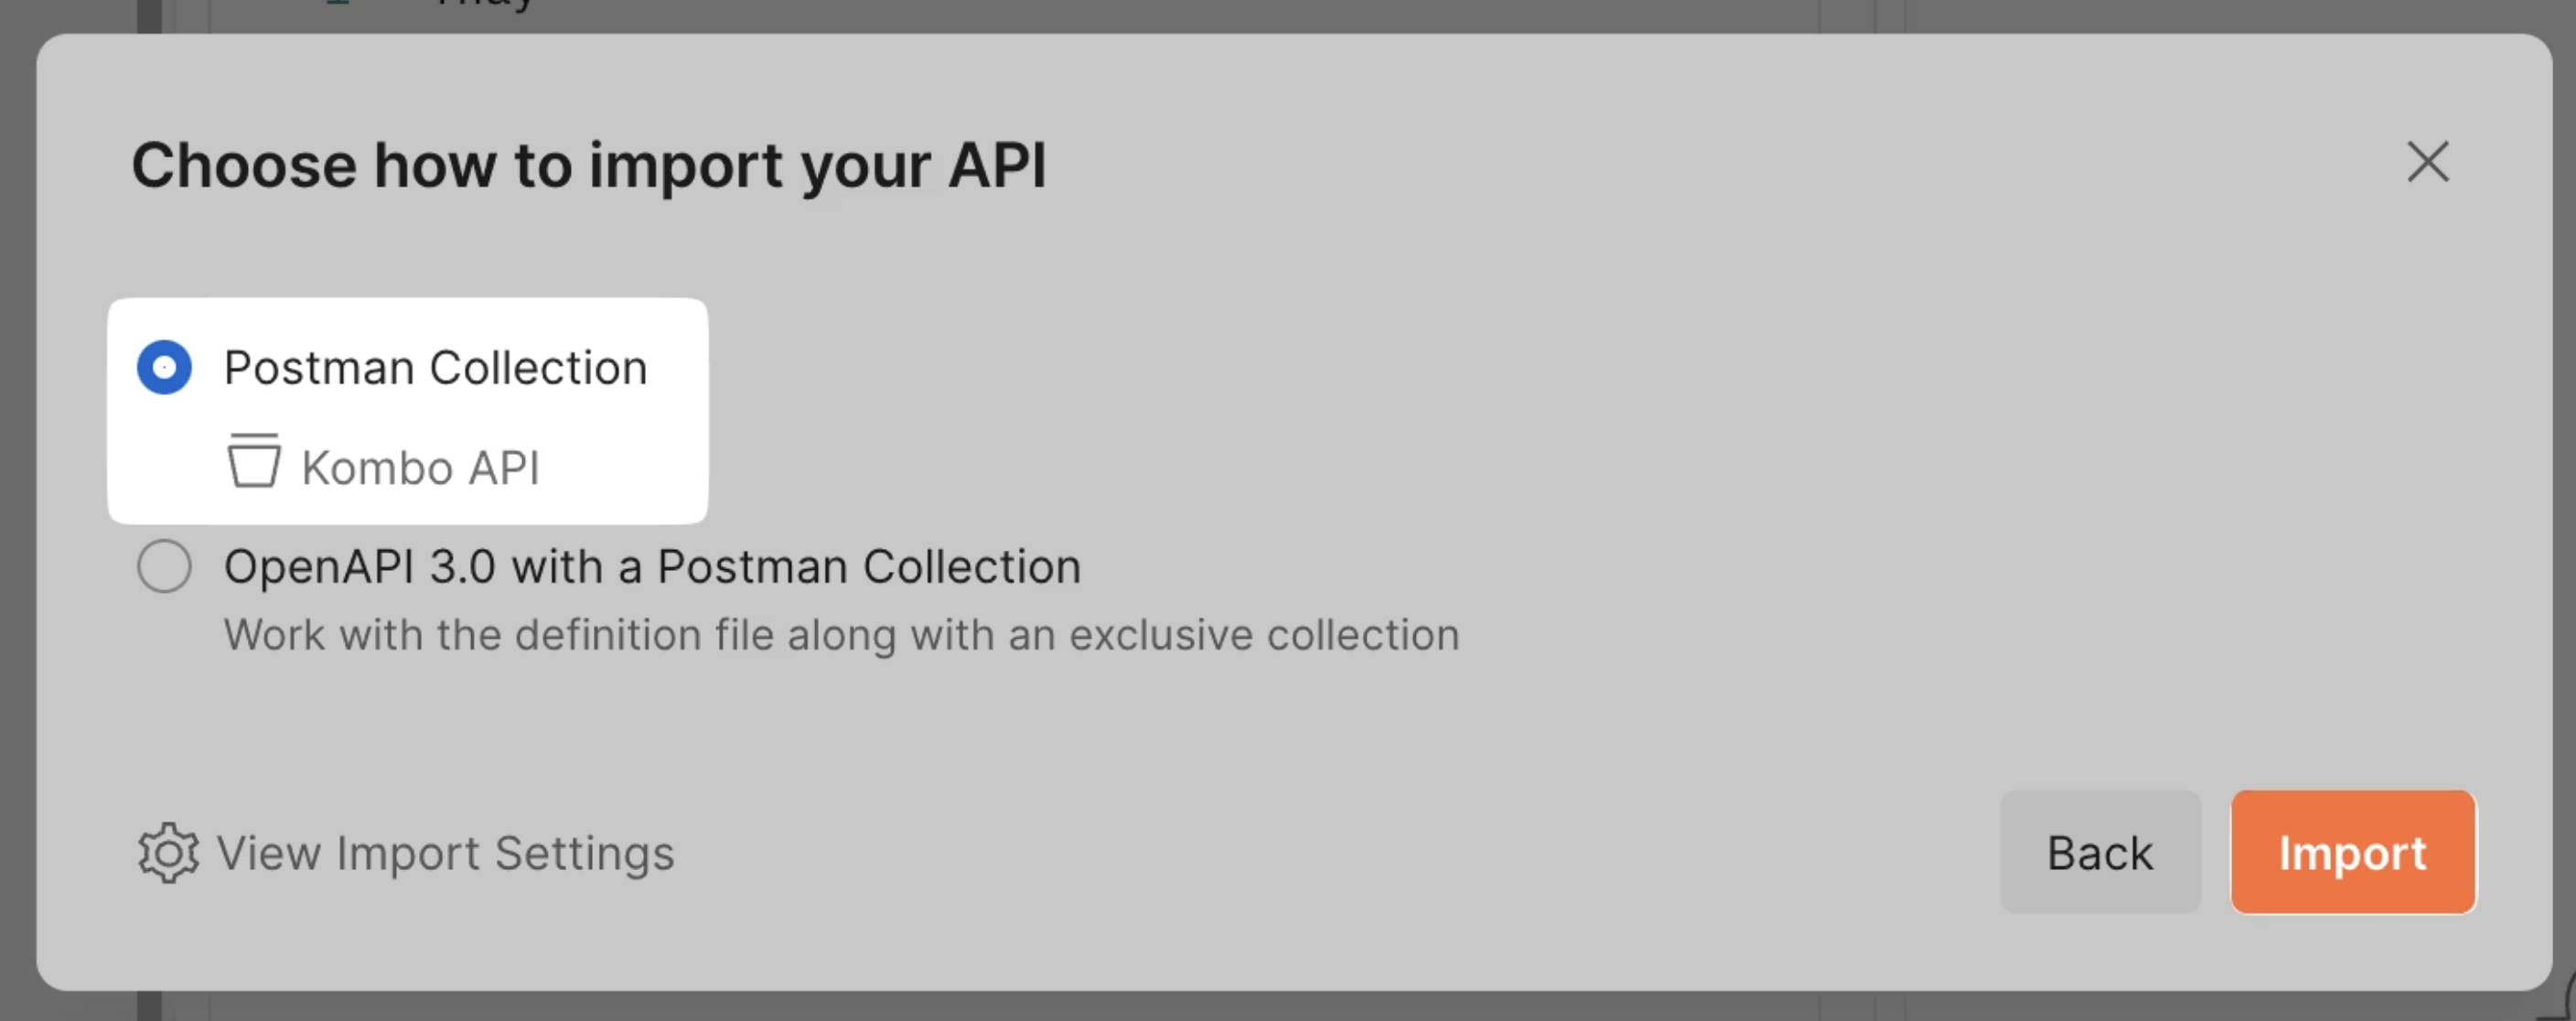
* Open Postman, and click **Import**
 * **Paste** the URL and click **Import**