> ## Documentation Index
> Fetch the complete documentation index at: https://docs.kombo.dev/llms.txt
> Use this file to discover all available pages before exploring further.
# Data Explorer
> Interact with customer data from a convenient UI in the Kombo dashboard.
## Overview
The Data Explorer is a visual layer on top of Kombo's unified API. It allows
you to view and search for data entries and execute all write actions from a
convenient UI in the Kombo dashboard.
This allows you to easily debug issues with your integrations, develop new
features, and test changes with your customer's data or your sandboxes.
 ## Features
Below a few examples showing what you can do with the Data Explorer.
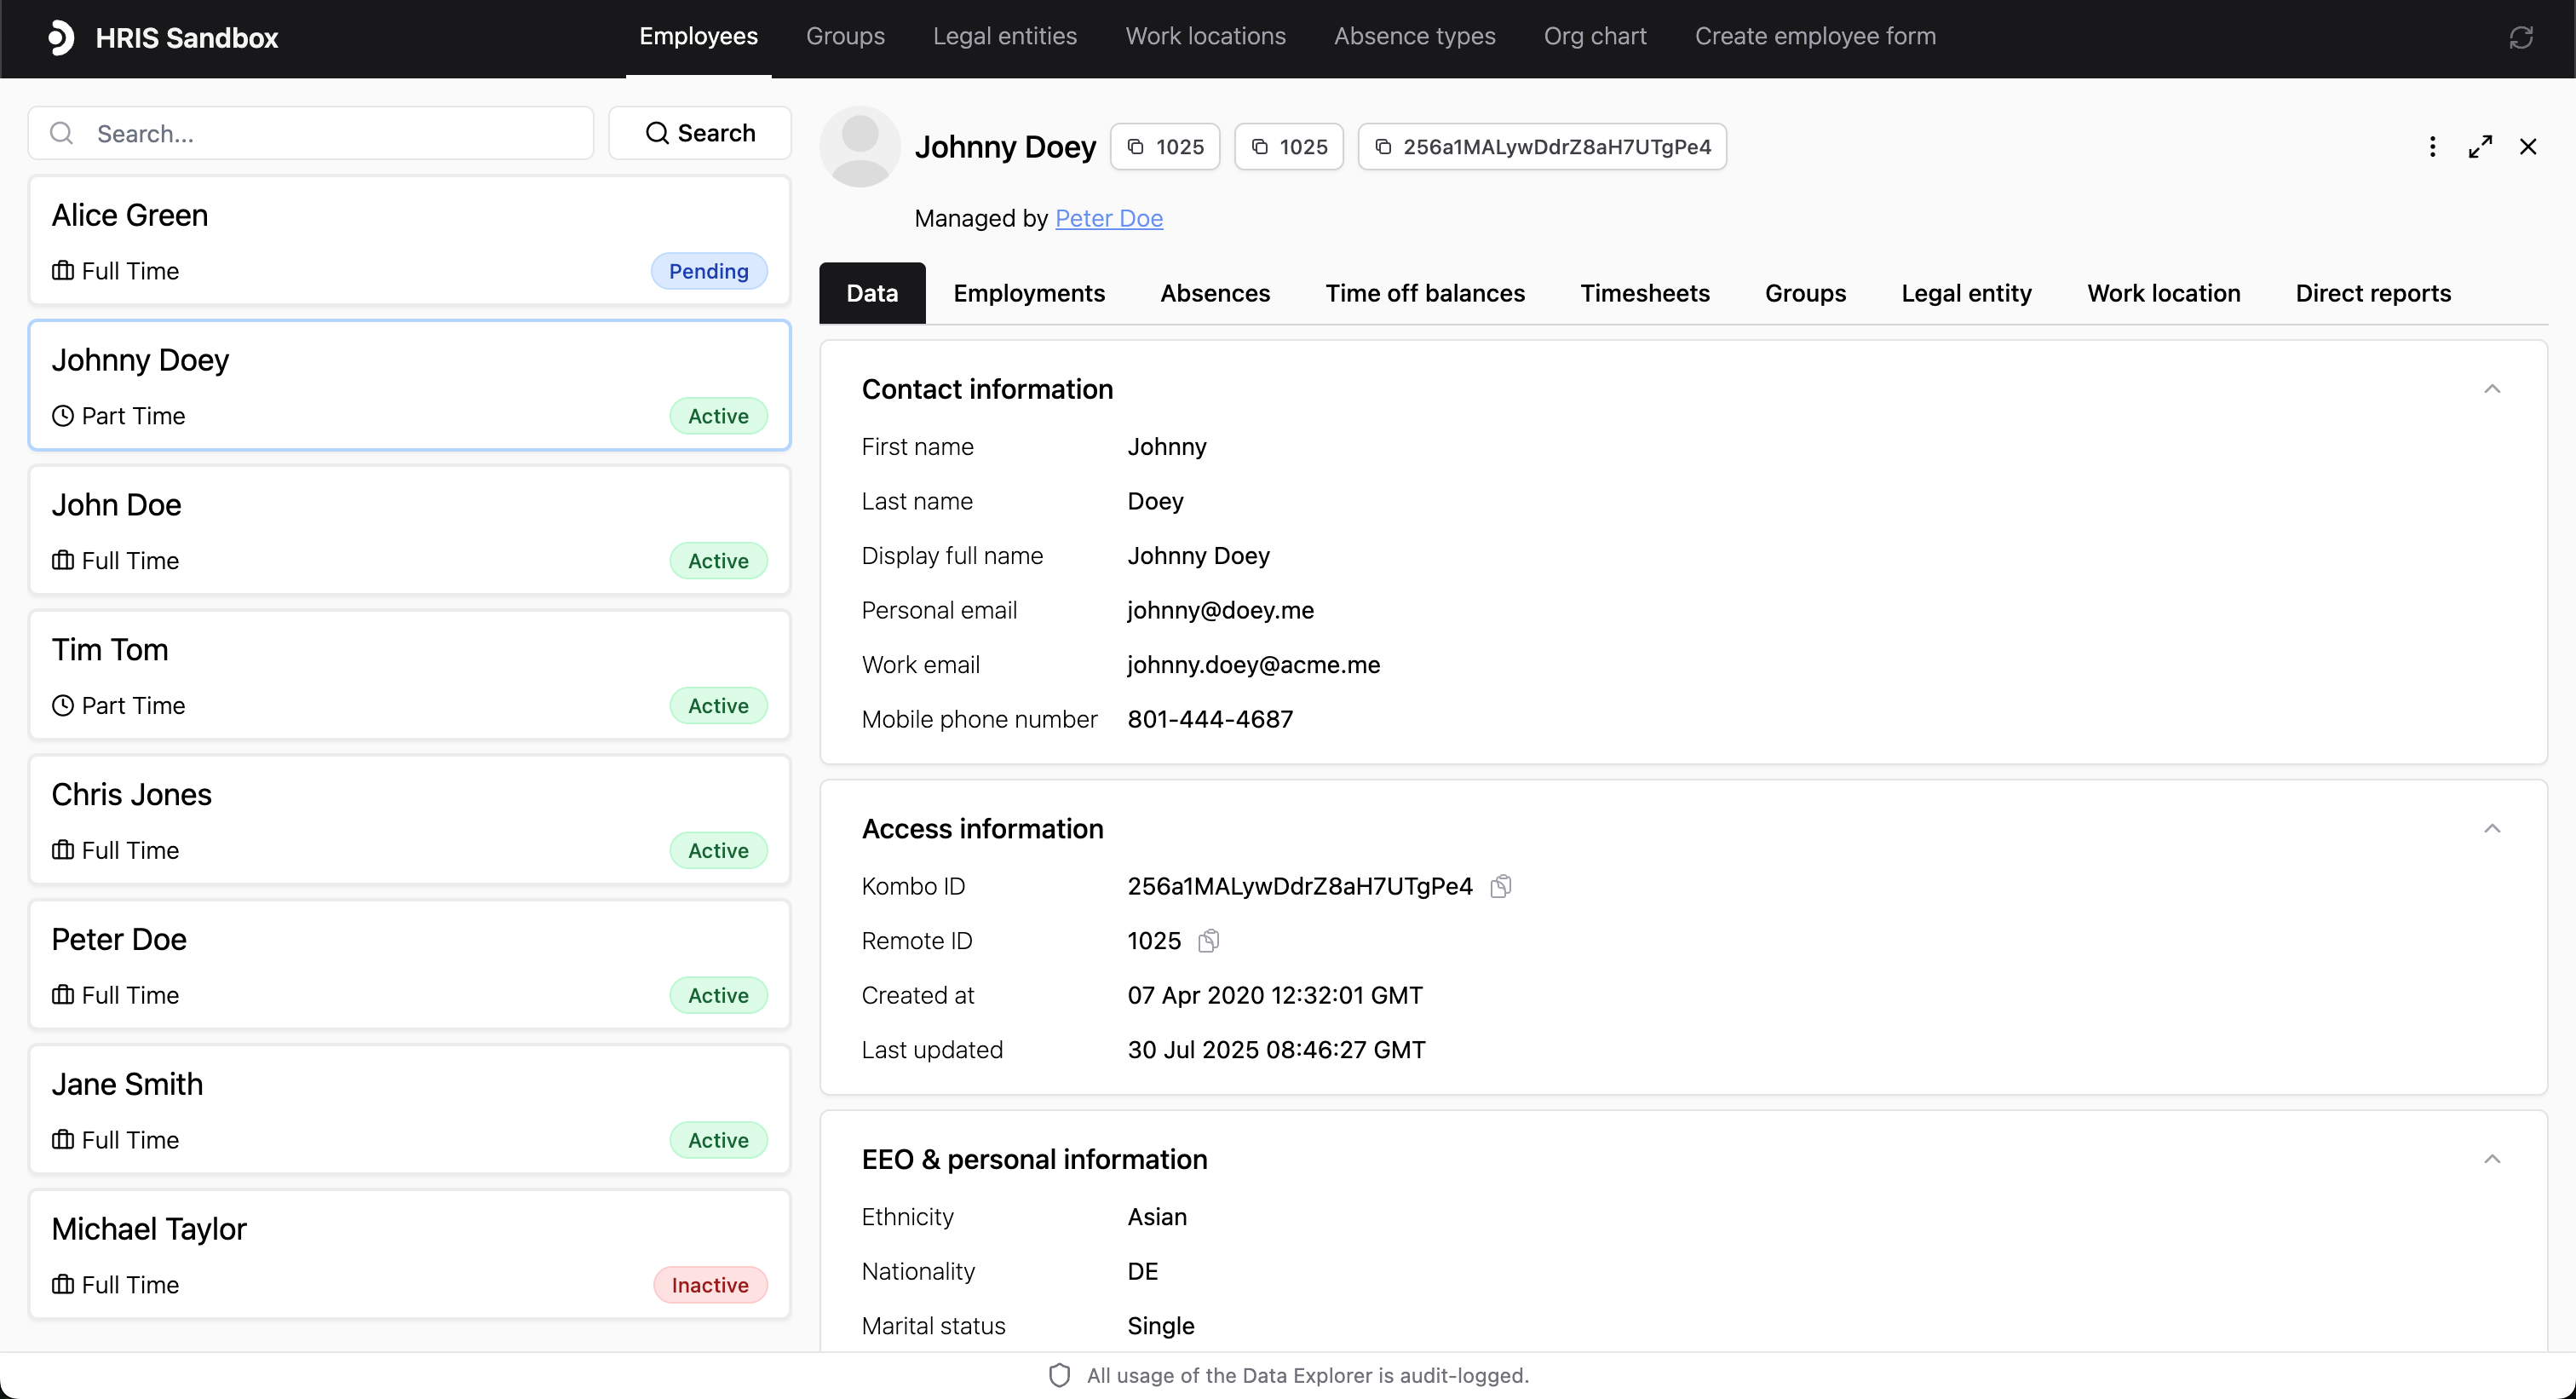
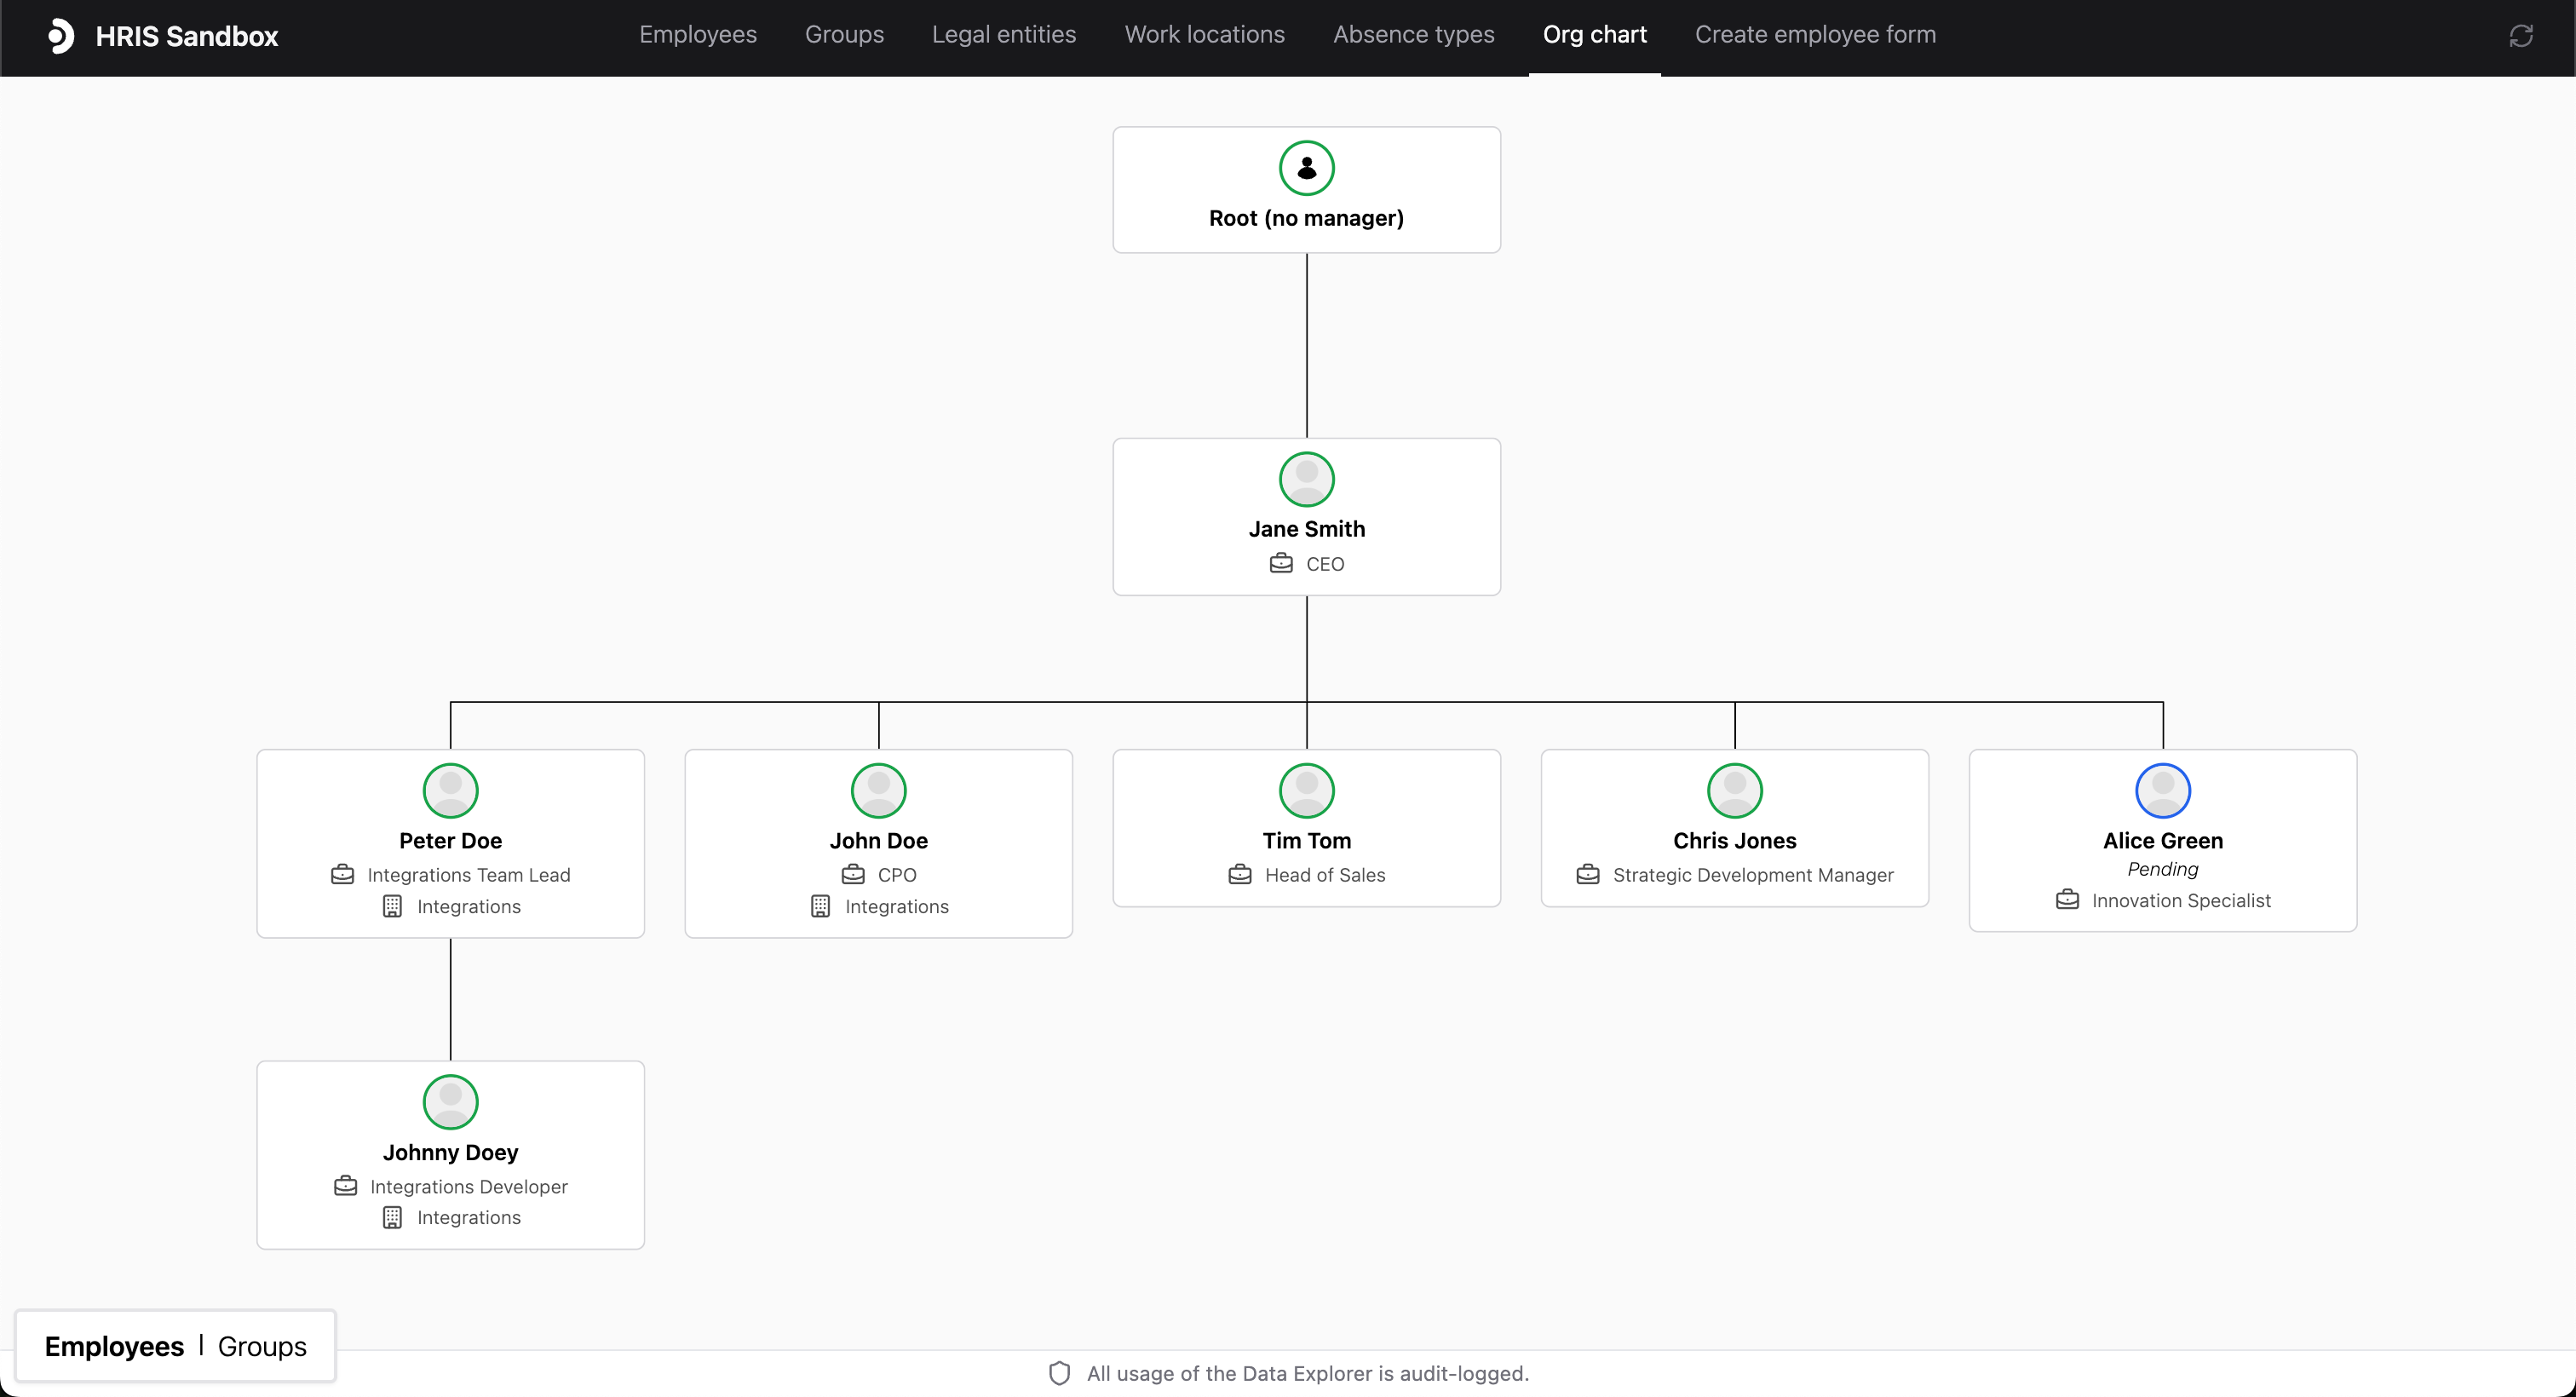
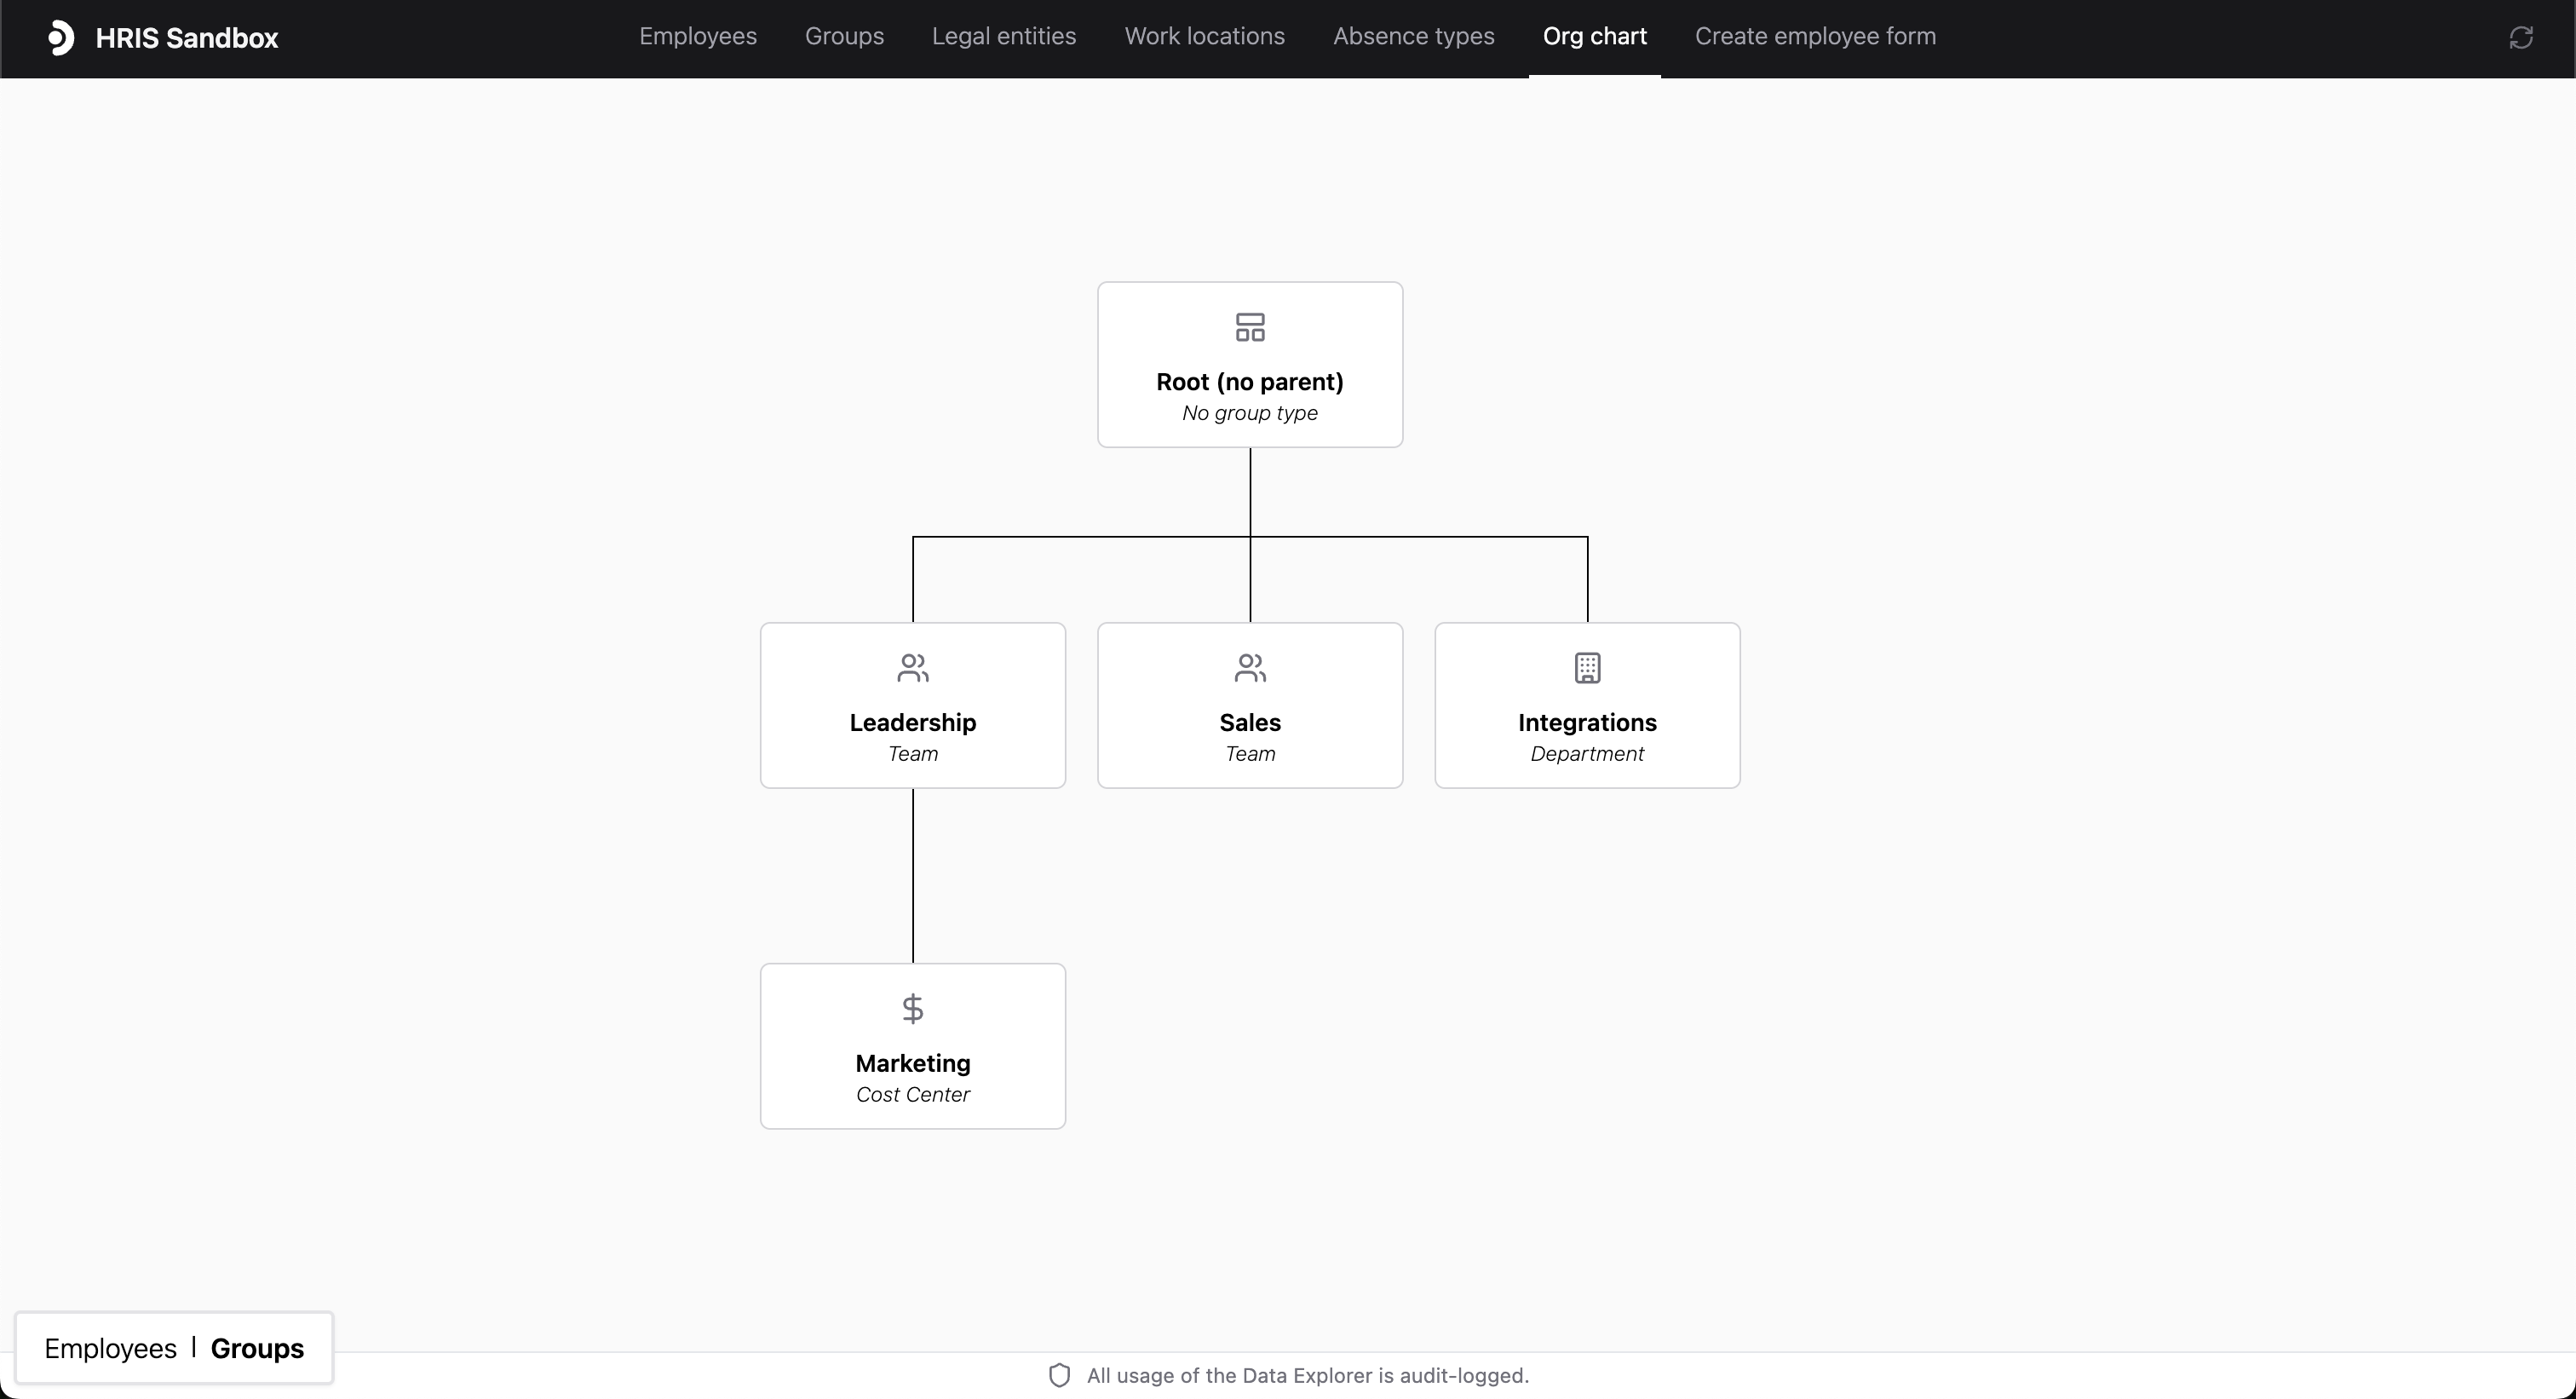
You can view any data field of any data model
on the Kombo API in the Data Explorer. This includes employees, groups,
work locations, legal entities, org hierarchy and structure, absence
information and all their relations to each other.
## Features
Below a few examples showing what you can do with the Data Explorer.
You can view any data field of any data model
on the Kombo API in the Data Explorer. This includes employees, groups,
work locations, legal entities, org hierarchy and structure, absence
information and all their relations to each other.
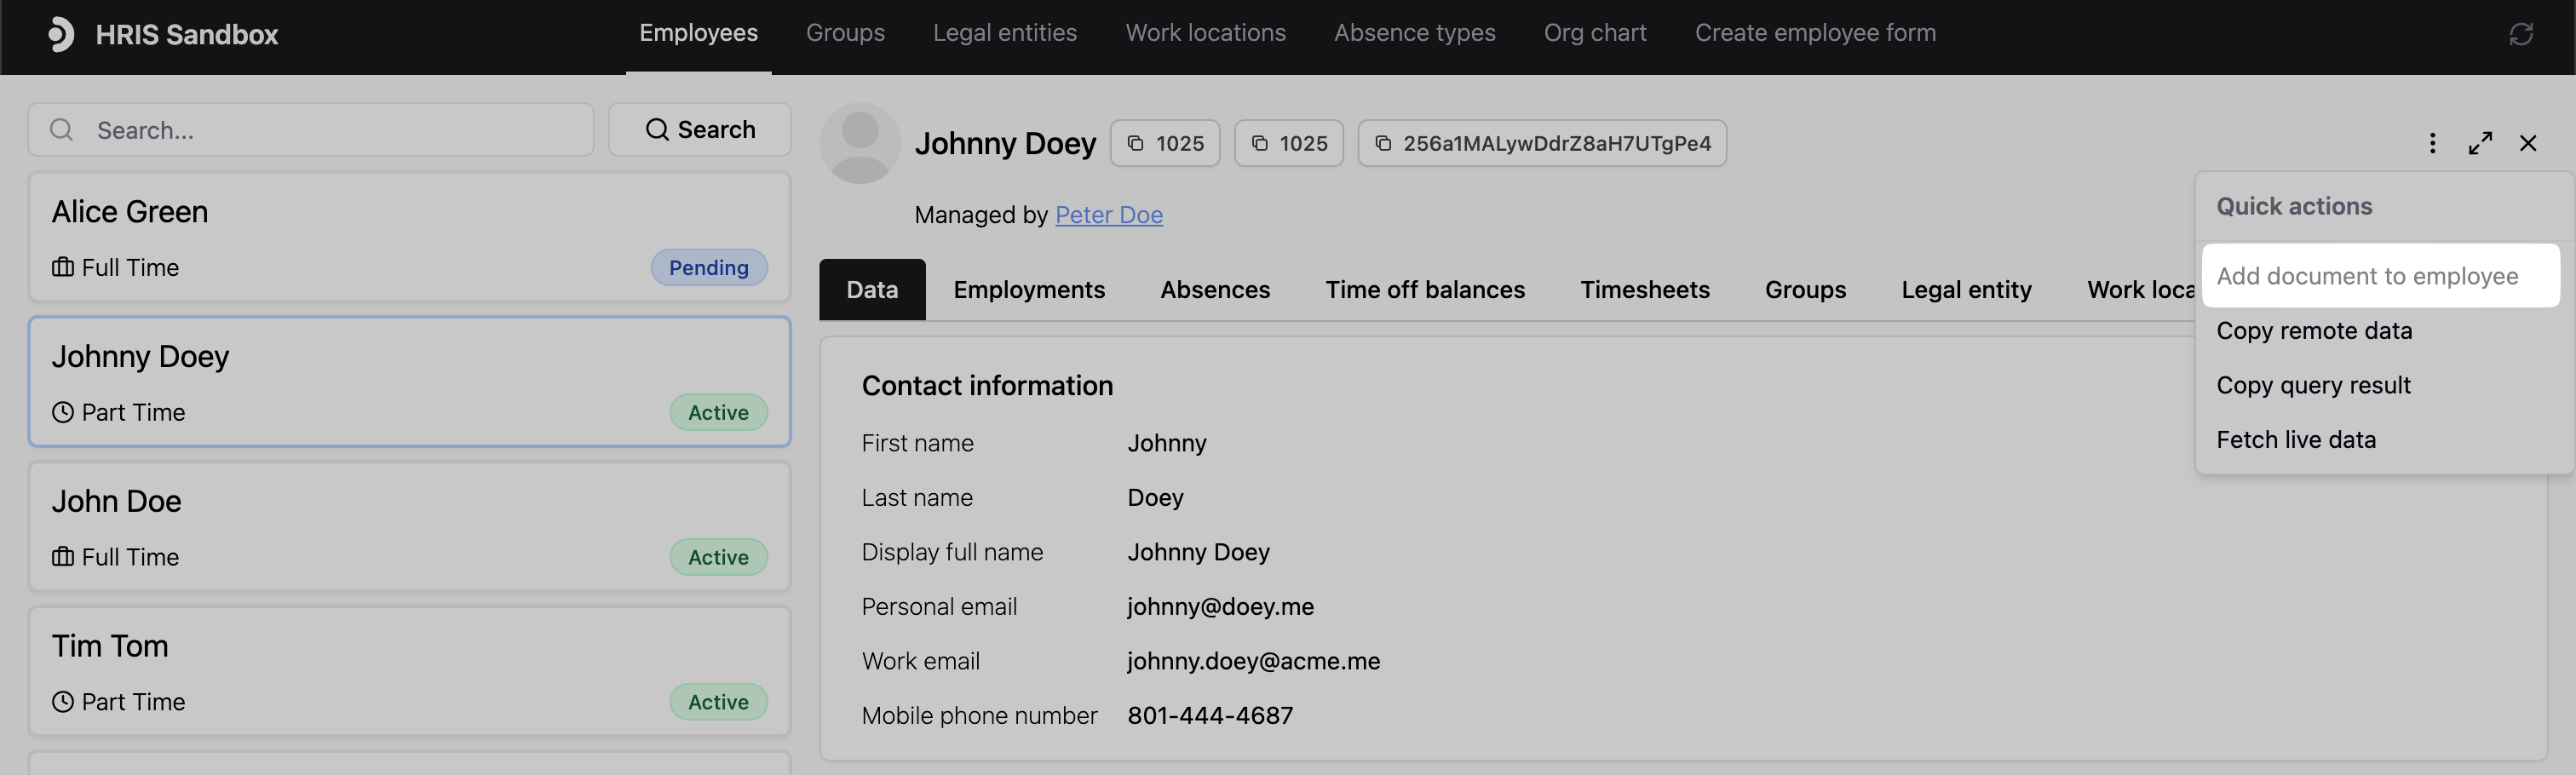
 You can run any write action supported by the Kombo API in the Data
Explorer. This includes creating employees and absences, deleting absences
and adding documents to employees.
Documents can be added to employees by clicking the three dots menu on the
employee and selecting "Add document to employee".
You can run any write action supported by the Kombo API in the Data
Explorer. This includes creating employees and absences, deleting absences
and adding documents to employees.
Documents can be added to employees by clicking the three dots menu on the
employee and selecting "Add document to employee".
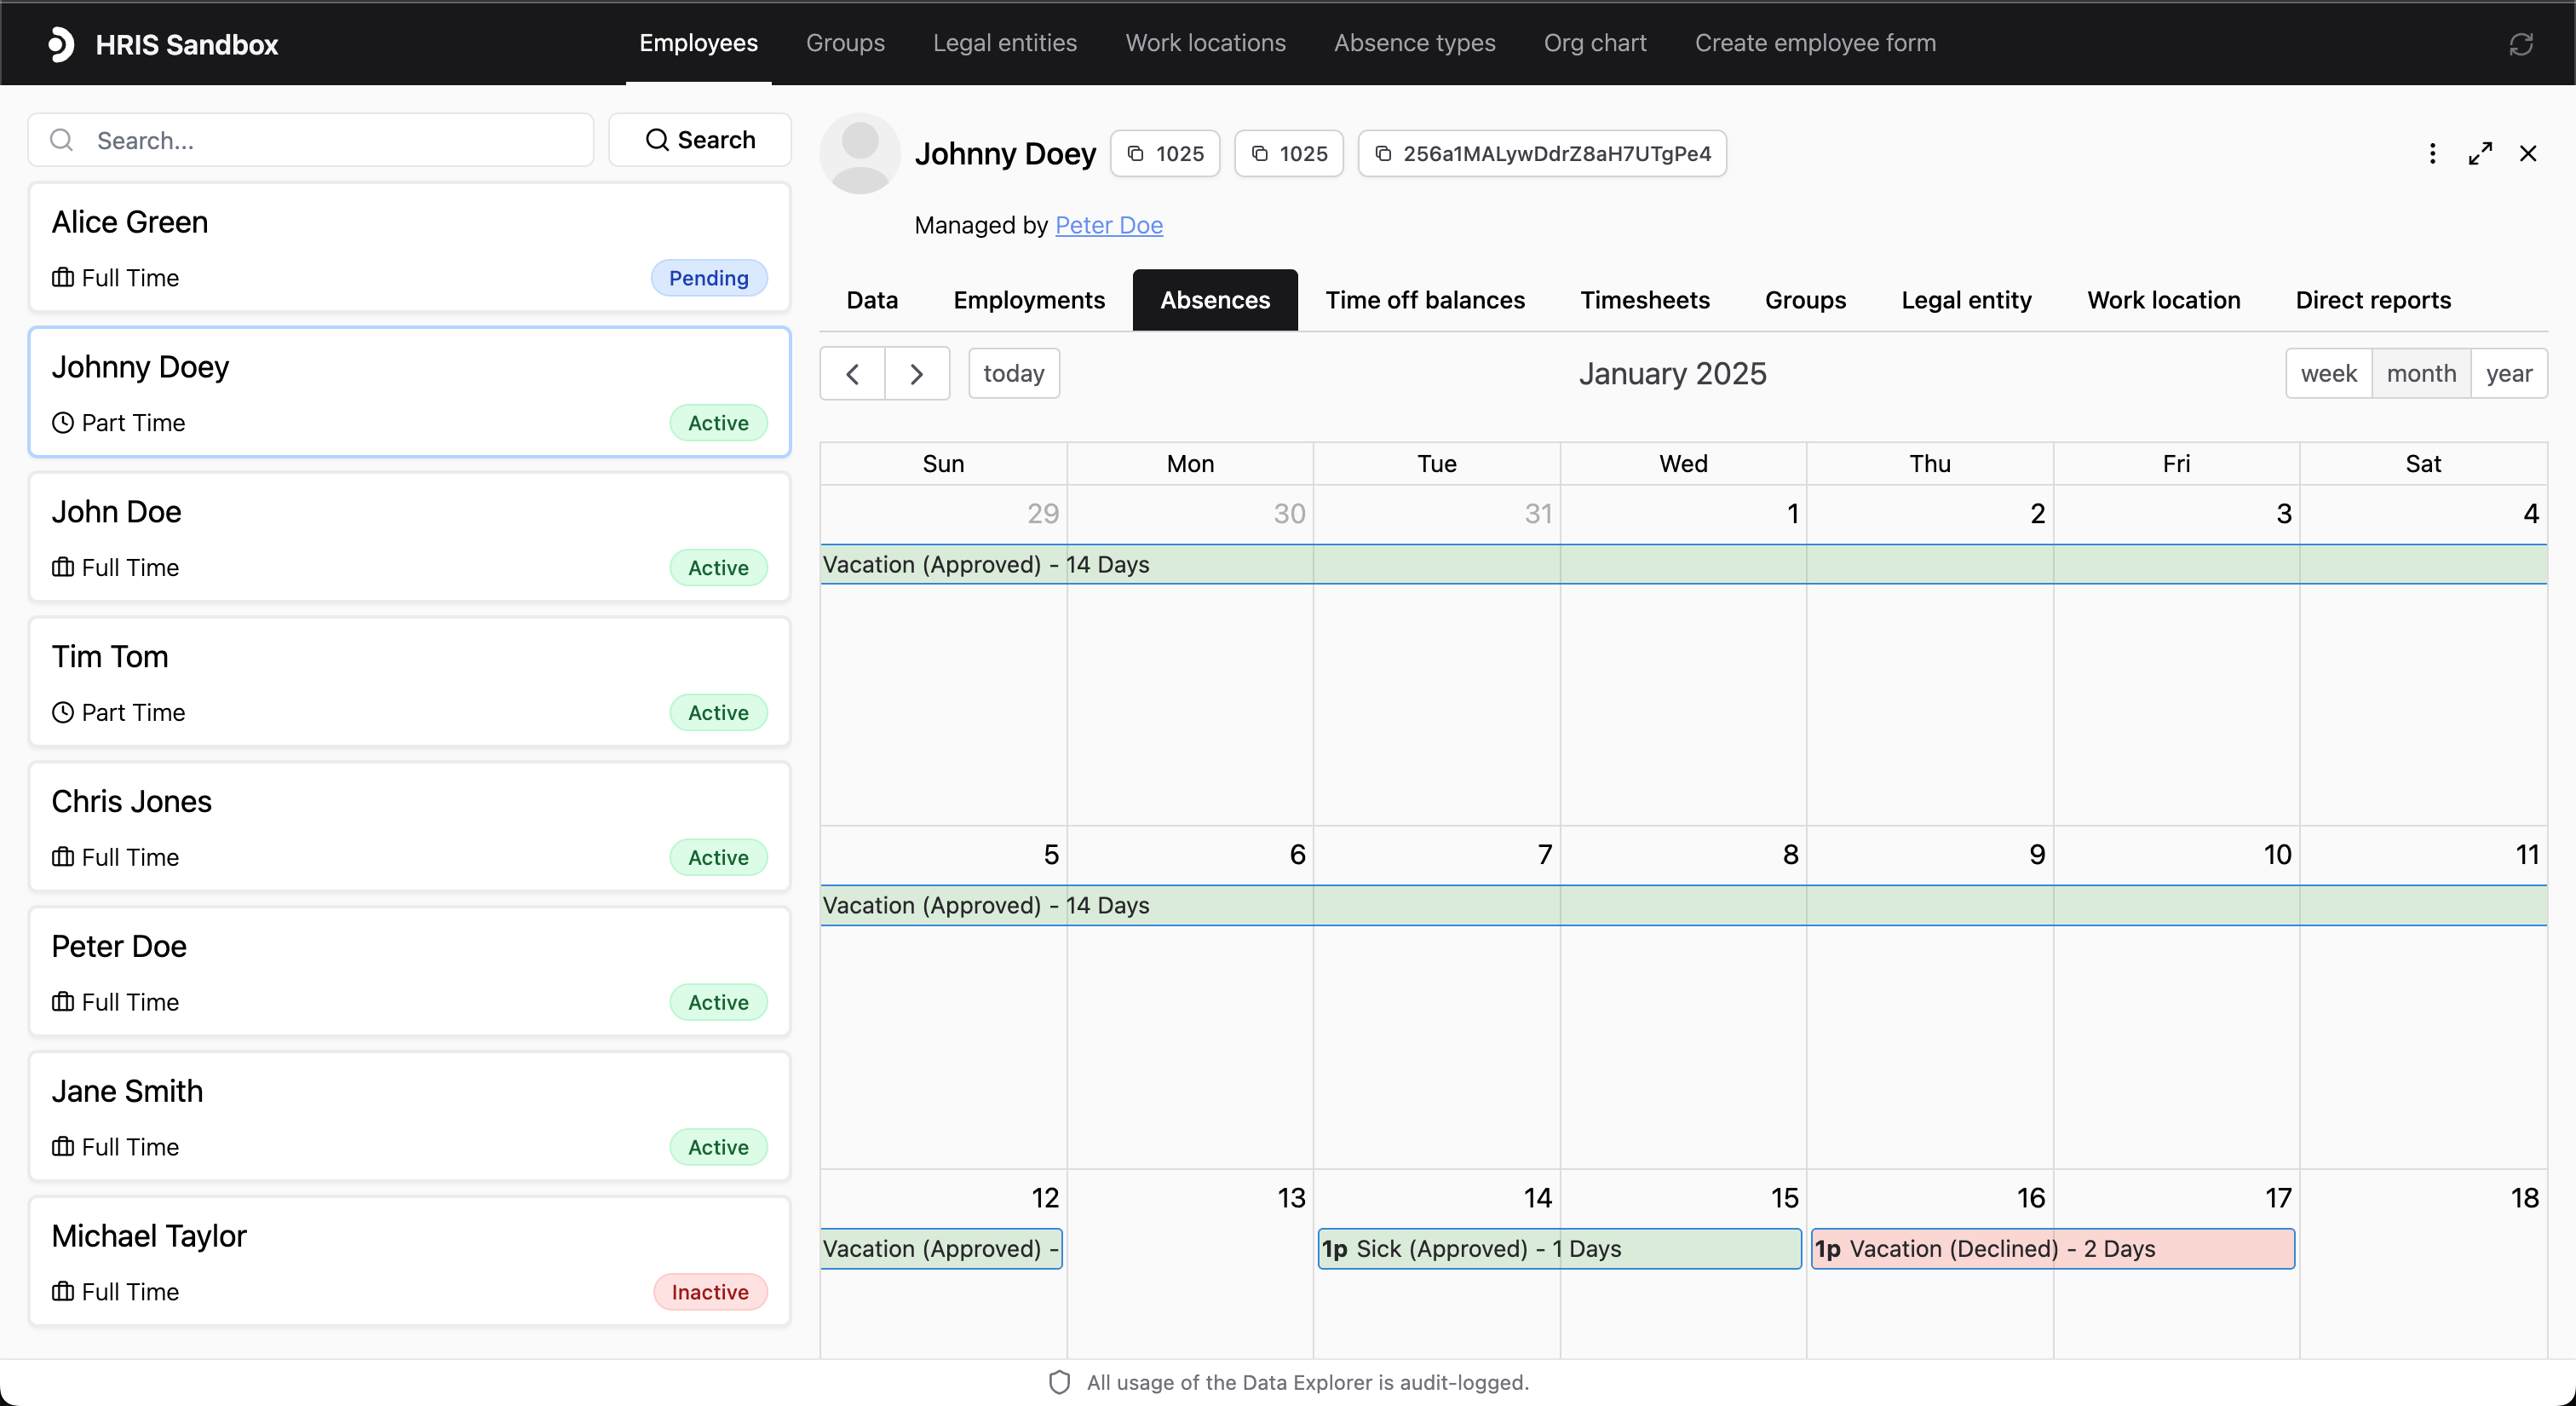
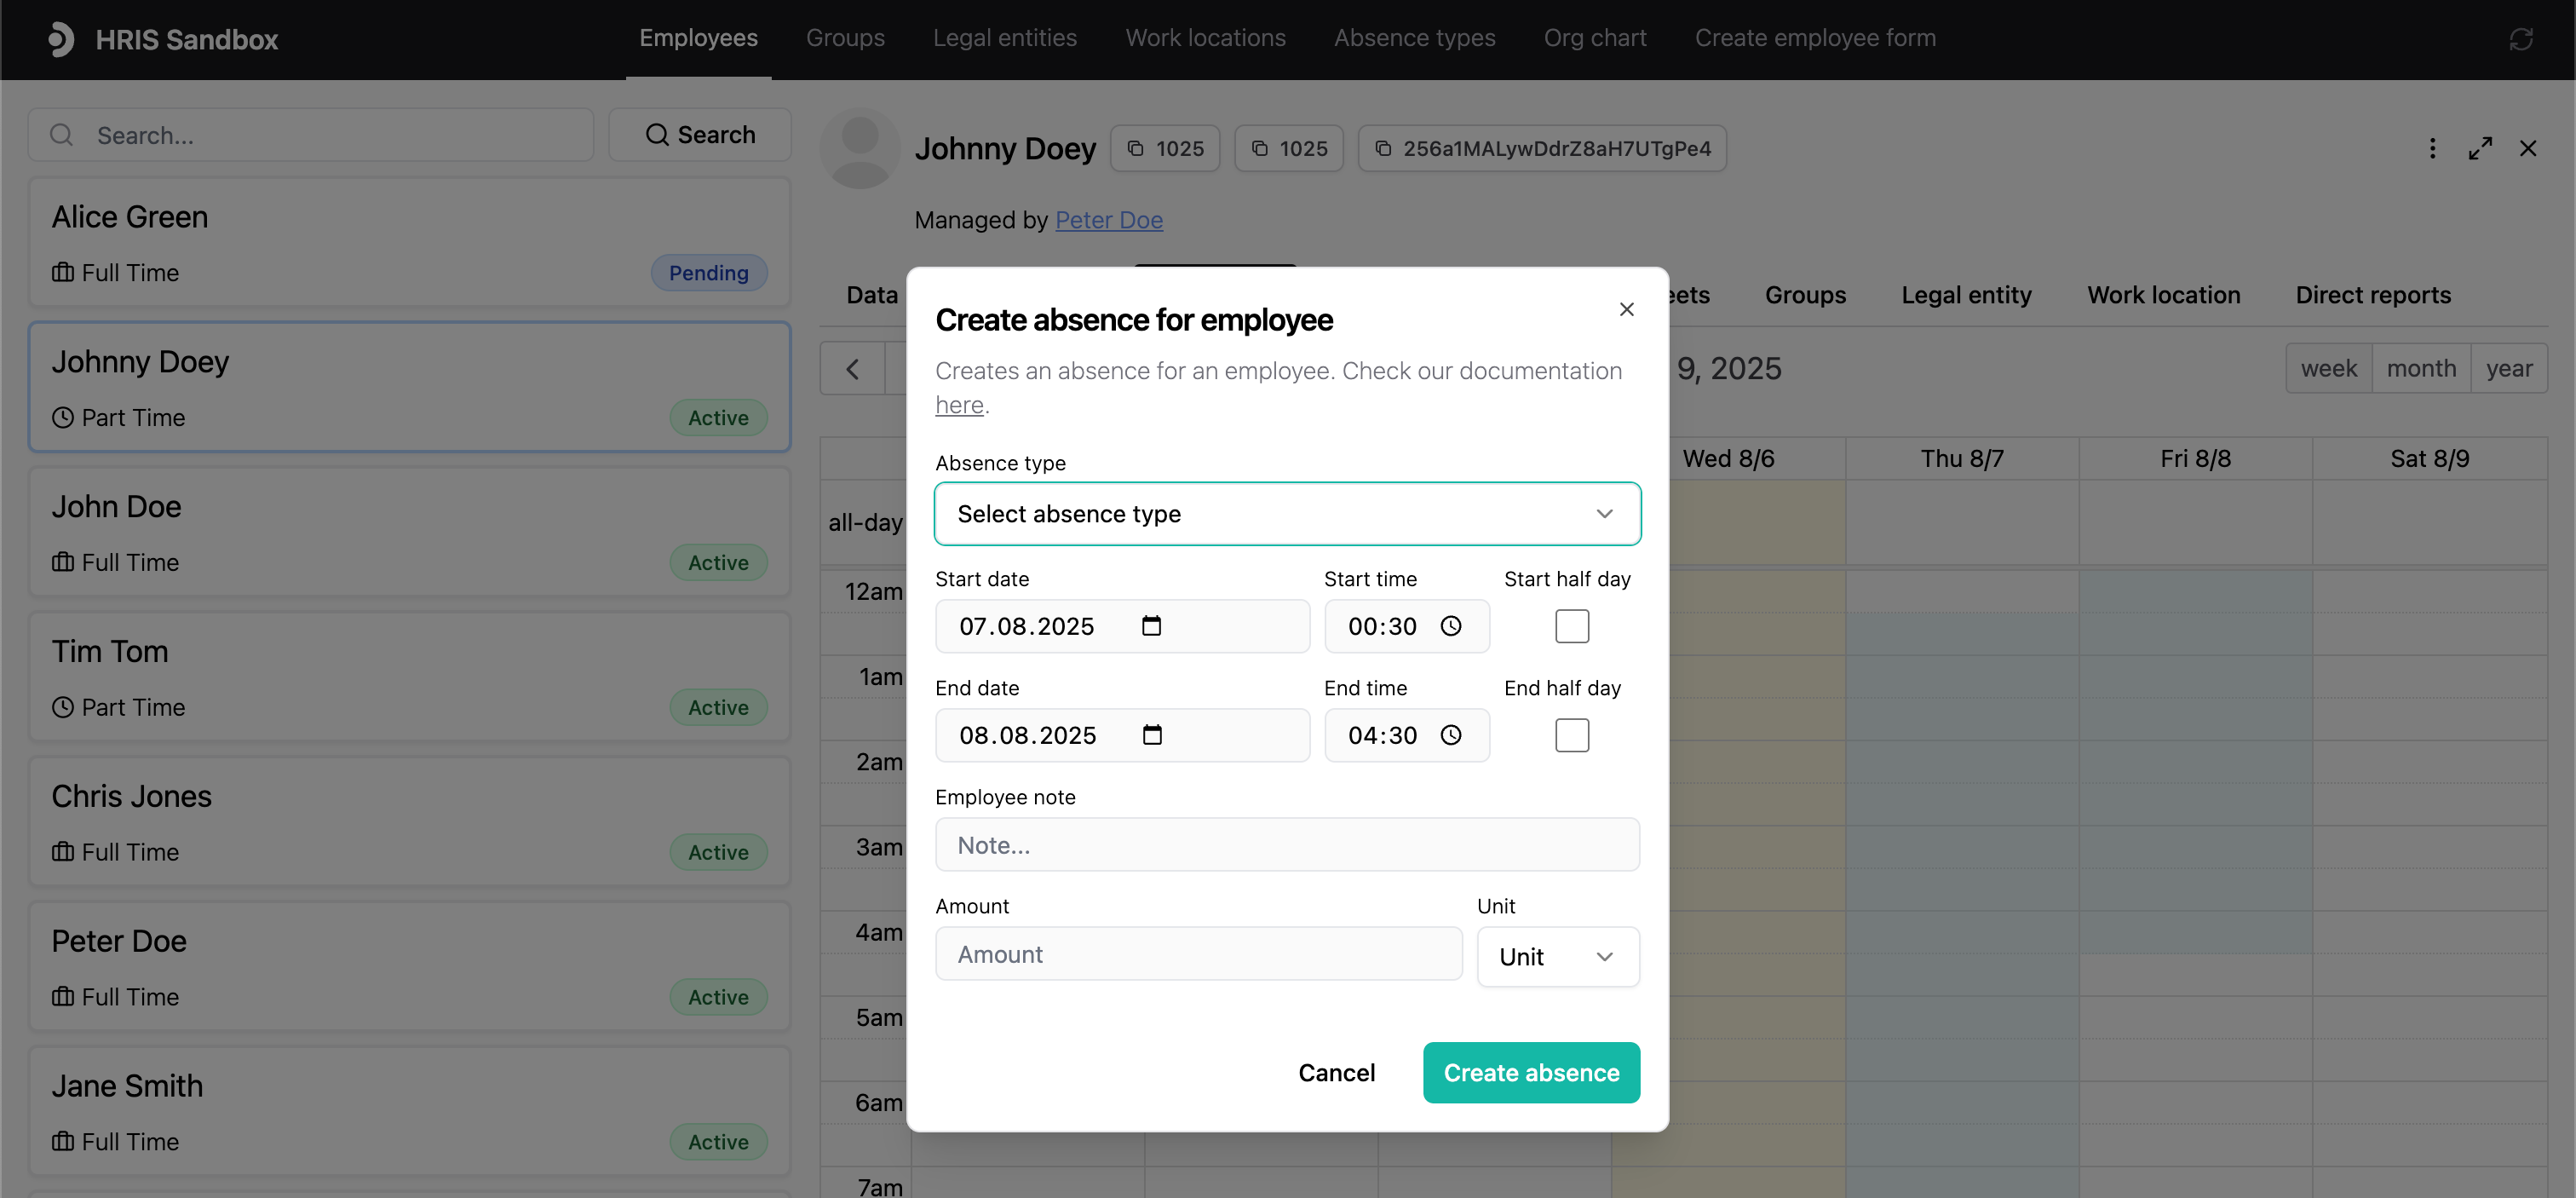
 Absences can be created by selecting a time period in the calendar view.
Absences can be deleted by selecting an existing absence and clicking the
delete button.
Absences can be created by selecting a time period in the calendar view.
Absences can be deleted by selecting an existing absence and clicking the
delete button.
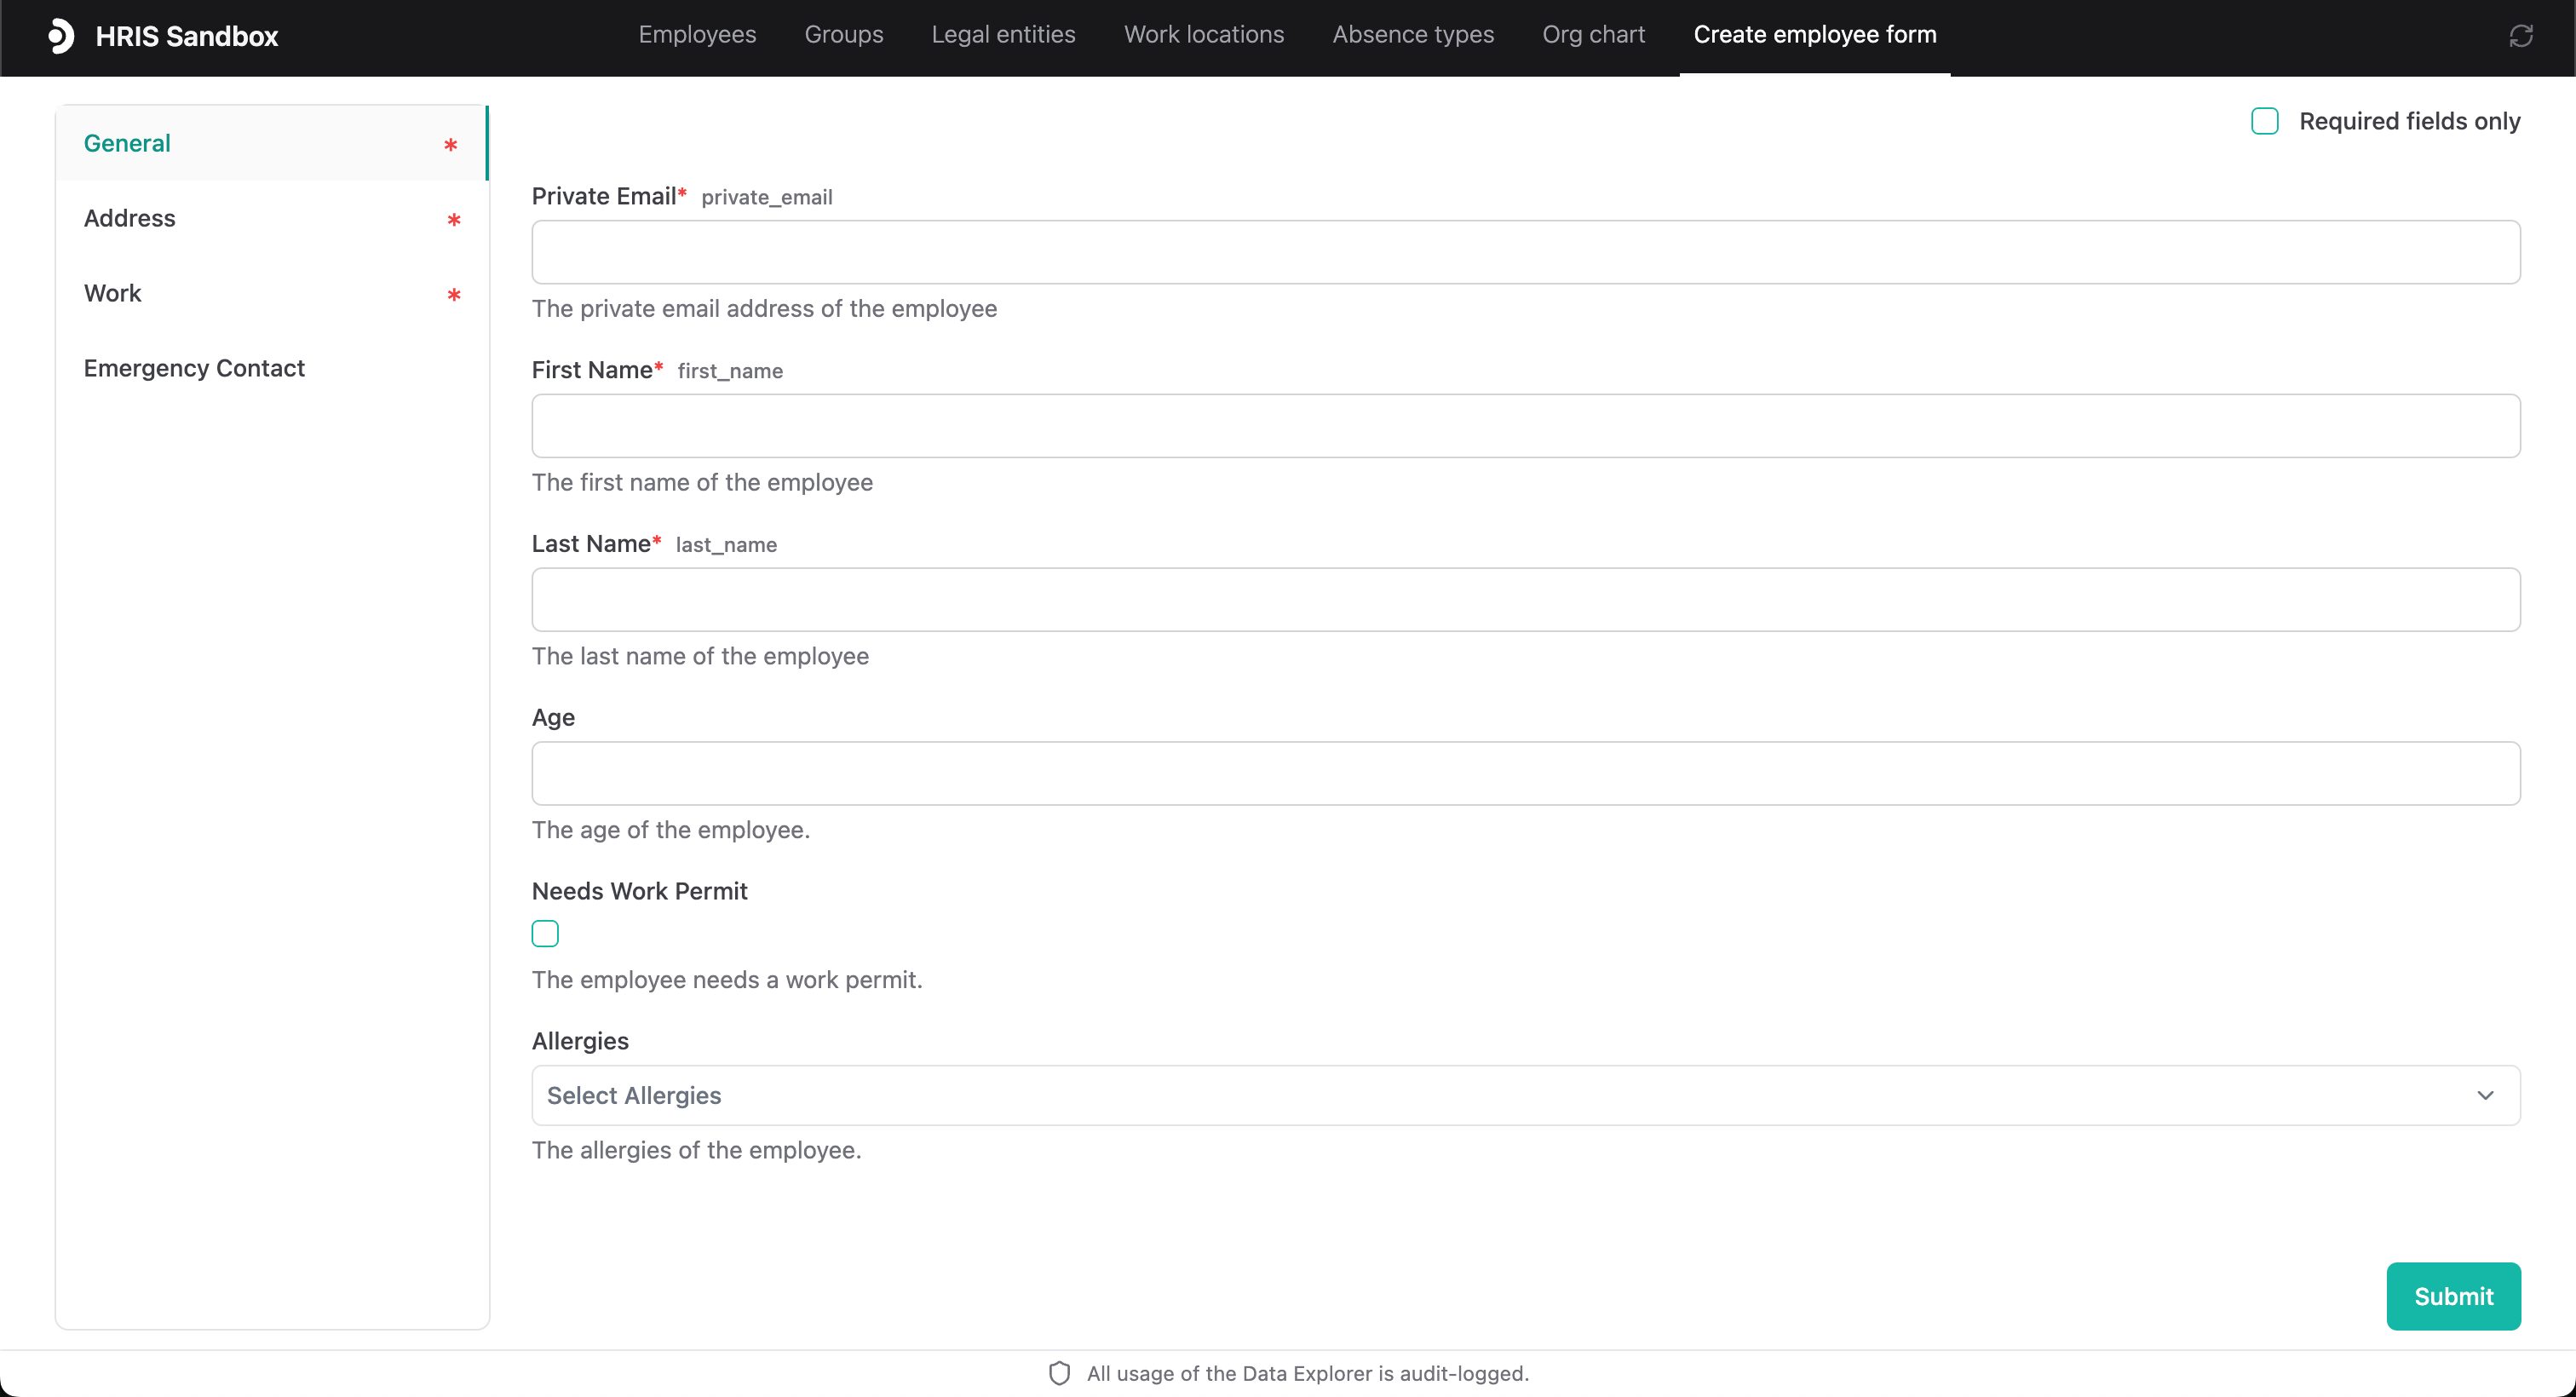
 Employees can be created by navigating to the "Create employee form" page.
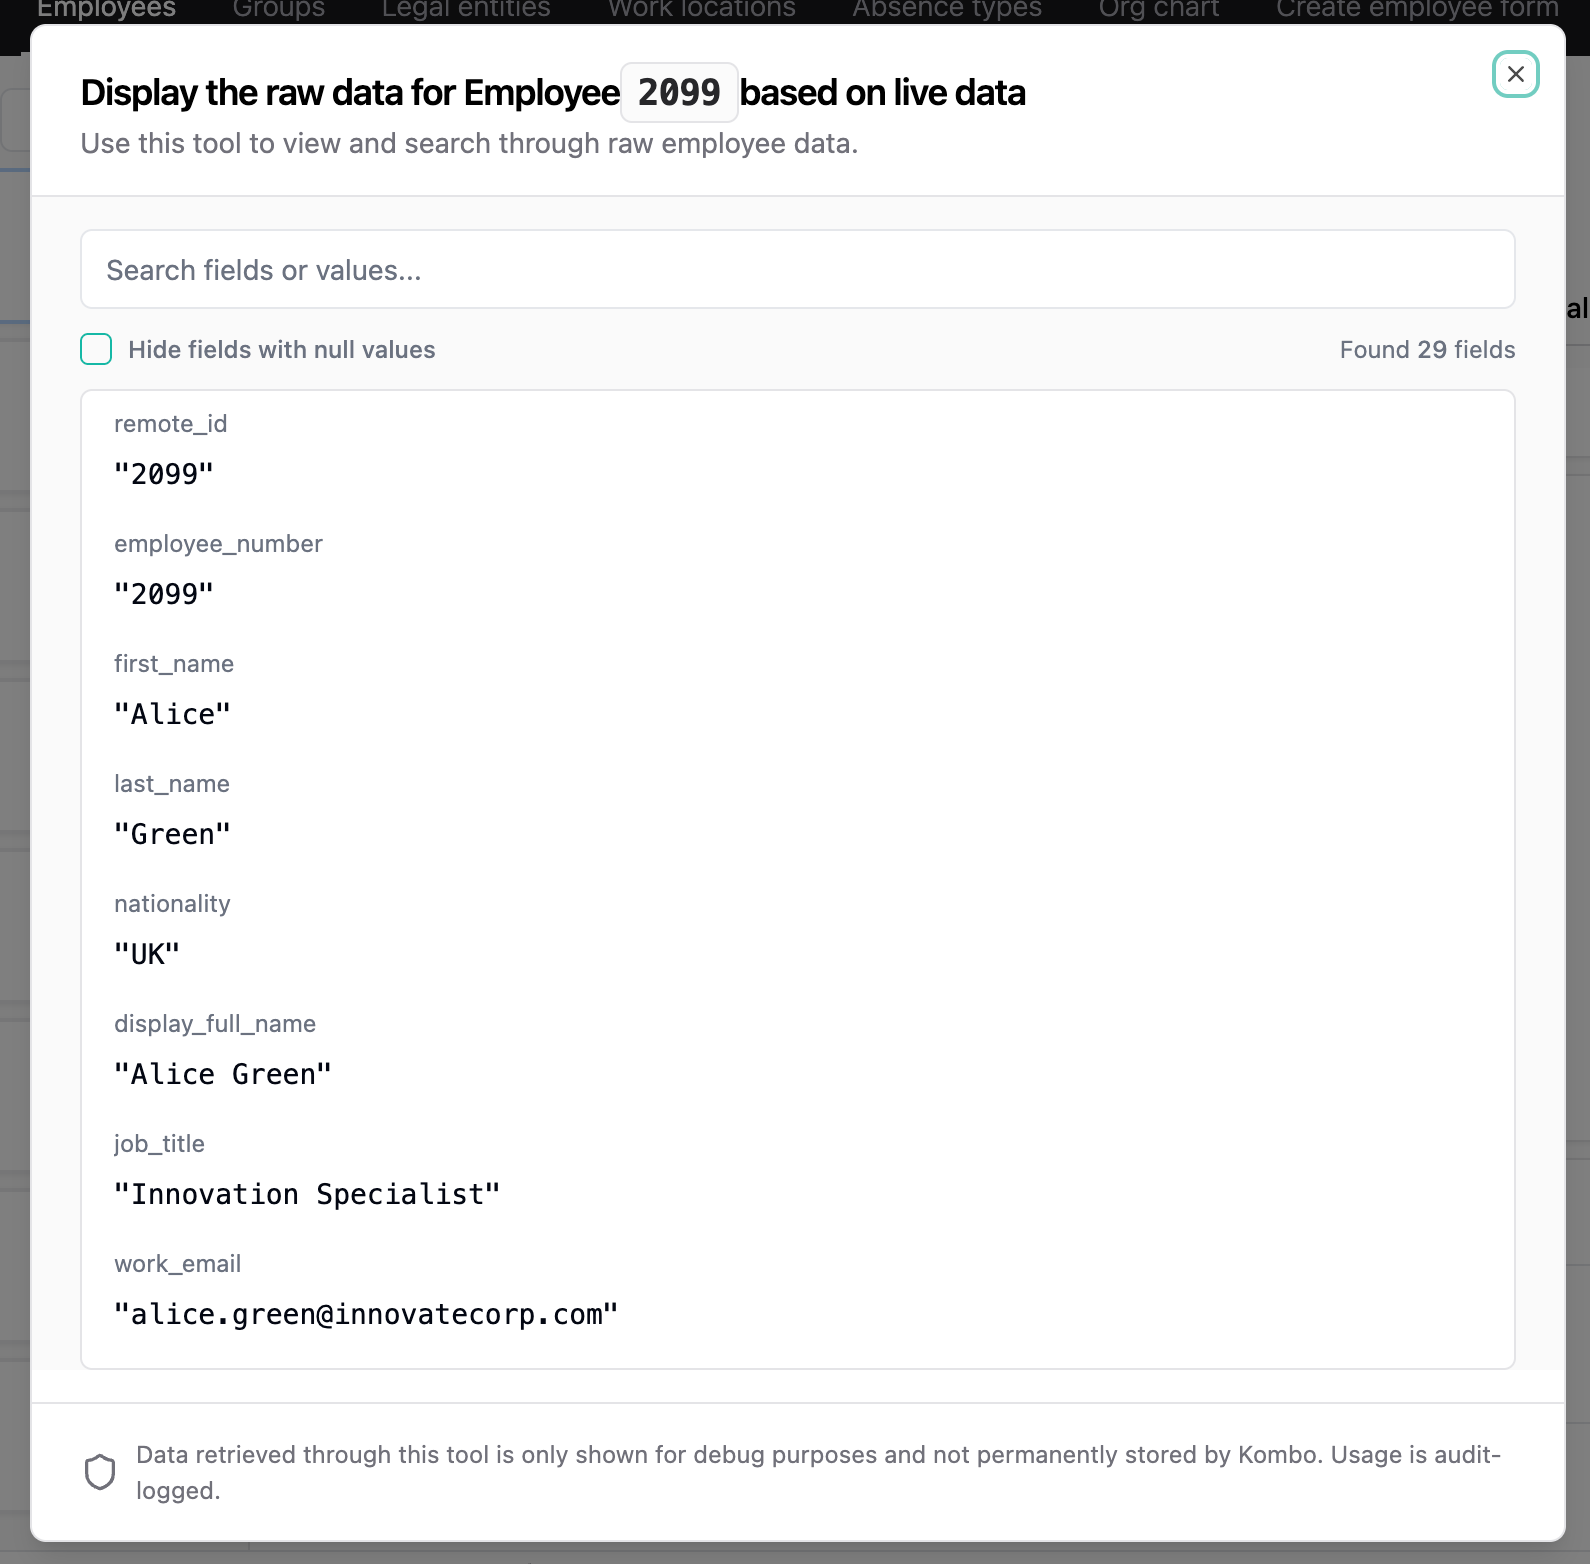
 For supported models you can view all
[available custom fields](./custom-fields#map-fields-based-on-live-data) in
the Data Explorer. This feature is currently only implemented for some
integrations.
You can access it either from the custom fields card on a data entry or from
the three dots menu under **Fetch live data**.
For supported models you can view all
[available custom fields](./custom-fields#map-fields-based-on-live-data) in
the Data Explorer. This feature is currently only implemented for some
integrations.
You can access it either from the custom fields card on a data entry or from
the three dots menu under **Fetch live data**.
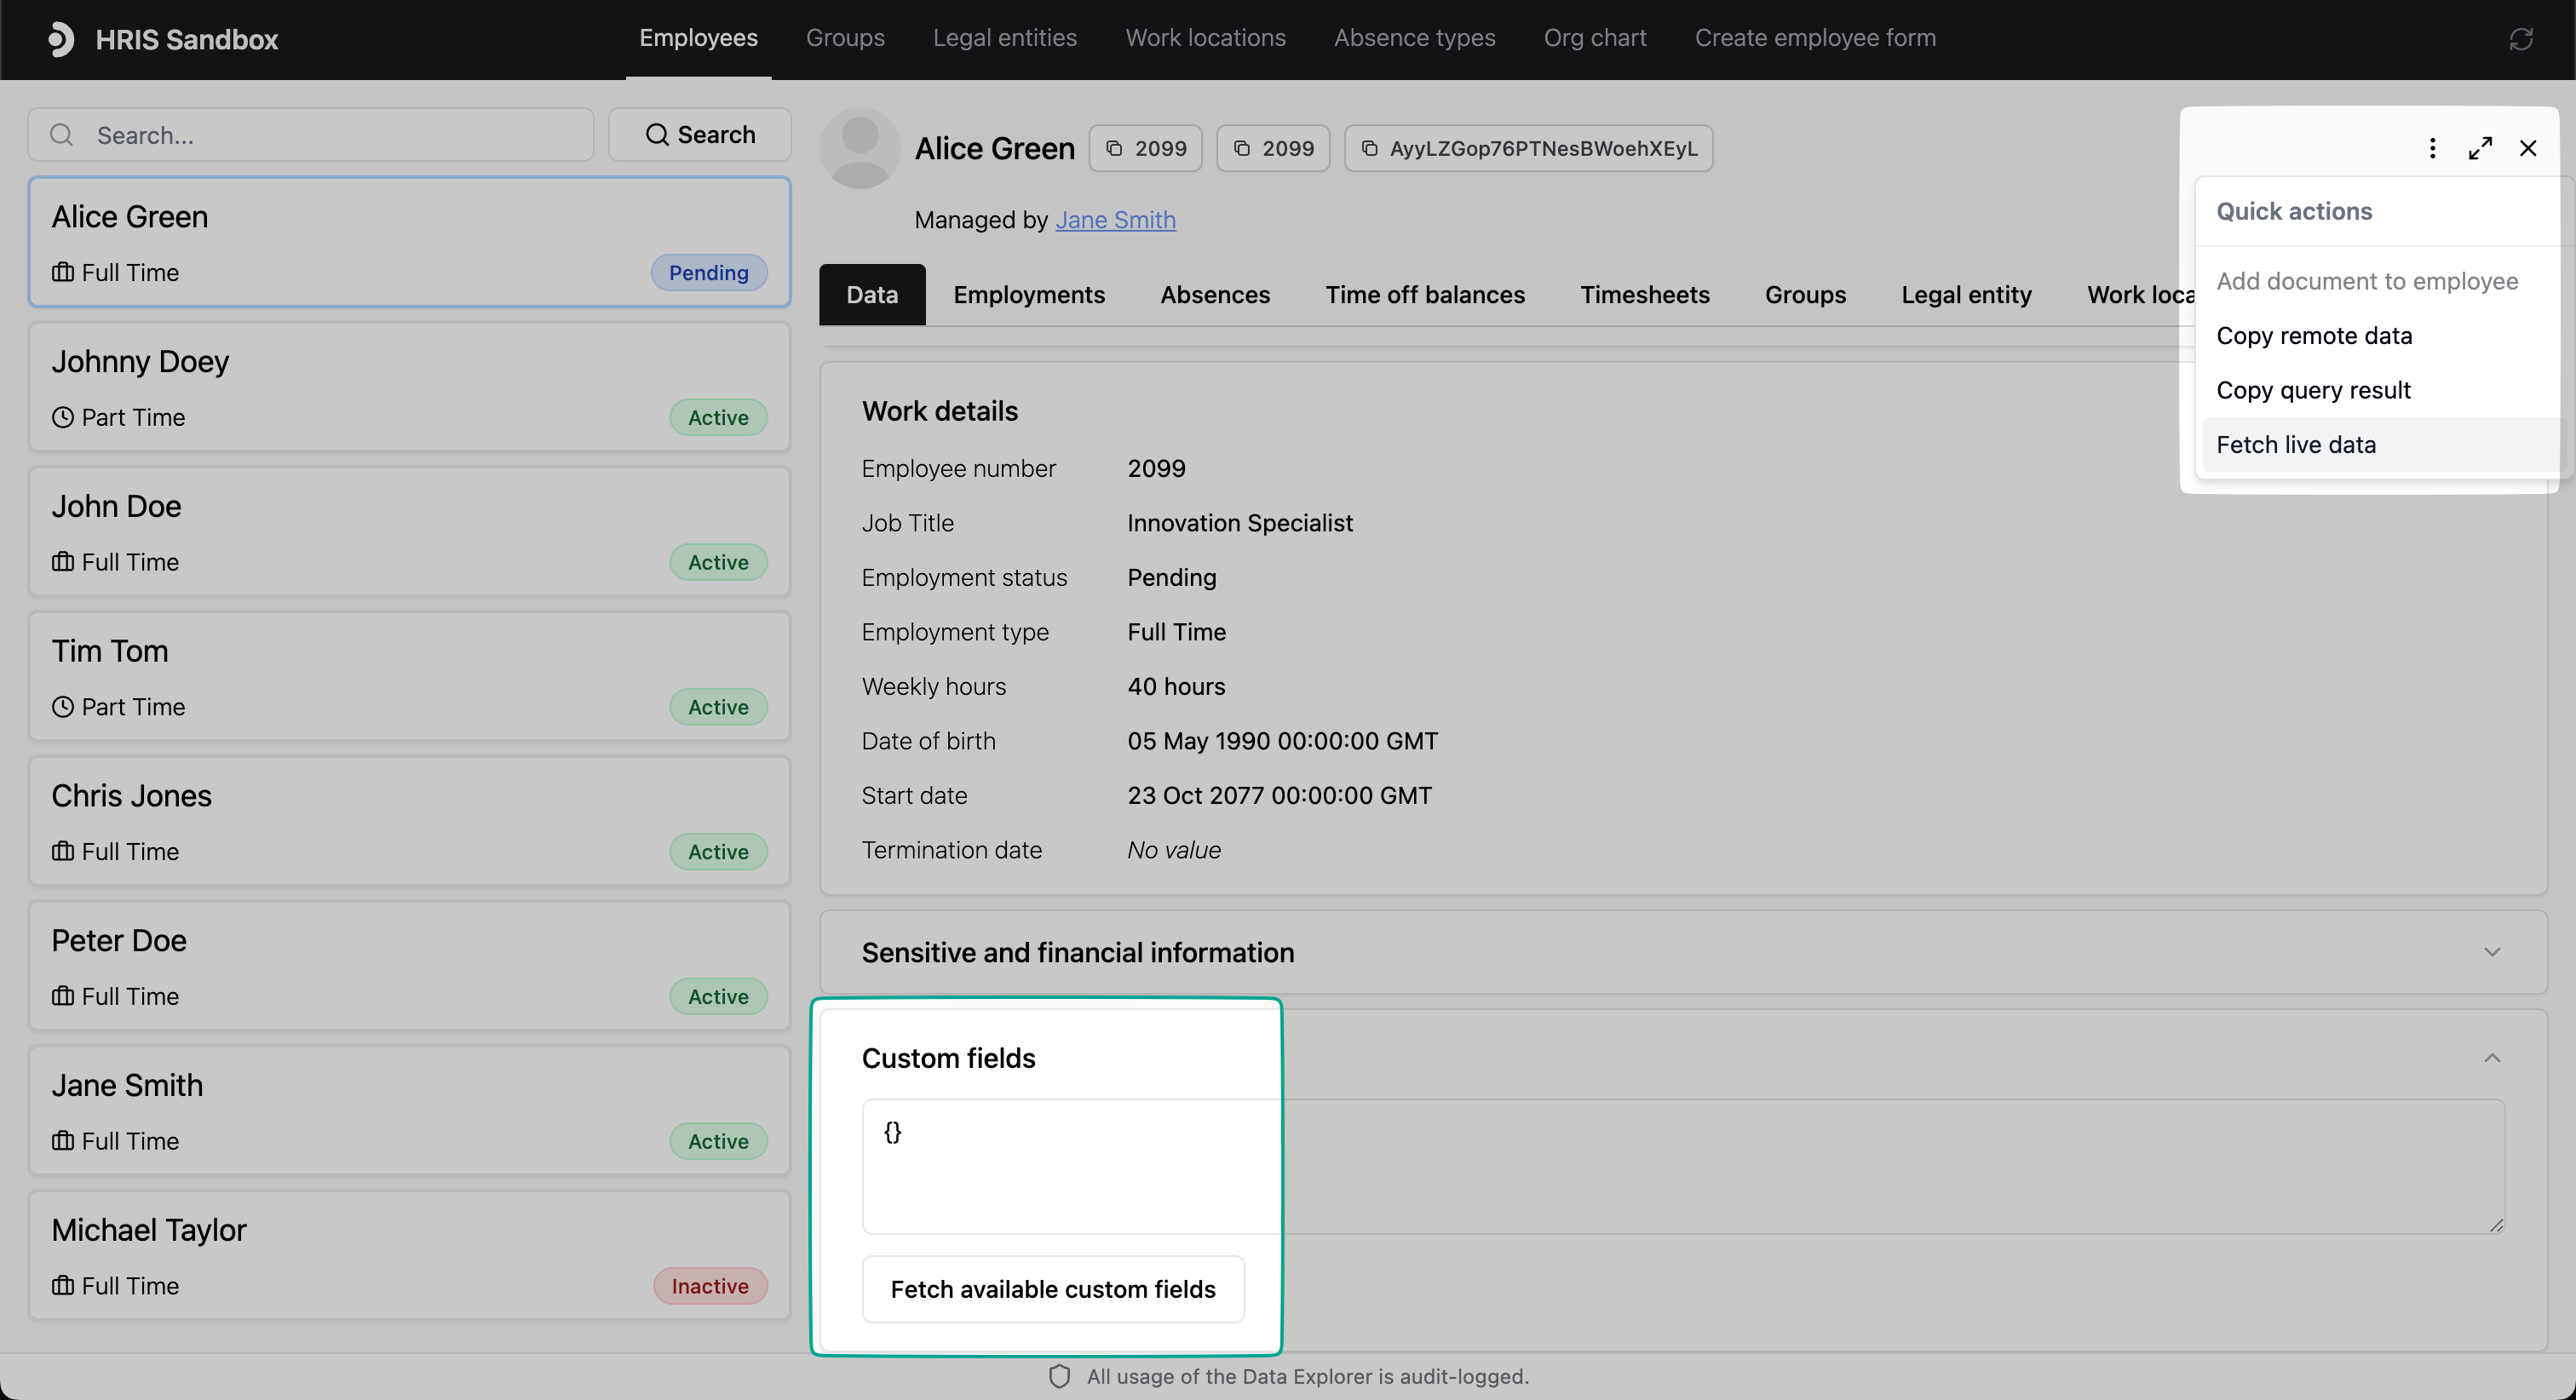 A window will open, showing all available custom fields for the data entry.
 ## How It Works
The Data Explorer is a feature built on top of the Kombo API. It allows you to
interact with the Kombo API in a convenient UI in the Kombo dashboard. All
integration-specific read and write actions that are possible via the Kombo API
are available in the Data Explorer.
## Where to find the Data Explorer
The Data Explorer is located within individual integration pages in the Kombo
dashboard:
1. **Go to Integrations**: Navigate to the [Integrations page](https://app.kombo.dev/integrations) in your dashboard
2. **Select an Integration**: Click on any connected integration from your list
3. **Access Komboman**: Click the "Data Explorer" tab in the integration interface
## How It Works
The Data Explorer is a feature built on top of the Kombo API. It allows you to
interact with the Kombo API in a convenient UI in the Kombo dashboard. All
integration-specific read and write actions that are possible via the Kombo API
are available in the Data Explorer.
## Where to find the Data Explorer
The Data Explorer is located within individual integration pages in the Kombo
dashboard:
1. **Go to Integrations**: Navigate to the [Integrations page](https://app.kombo.dev/integrations) in your dashboard
2. **Select an Integration**: Click on any connected integration from your list
3. **Access Komboman**: Click the "Data Explorer" tab in the integration interface
 ## Access Permissions
The Data Explorer is available to:
* **Production Environment**: Users with admin role
* **Development Environment**: Users with admin or developer role
## Access Permissions
The Data Explorer is available to:
* **Production Environment**: Users with admin role
* **Development Environment**: Users with admin or developer role